



To make babies bloomers nails, you build the free edge in a very pale pink acrylic, blend a peachy pink down from the cuticle and cap the whole nail in a transparent pink. The colour fades softly into the tip, so there is no harsh white line anywhere on the nail.
Update: the video uses Peachy Dream and Soft Pastel Pink, which we do not stock, so Peach Melba and True Pink Transparent are the closest stand-ins. The white acrylic paint is replaced with Snow White gel polish and the Ultra Fine Detail Brush, applied in thin layers and cured.
Kirsty Meakin from Naio Nails shows how to do a babies bloomers nail design on an almond shaped tip. This pink acrylic almond nail tutorial uses three soft pinks, then adds delicate white detail that draws the eye down the nail.
At a Glance
- Design: a milky, barely-there blush fade with fine lace-like line work at the cuticle
- Artist: Kirsty Meakin
- Technique: blended acrylic colours capped in transparent pink, with freehand detail
- Nail shape: almond
- Key products: Peach Melba, True Pink Transparent and Blush Pink Acrylic Powders, Snow White Gel Polish, Naio Nails Mega Gloss
- Video length: about 8 minutes
Why You'll Love Babies Bloomers Nails
- A soft, elegant pink look with no harsh white tip.
- Easy, but very elegant.
- Fine white lines that make the nail look long and thin.
- Simple to wear for any occasion.
Products Used in This Video


How to Create Babies Bloomers Nails
1. Support the stress area
The tip is prepped and the form fitted. Put a little clear on the contact area, right where the free edge starts, and blend it out to act as support.
2. Build the free edge
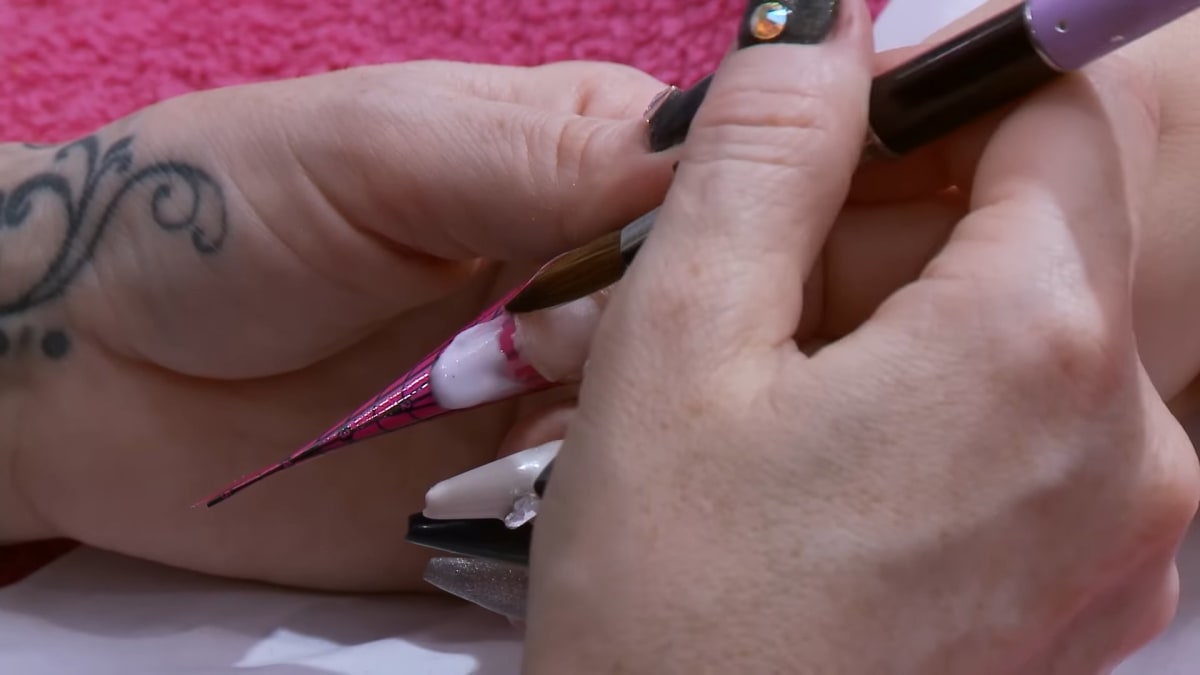
Bleed a bead of the soft pastel pink and place it at the furthest point, the longest point of the nail, then blend it back. Make a soft almond shape.
3. Add the peachy pink
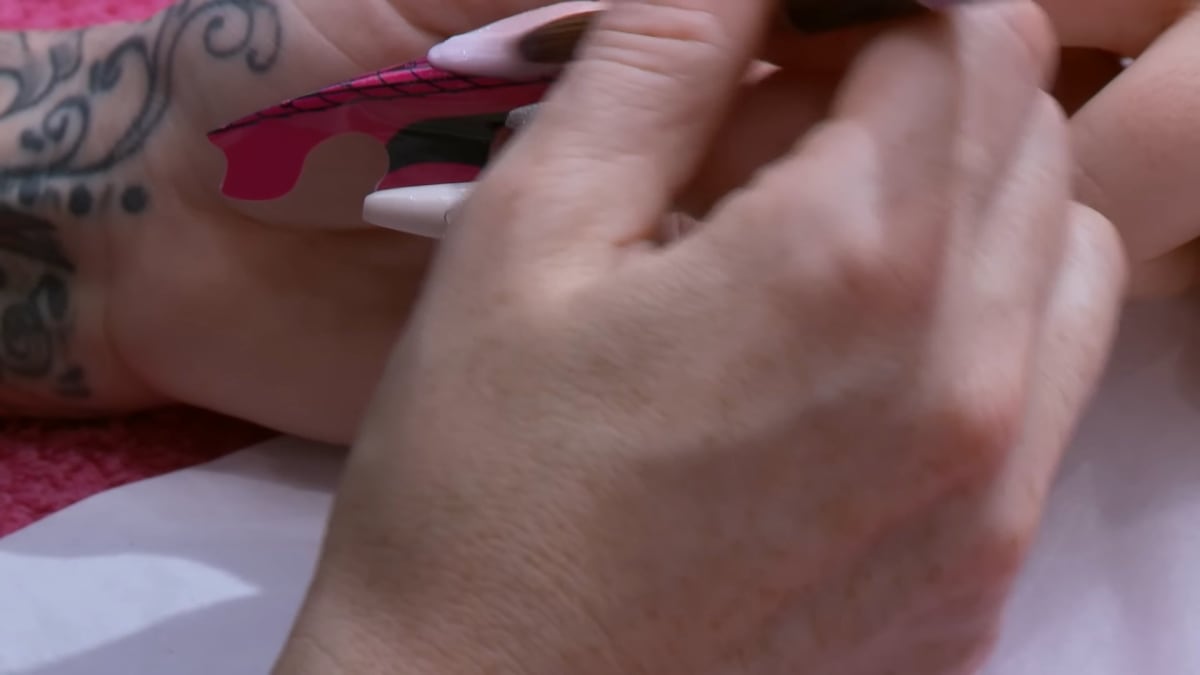
Place a bead right at the back by the cuticle area. When you blend it over, use a fairly wet ratio and make sure the apex is built up enough. Sweep a tiny bit of pastel pink back over slightly to help it blend.
4. Cap with Blush Pink
The look of the babies bloomer is the colour fading into the natural colour at the tip rather than a harsh white. Cap with Blush Pink, a transparent pink, which adds more pink tone than clear.
5. File and buff
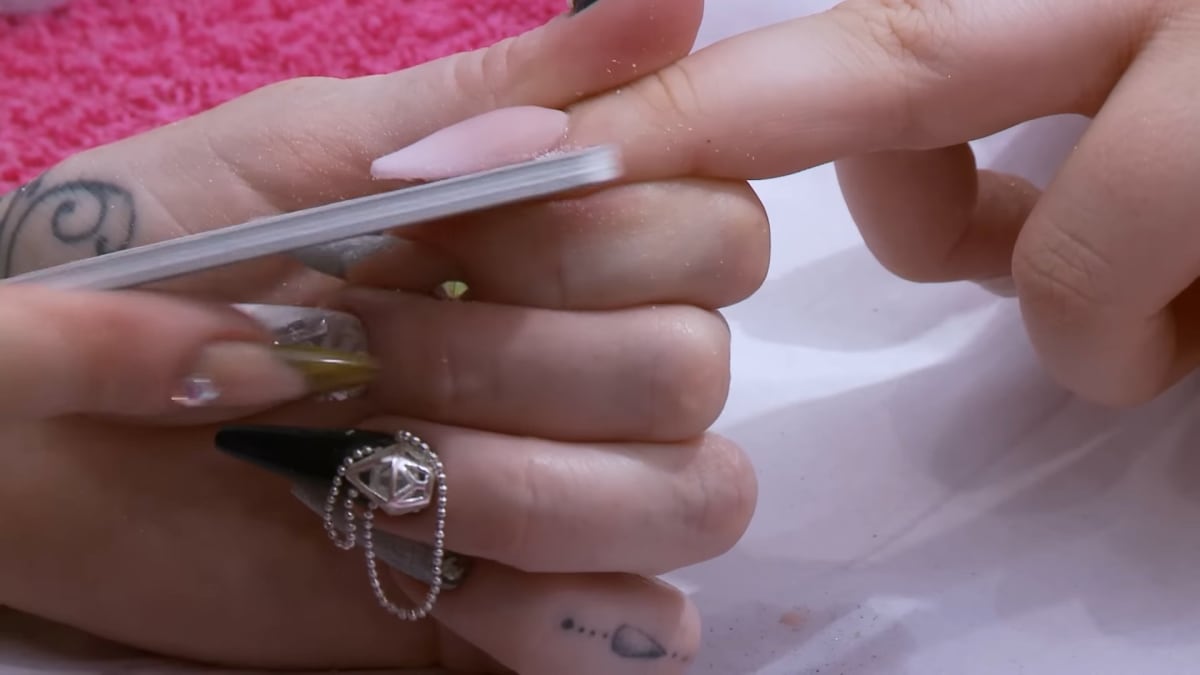
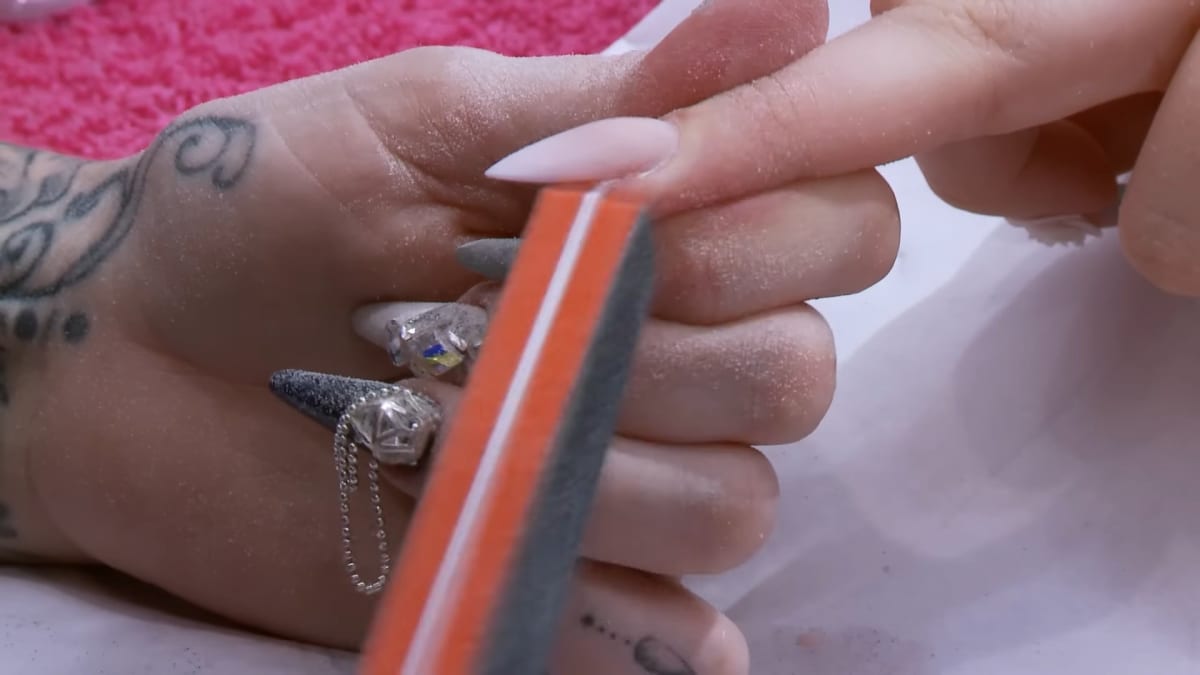
Do the usual filing routine up the side walls, making sure they match the side wall of the natural nail. Go round the cuticle area, angling the file, then down the entire nail. Buff to make it smooth. The pink is so pale it is almost a soft white, which is the colour needed.
6. Wipe with acetone
Wipe with acetone to remove dust and smooth the surface. You could leave it here or add stones, but Kirsty adds some fine detail.
7. Paint the detail
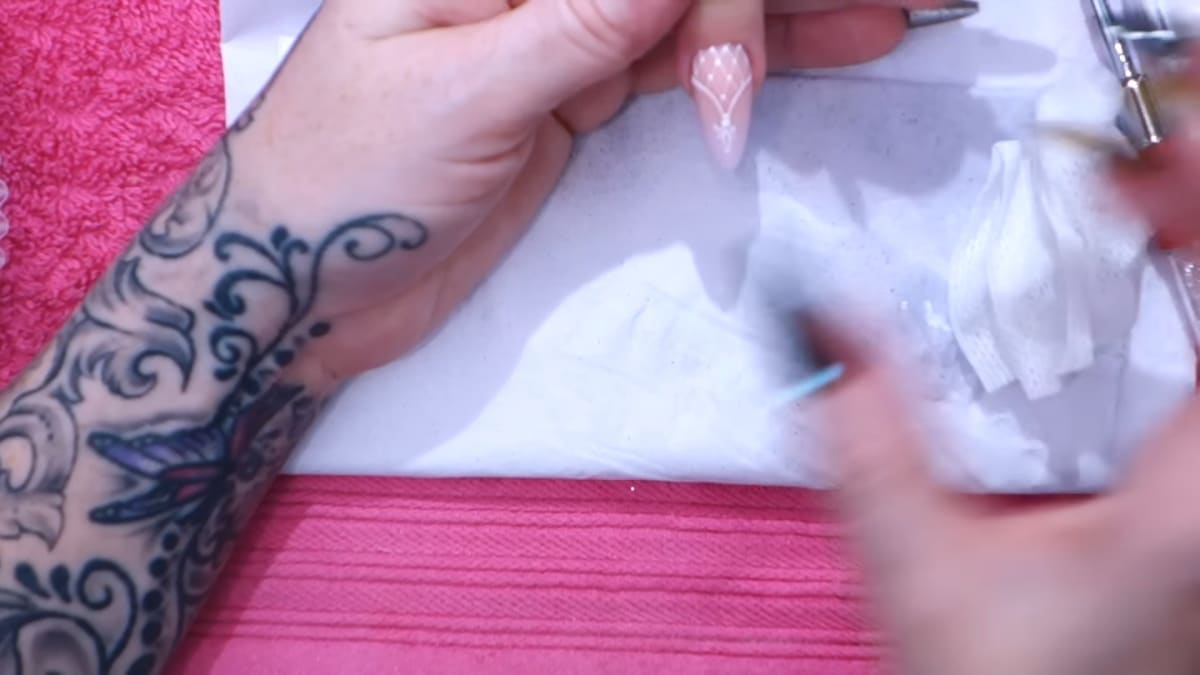
With Snow White gel polish and the detail brush, paint thin lines, as thin as you can, curing each thin layer. Using a dotting tool, dot all the little cross sections.
8. Seal and finish
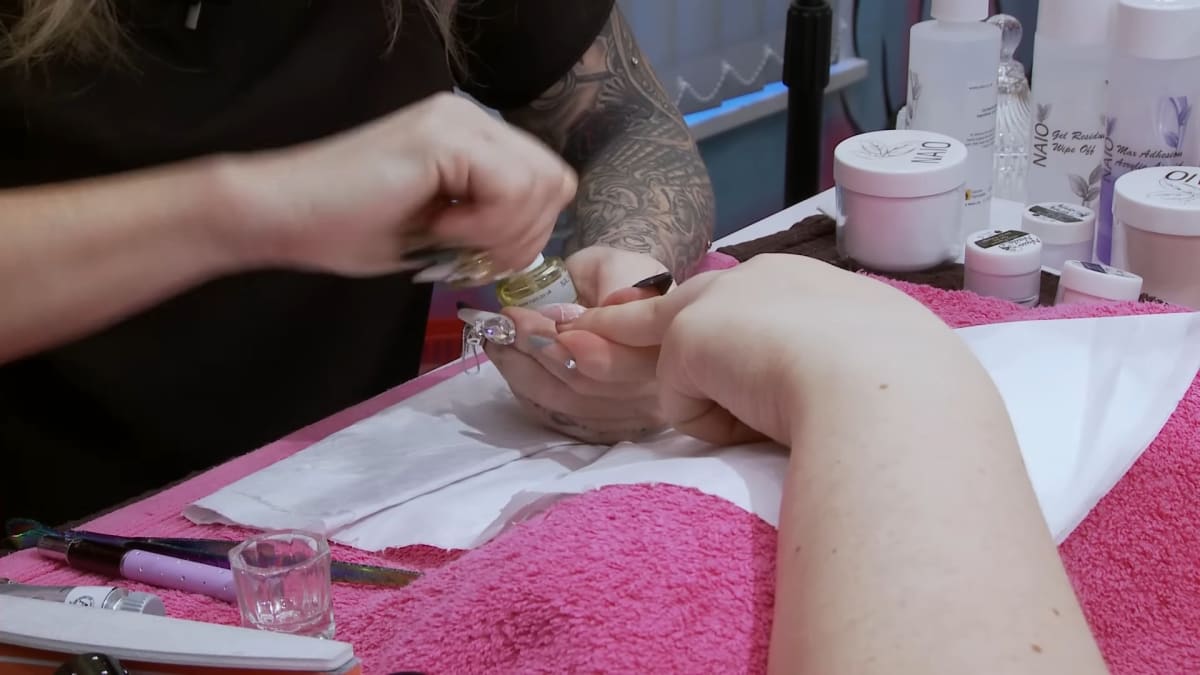
Put on mega gloss sealer gel, covering all the artwork, and cure for two minutes. The design starts at the cuticle and graduates down the nail, which draws the eye down and makes the nail look long and thin. Finish with cuticle oil.
Pro Tips
- Use a wetter ratio when blending the cuticle colour over.
- Cap with Blush Pink rather than clear for a pink tone.
- Keep the detail lines as thin as possible.
- Make sure the side walls match the natural nail.
Common Mistakes
- Leaving a harsh white tip instead of a soft colour fade.
- Painting the detail lines too thick.
Who Is This Design For?
This is for anyone who loves soft pink acrylic nails with a natural look and an elegant touch of detail.
Ways to Make It Your Own
- Add stones instead of detail lines.
- Leave it plain.
- Try the design on a different shape.
Aftercare
Moisturise the cuticle area regularly.
Frequently Asked Questions
How do you make babies bloomers nails?
Support the stress area with clear, build the free edge in a very pale pink, blend a peachy pink from the cuticle, cap in transparent pink, file and buff, then add fine white lines and dots at the cuticle and seal with gloss gel.
What is the babies bloomers look?
A soft fade into the natural colour at the tip, rather than a harsh white.
Why cap with Blush Pink?
Because it adds more of a pink tone to the nail than clear.
Why is the art placed at the cuticle?
It graduates down the nail, drawing the eye down so the nail looks long and thin.
What does the clear at the start do?
It goes on the contact area where the free edge starts and is blended out to support the stress area.
Can I leave the nail plain?
Yes. Kirsty says you could stop after the acetone wipe, or add stones instead of the detail.
Give Babies Bloomers Nails a Try
Watch the video above and try this soft, elegant design.


