



To start these extreme nude nails, you paint a nude base on a ballerina shaped acrylic extension, then draw a diamond in white gel with a long detailing brush and stretch the product to fill it. Lines and smaller diamonds are mirrored on each side to build an abstract pattern, and the gel is cured for two minutes.
Update: the video uses Urban Graffiti Birthday Suit (a nude shade), which is not in our store, and white hard gel. Snow White gel polish is the closest white in the products list.
In Part 1, Kirsty Meakin from Naio Nails starts an extreme nude nail design using nude, white and gold chain. This white gel diamond nail art tutorial uses white gel as an art medium.
At a Glance
- Design: a bold white abstract pattern over a skin-tone base, mirrored left and right
- Artist: Kirsty Meakin
- Technique: freehand gel line work, adjusted while the gel is still uncured
- Nail shape: ballerina
- Key products: Snow White Gel Polish, Ultra Fine Detail Brush 0003
- Video length: about 9 minutes
Why You'll Love These Extreme Nude Nails
- Strong white pigment from white gel.
- A mirrored abstract diamond pattern.
- Gel stays where you put it, so you can adjust before curing.
- Builds towards a glamorous finished set with studs and chain.
Products Used in This Video


How to Create Extreme Nude Nails with a Diamond Pattern
1. Prepare the nail
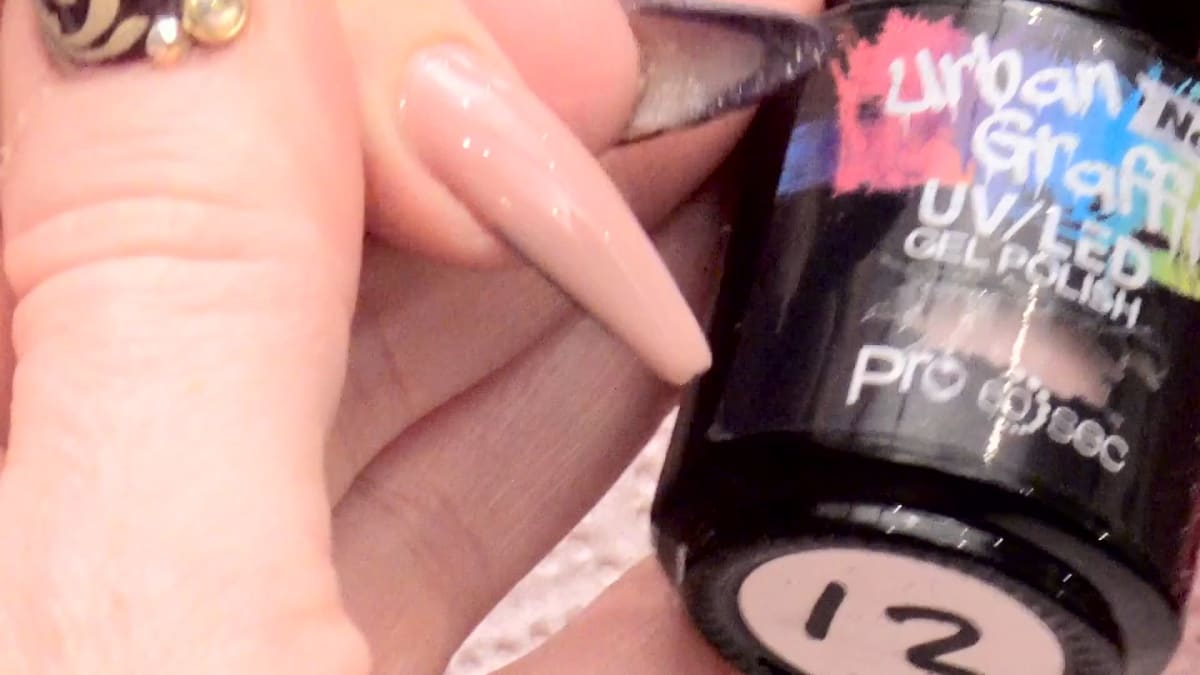
An acrylic extension has been applied in a ballerina shape, and the nude gel polish has been applied.
2. Keep brushes separate
Use a long detailing brush for the white gel. Kirsty keeps one detailing brush for gel and one for acrylic paint, because a brush that has had gel in is hard to use with paint, and the reverse.
3. Draw the first diamond
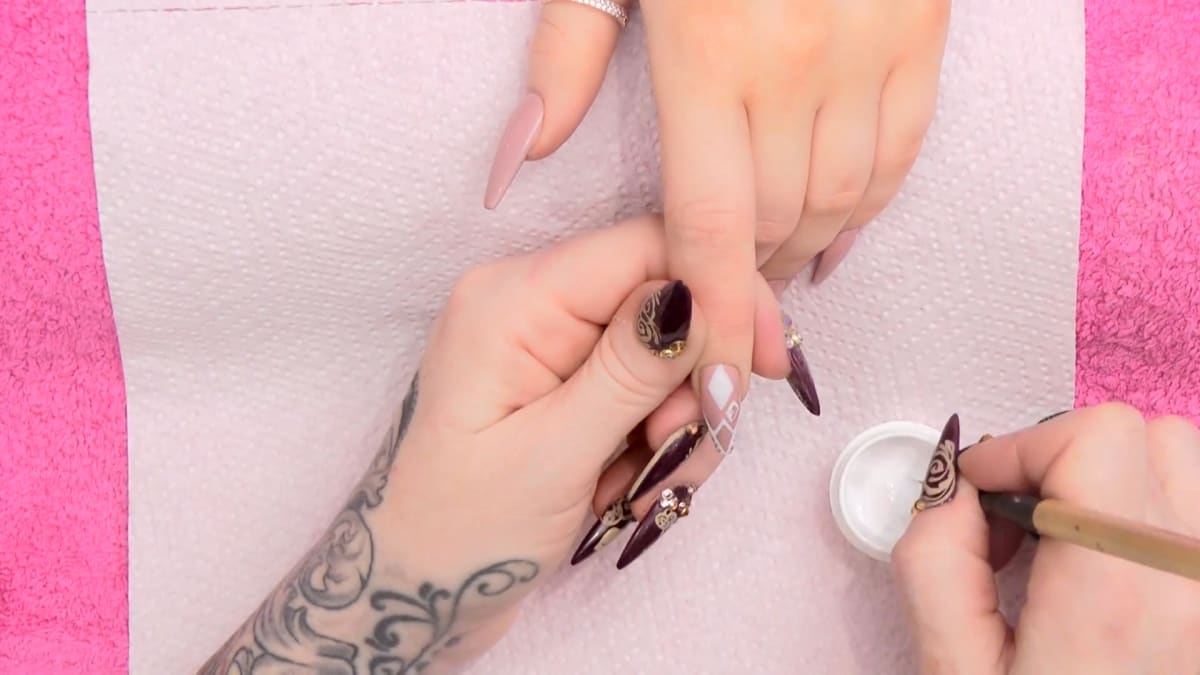
Pick up a bit of product and use it as an art medium. Create a diamond shape, stretch the product to fill it and keep it symmetrical. The gel stays where you put it. If there are transparent parts, hover over with more product to fill them in.
4. Mirror the design
Start one line on one side and bring it to the centre, then mirror it. Keep pulling the bulk of the product through so there are no thick and thin areas. Make an empty diamond with the lines you have just done, add small lines coming off the larger line, and create an abstract pattern.
5. Add small diamonds
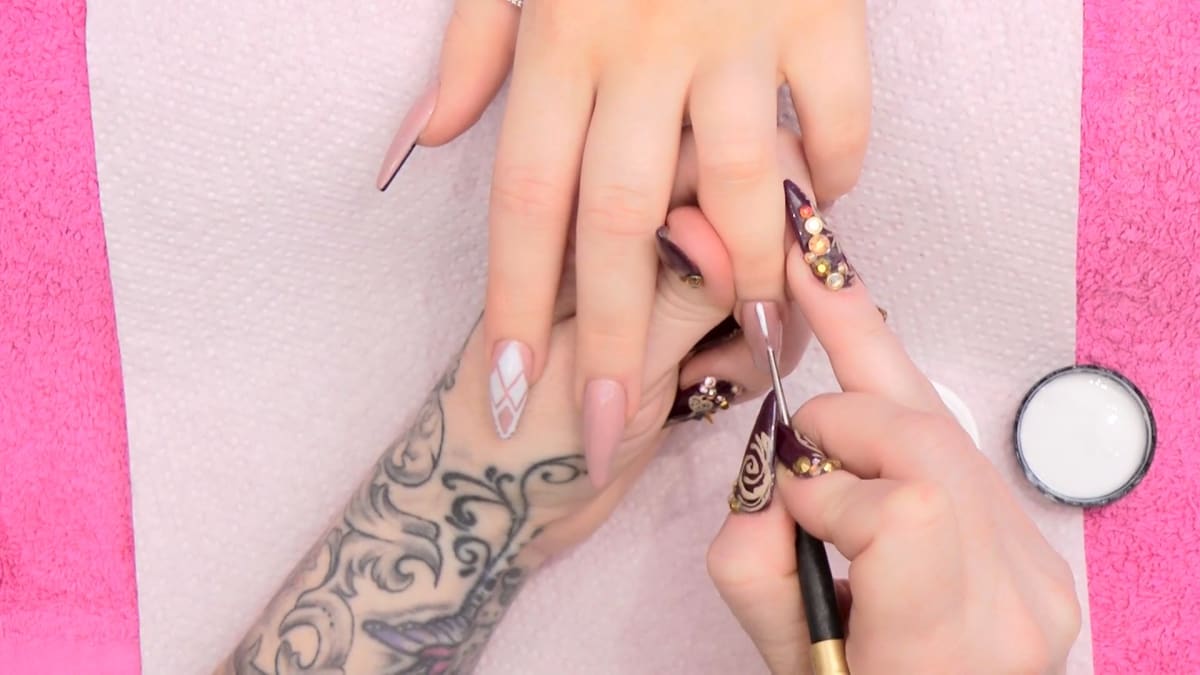
Add two smaller diamond shapes and fill them in, stretching the product with the tip of the brush so you stay in control. Mirror on the other side and check both sides.
6. Cure
Cure in a UV lamp for two minutes.
7. Follow the theme across the other nails
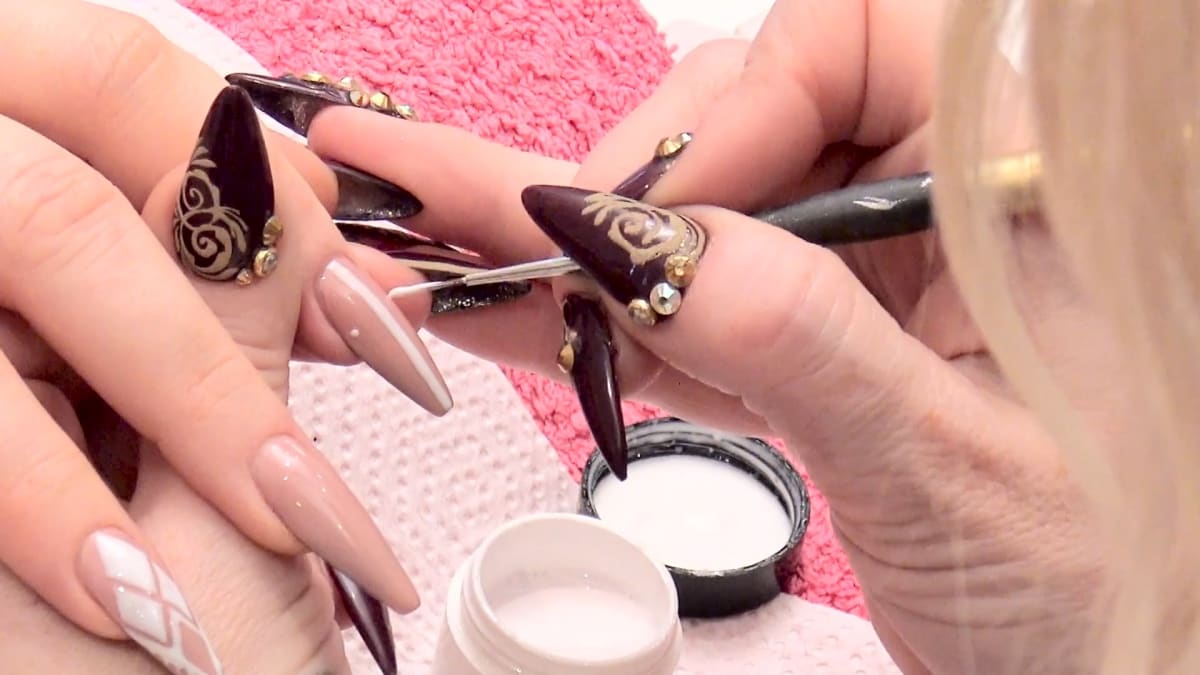
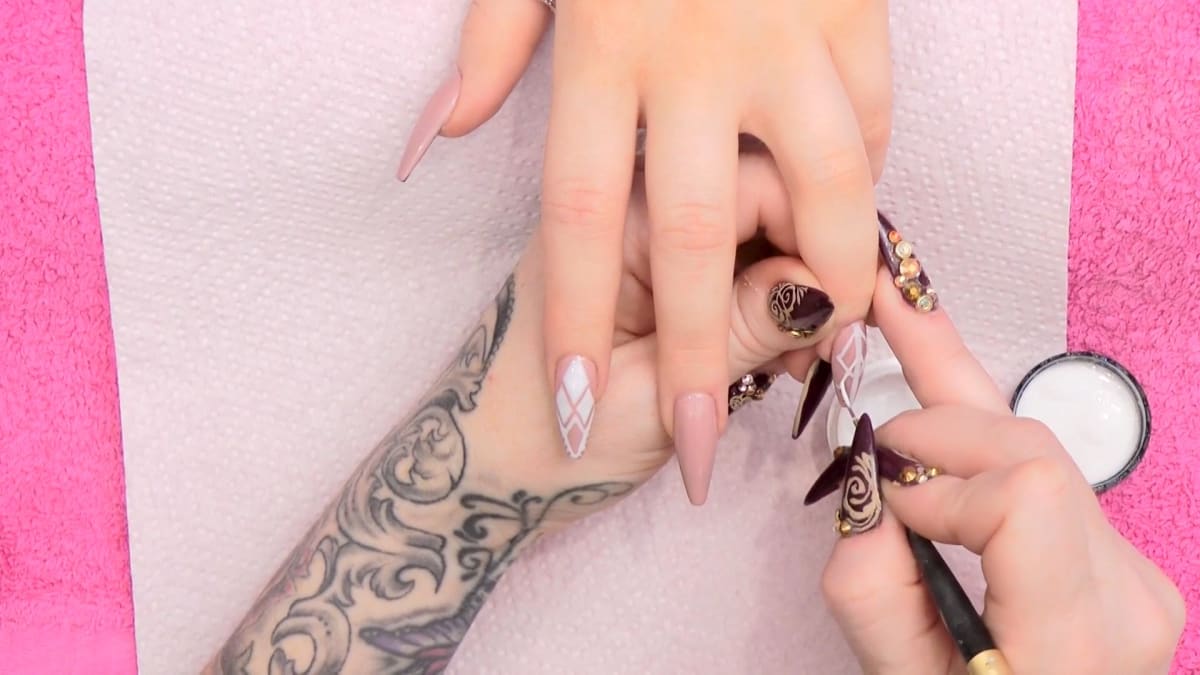
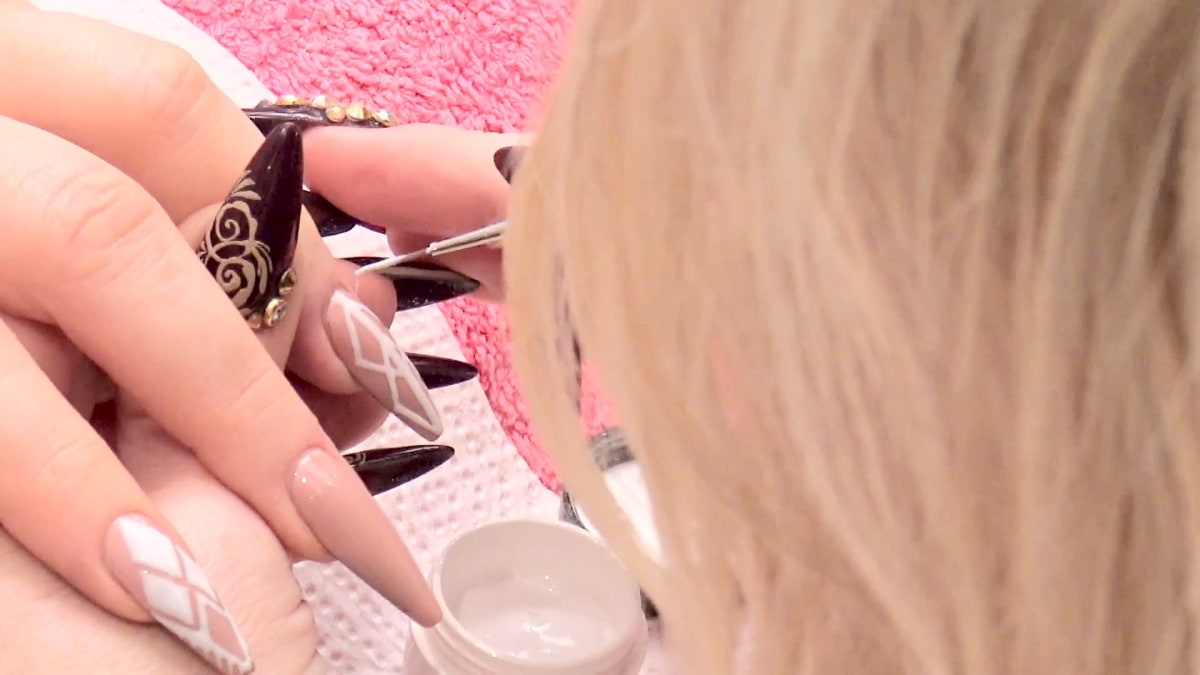
Do a straight line down the centre of the next nail, dragging the product down so the bulk is not at the top or bottom. Place a little dot on each side to see how far out the design can go, and draw lines from each dot to create a diamond, then down to the tip.
8. Check before curing
Check all the design areas. Because the gel is not cured you can wipe it off, move it around or add more. Cure for two minutes.
Pro Tips
- Keep separate brushes for gel and for acrylic paint.
- Pull the bulk of the product through to avoid thick areas.
- Mirror the design on both sides.
- Take advantage of playtime before curing.
Who Is This Design For?
Anyone who likes a bold, graphic nude nail design with room to add embellishments.
Ways to Make It Your Own
- Use a different nude shade.
- Change the diamond layout.
- Add studs and chain, as in Parts 2 and 3.
Aftercare
Use cuticle oil regularly to keep the skin around the nails comfortable.
Frequently Asked Questions
How do you make extreme nude nails with white diamonds?
Over a cured nude base, draw a diamond in white gel with a long detailing brush, stretch the product to fill it, mirror lines and smaller diamonds on each side, check the pattern and cure for two minutes.
Why use white gel?
For its strong pigment, used purely as an art medium.
Can I fix a mistake?
Yes. Before curing the gel is still moving, so you can wipe or adjust it.
Why keep separate brushes?
A brush that has had gel in is hard to use with paint, and vice versa.
How do I work out how wide the design can go?
Place a little dot on each side of the centre line, then draw lines from each dot to form the diamond.
How do I avoid thick and thin areas in the lines?
Keep pulling the bulk of the product through as you draw, so it is spread evenly along the line.
Give Extreme Nude Nails a Try
Watch the video above, then continue with Parts 2 and 3.


