



To make super easy flame nails, you draw the flame outline in a few simple strokes, a U-shape, a C shape and some curved lines, then join them up, fill the flame with white gel polish, cure, and brush neon powder over the top. In this tutorial Steffi breaks the flame into easy stages anyone can repeat.
The look is perfect for a 90s or early noughties set.
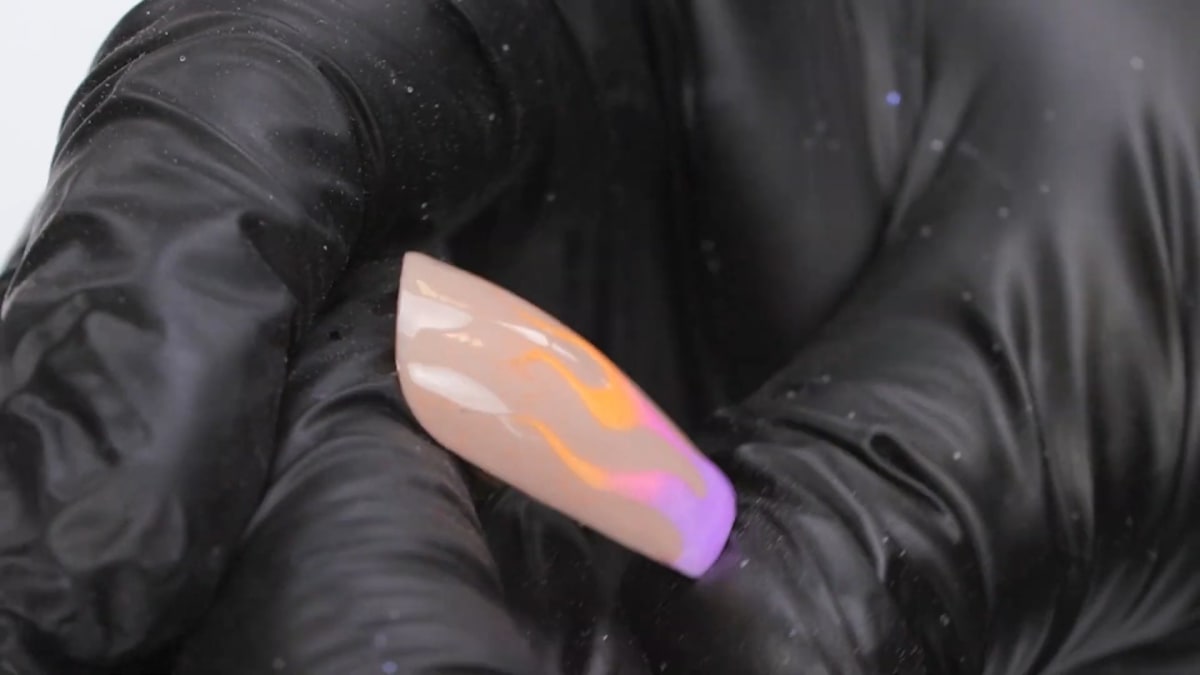
The neon powder over Snow White gives a stunning neon ombre flame effect. Below you'll find the products, each step with its place in the video, and Steffi's tips.
At a Glance
- Design: super easy flame nails with a neon ombre
- Artist: Steffi
- Technique: hand-painted gel polish flame with neon powder brushed over
- Skill level: Steffi says it is a lot easier than you think
- Key products: Blank Canvas, Snow White, neon powder, Ultra Fine Detail Brush - 0003, Urban Graffiti Top Coat
- Video length: about 9 minutes
Why You'll Love These Super Easy Flame Nails
- A flame broken down into a few easy stages
- A fun 90s and Y2K look
- Neon acrylic powder gives a bright ombre effect
- Easy for anyone to repeat
Why Breaking the Flame Into Stages Works
A flame looks complicated as a finished shape, but it is only a handful of curved lines. Steffi starts with a U-shape whose top two lines tilt slightly inward, adds a C shape beneath it, then a centre line and a line along the free edge. Two more curves that copy the U, with a small swirl at the end, give the side flames. Joining those lines and flicking the ends is what turns the guide into a flame.
Colour comes last. The flame is filled with Snow White and cured, so the neon powder brushed over it shows at full brightness. That white layer is what makes this flame nail art glow.
Products Used in This Video


How to Create Super Easy Flame Nails
1. Paint a U-shape
Paint a U-shape with the top two lines tilting slightly inward. Do the same on the other side. Watch this step at 2:00
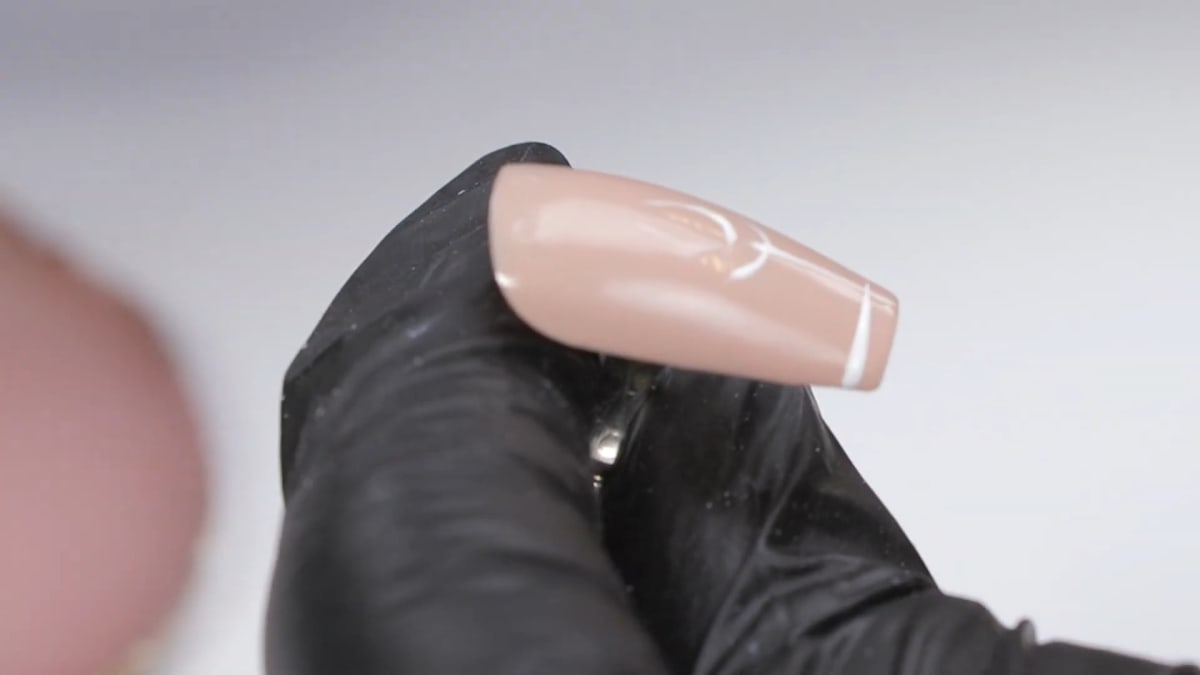
2. Add a C shape
Paint a C shape just under, parallel to the U. These are the first two stages. Watch this step at 2:30
3. Add the centre and edge lines
Drag a line from the middle all the way down, then add a line parallel to the free edge of the nail. Watch this step at 3:30
4. Copy the curve
Add two more lines that copy the curve of the U, one long and one short, with a little swirl at the end on each side. Watch this step at 4:00
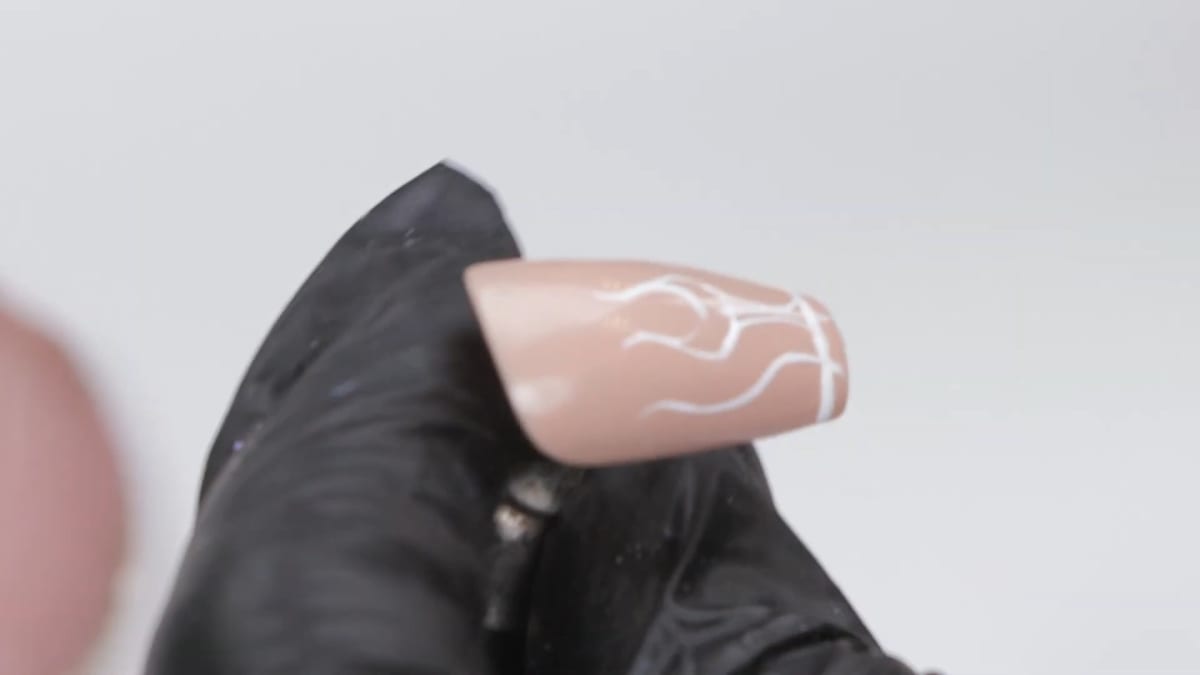
5. Join and flick
Join up the lines and create a flick at the end. Flip the brush and flick outwards, then do the same on the side lines. Watch this step at 4:30
6. Thicken and fill
Thicken the rest of the flame as you fill it in, making sure it does not go straight down to the line drawn earlier, so it curves and looks natural. Fill the flame with Snow White and cure. Watch this step at 5:00
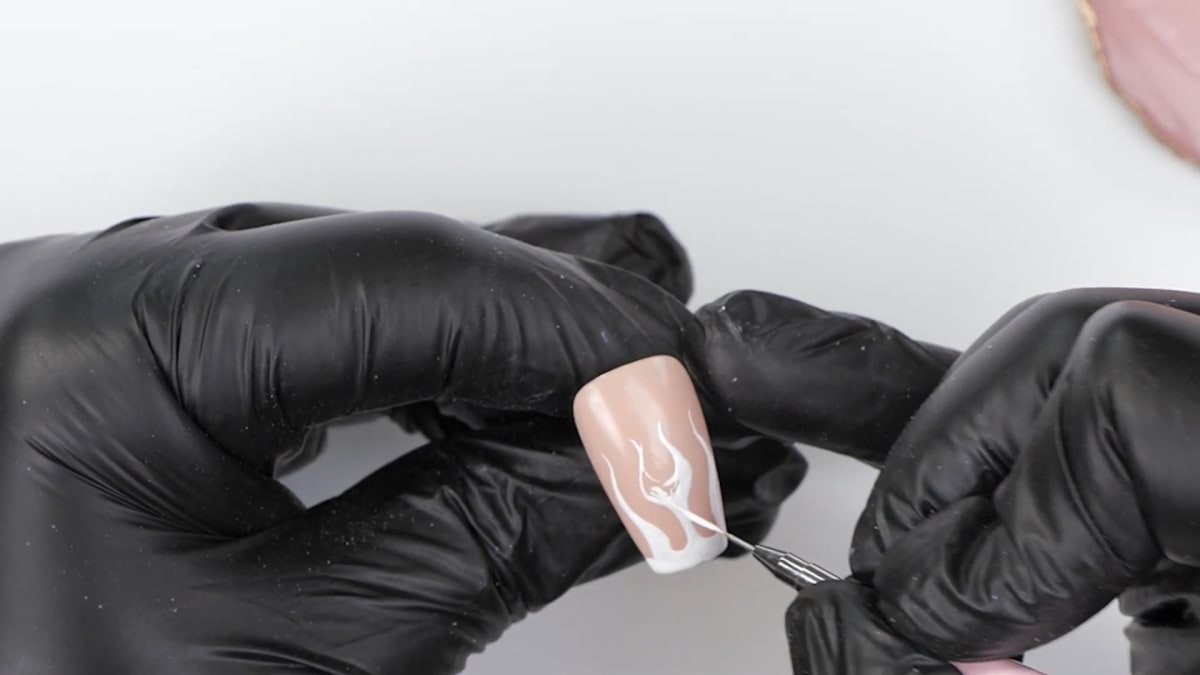
7. Add the neon acrylic powder
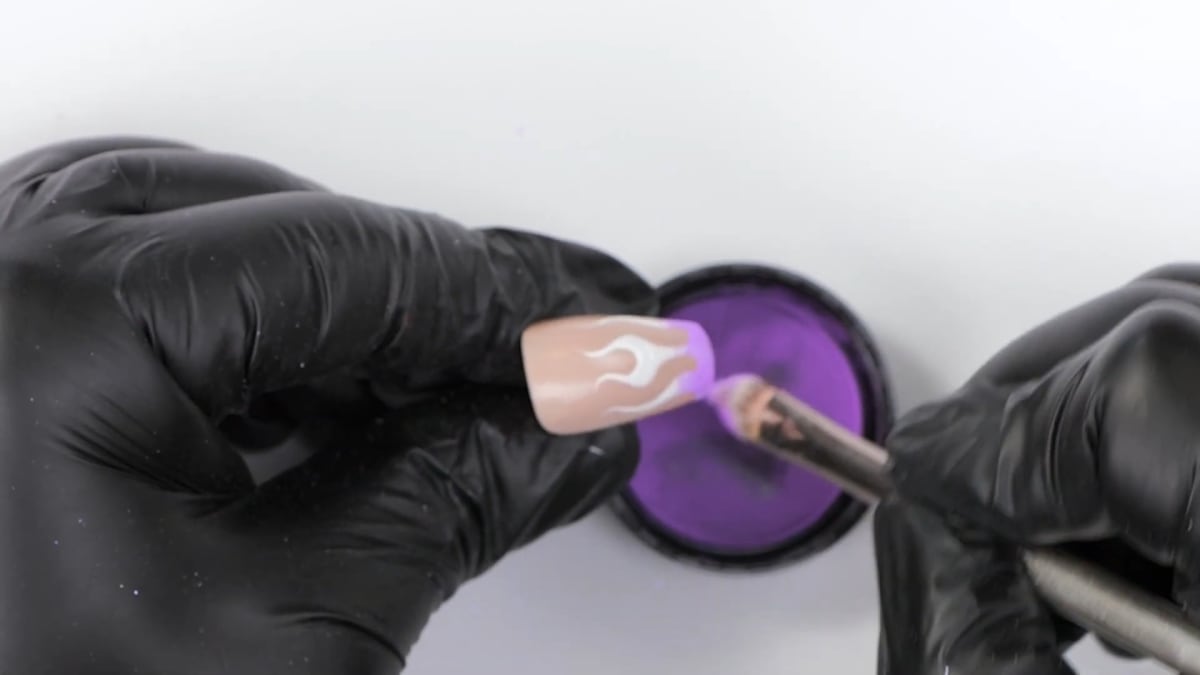
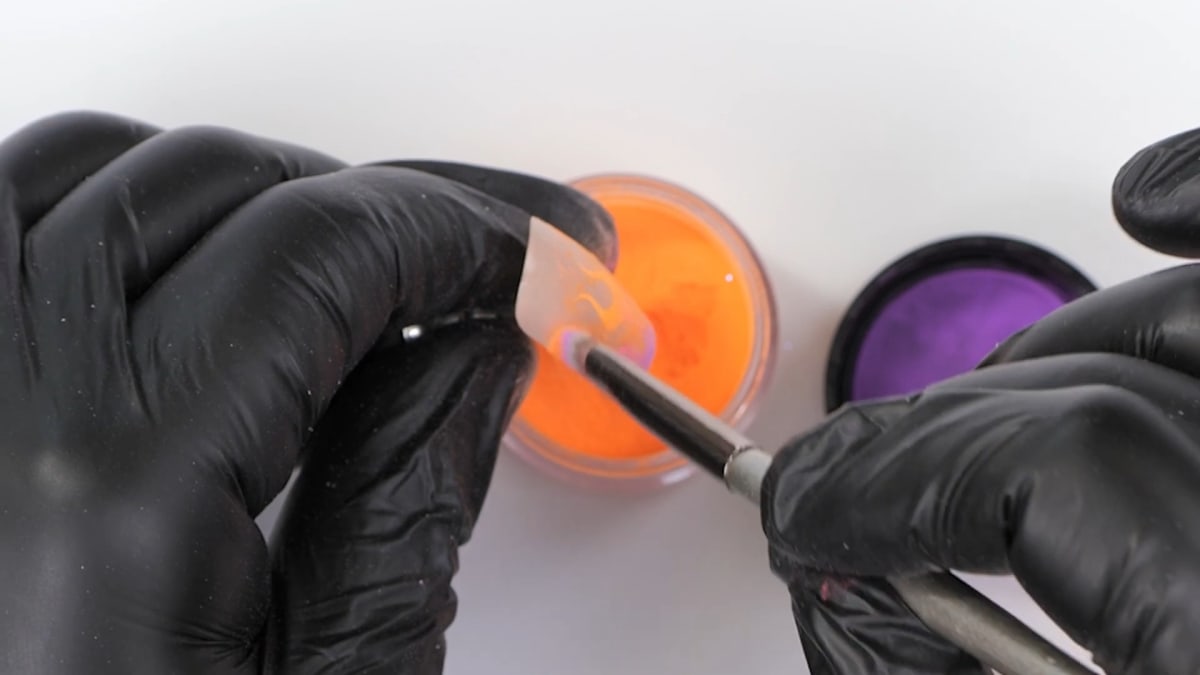
Brush neon acrylic powder over the flame for the neon ombre effect, dust off the excess and finish with top coat. Watch this step at 6:00
Where to find each stage of the Super Easy Flame Nails video
| Stage | Time |
|---|---|
| U-shape | 2:00 |
| C shape | 2:30 |
| Centre and edge lines | 3:30 |
| Copying the curve | 4:00 |
| Joining and flicking | 4:30 |
| Thickening and filling with white | 5:00 |
| Neon powder and top coat | 6:00 |
Pro Tips
- Curve the flame so it looks natural.
- Make the flames different lengths.
- Thicken and fill the flame at the same time.
- Practise on a nail with a random base colour so you can see the shape better.
Who Is This Design For?
This design is for anyone who loves 90s or Y2K looks, and beginners who want an easy way to paint flames. If 90s Y2K nails are on your list, this is a simple place to start.
Ways to Make It Your Own
- Choose different neon powder colours
- Change the base colour
- Paint the flame on every nail
Aftercare
Keep your cuticles moisturised with oil daily and avoid using your nails as tools to protect the finish on your super easy flame nails.
Frequently Asked Questions
How do you paint super easy flame nails?
Paint a U-shape and a C shape, add a centre line, an edge line and two curves, join them up with flicked ends, fill with Snow White, cure, then brush neon powder over the flame and top coat.
Is it hard to paint a flame?
Steffi says it is a lot easier than you think, once you break it into stages.
How do you get the ombre effect?
Fill the flame with Snow White, cure, then apply neon acrylic powder over it.
What era is this look from?
It is perfect for 90s and early noughties looks.
How do you make the flame look natural?
Keep it curved instead of taking it straight down, and make the flames different lengths.
What is the best way to practise?
Practise on a nail with a random base colour so you can see the shape better.
Give Super Easy Flame Nails a Try
Watch the nail art tutorial above, then give it a go and share your results.


