



Under the sea nails are a full five-nail look with beaded chain, pearls and tiny beads fixed to each nail, then coloured over in a sponged blue ombre and finished matte. Kirsty Meakin from Naio Nails attaches the embellishments with acrylic, sponges the colour across everything, seals with a matte top coat and adds fine white details at the end.
The clever part of this matte embellishment nail design is that the embellishments are painted along with the nail, so they read as texture rather than jewellery. The set includes the wavy cutout nail from a related video.
Below is each stage in order, with the time to watch it in the video.
At a Glance
- Design: textured embellishments under a matte blue ombre
- Artist: Kirsty
- Season: summer
- Technique: 3D embellishment, sponged ombre, matte top coat
- Format: a full set of five nails, including a wavy cutout nail
- Cure time: 30 seconds, then one minute, for the two matte coats
- Key products: beige acrylic powder, Dotting Tool, blue and white gel polish, Gel Residue Remover, Cuticle Oil
- Video length: about 13 minutes 25 seconds
Why You'll Love These Under the Sea Nails
- Any colour of embellishment works because it all gets coloured
- Sponged ombre reaches every nook and cranny
- Matte finish for a different look
- Works with the wave cutout nail
Why Every Edge Has to Be Capped
The colour in this design sits on top of beads, pearls and chain, with lots of tiny edges. The matte gel top coat is what holds that colour in place, and it only protects what it actually covers. Anything left unsealed comes away when the sticky layer is wiped off.
So Kirsty applies two coats of matte top coat, the first cured for 30 seconds and the second for one minute, and caps the edge of the nail and every single embellishment. The sponge helps earlier on for the same reason: dabbing pushes colour into nooks a brush would skip.
Products Used in This Video


How to Create Under the Sea Nails
1. Fix the embellishments
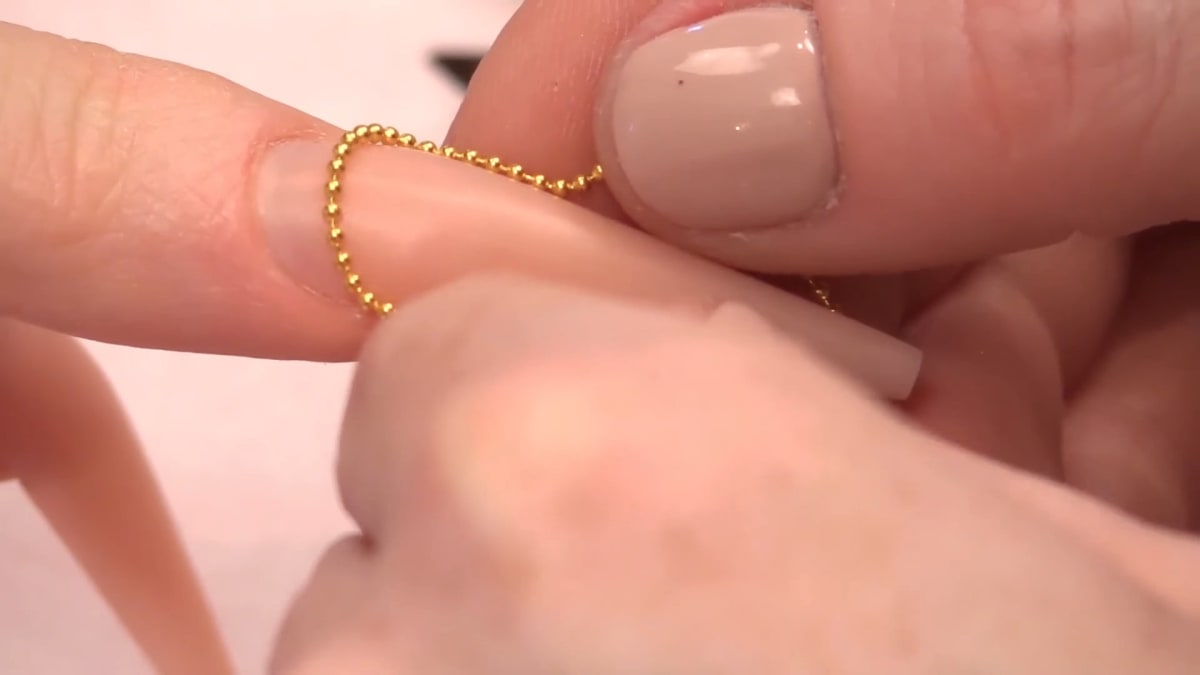
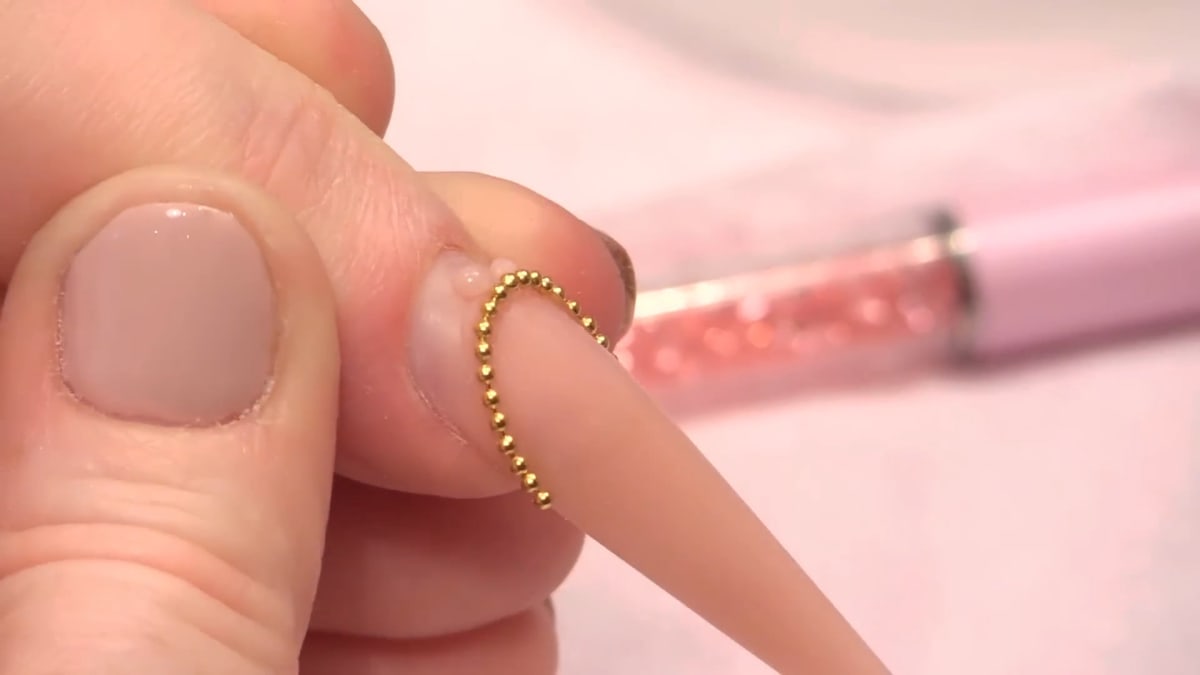
Start with a bit of beaded chain that sits close to the cuticle but not all the way. Measure it, cut it with old cuticle nippers and sit it on a little acrylic made with a fast liquid so it sets quickly. Do the middle first because it makes the rest easier to attach. Watch this step at 1:10
2. Add beads and pearls
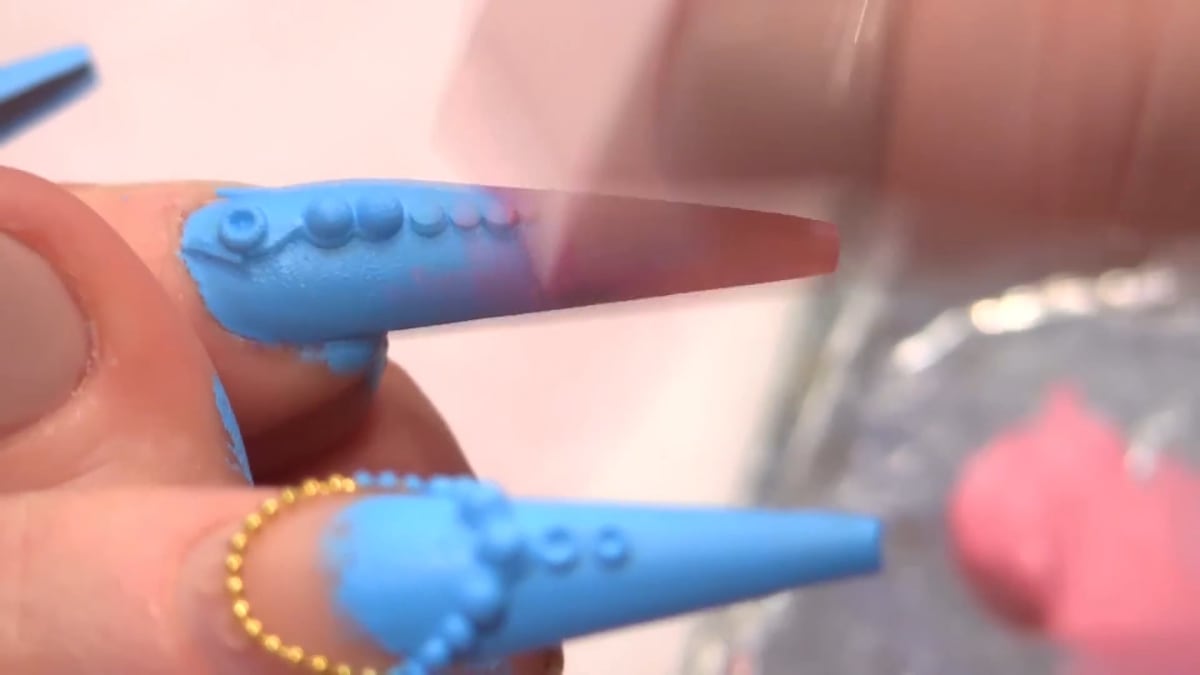
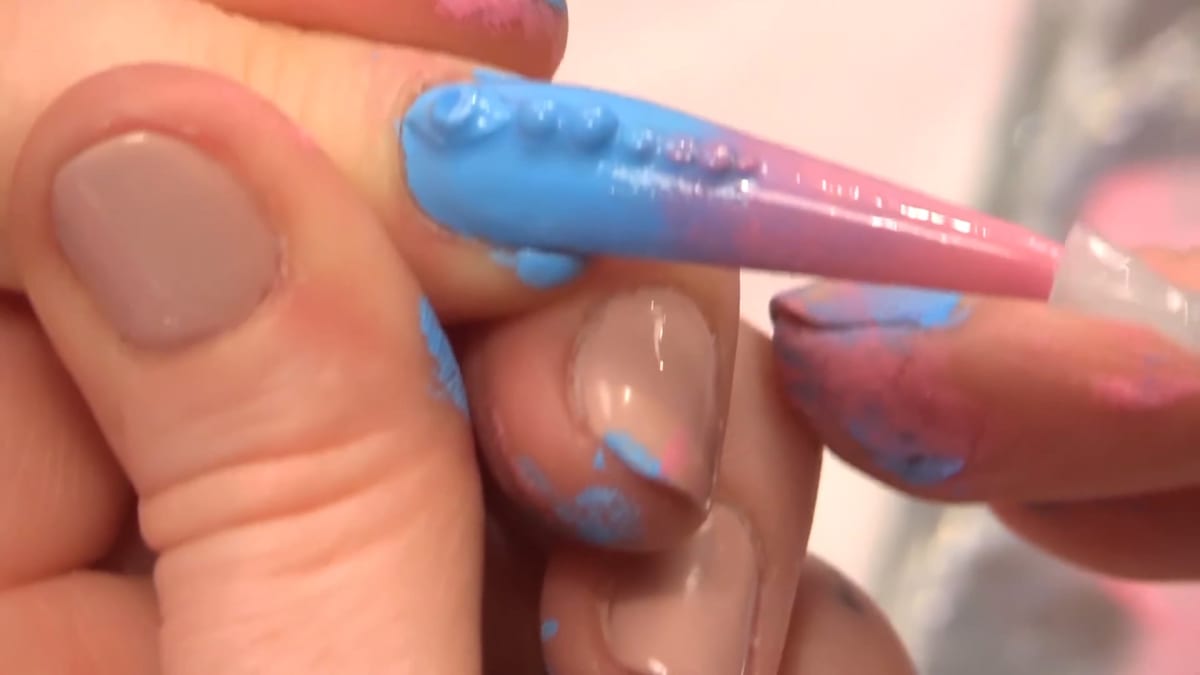
With a 3D brush, pick up tiny beads of Natural Beige acrylic and pop them equally at the back, pressing in with the Dotting Tool. Add pearls and small beads, check the position before they set and remove any excess acrylic. Watch this step at 7:50
3. Sponge the colour
Use a make up sponge to sponge Icy Blizzard just over halfway on the nails, taking care around the cuticle, then blend with Azure using a dry part of the sponge to get the ombre effect. Cure in thin layers.
4. Seal with matte top coat
Seal with a matte gel top coat, a UV and LED gel. Do two coats, the first for 30 seconds and the second for one minute, capping the edges of the nail and every embellishment, because anything not sealed is removed when you wipe off the sticky layer.
5. Wipe and detail
Wipe with Gel Residue Remover. Add fine details with the Ultra Fine Detail Brush, then enhance the cut out shapes with Snow White and freehand little commas, curing each thin layer. Watch this step at 10:50

6. Seal and finish
Seal with the matte top coat again and cure for one minute. Oil the cuticles, massage in, then wipe over with Gel Residue Remover to remove excess oil so the matte effect shows. Watch this step at 12:20

Where to find each stage of the under the sea nails video
| Stage | Time |
|---|---|
| Fixing the beaded chain | 1:10 |
| Attaching more chain | 2:50 |
| 3D beaded texture | 7:50 |
| Pearl bead details | 9:20 |
| Painting the fine details | 10:50 |
| Finished design | 12:20 |
Pro Tips
- Fix the middle embellishment first.
- Cap every edge when sealing.
- Wipe off excess cuticle oil to keep the matte finish.
Who Is This Design For?
Anyone who likes 3D texture and ocean inspired nails. Under the sea nails are a good project if you have odd pearls and bits of chain in mismatched colours, because the sponged ombre covers them all.
Ways to Make It Your Own
- Pick your own colours for the ombre
- Use any shapes as embellishments
Aftercare
Oil the cuticles, then wipe the nail so the matte finish stays.
Frequently Asked Questions
Does the embellishment colour matter?
No, because everything gets coloured.
How long do you cure the matte coat?
30 seconds for the first coat and one minute for the second.
Will cuticle oil ruin the matte finish?
It can, so wipe the excess off with Gel Residue Remover.
How do you get colour into all the gaps around embellishments?
Sponge it on with a make up sponge, which reaches every nook and cranny.
How do you attach beaded chain to a nail?
Measure it, cut it with old cuticle nippers and sit it on a little acrylic, starting with the middle piece.
Why cap every embellishment with top coat?
Anything not sealed is removed when you wipe off the sticky layer.
Give Under the Sea Nails a Try
Watch the video above and follow along with Kirsty to make your own.


