



To make vertical French ombre nails, you blend two colours side to side down the nail, then paint a French tip over the top with the same two colours swapped over, so light sits against dark. In this tutorial Steffi makes the blending easy by first giving the nail a rough surface with clear acrylic powder.
It is the on-trend vertical ombre in a French design, and the ombre blending hack at the start is what gives the smooth transition.
Steffi paints a base of Mystic Breeze, adds the powder, then blends Mystic Breeze and Aviation with an ombre brush before copying the ombre in reverse across the tip. Below you'll find the products, each step with its place in the video, and her tips.
At a Glance
- Design: vertical French ombre nails with a reversed tip
- Artist: Steffi
- Technique: gel polish ombre blended over a sugared acrylic powder surface
- Key products: Mystic Breeze, Aviation, Crystal Clear Acrylic Powder, Ombre Brush, Ultra Fine Detail Brush - 0003, Urban Graffiti Top Coat
- Video length: about 10 minutes
Why You'll Love These Vertical French Ombre Nails
- A rough surface makes the colours blend smoothly
- A clever optical illusion with the colours reversed at the tip
- A bang on trend vertical ombre
- Only a few products needed
How the Rough Surface Hack Works
Gel polish slides on a smooth, cured surface, which is why wet blending can turn streaky. Steffi's fix is to make the surface rough before she starts. She paints one layer of Mystic Breeze, pours clear acrylic powder over it while it is wet, cures it and dusts off the excess.
What is left is a sugared, gritty layer. When the two colours are painted over it, the gel soaks in instead of sliding, so an ombre brush can wiggle them together into a smooth fade. As Steffi puts it, there are fewer places for the colour to hide.
Products Used in This Video


How to Create Vertical French Ombre Nails
1. Paint the base layer
Apply one even layer of Mystic Breeze over the whole nail. This is only a base layer for the ombre. Watch this step at 0:40
2. Make a rough surface
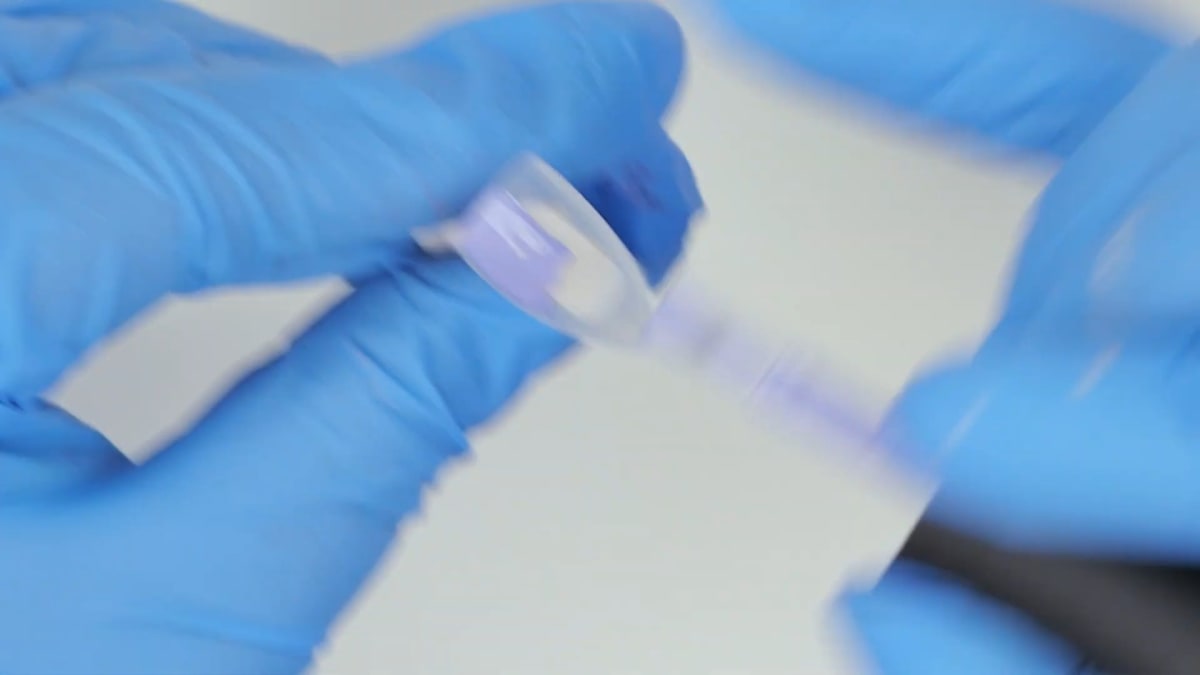
Pour clear acrylic powder all over the nail, tap off the excess, add a little more to cover it all, then cure. Dust off the excess to leave a really rough surface that makes blending easy. Watch this step at 1:50
3. Paint both colours
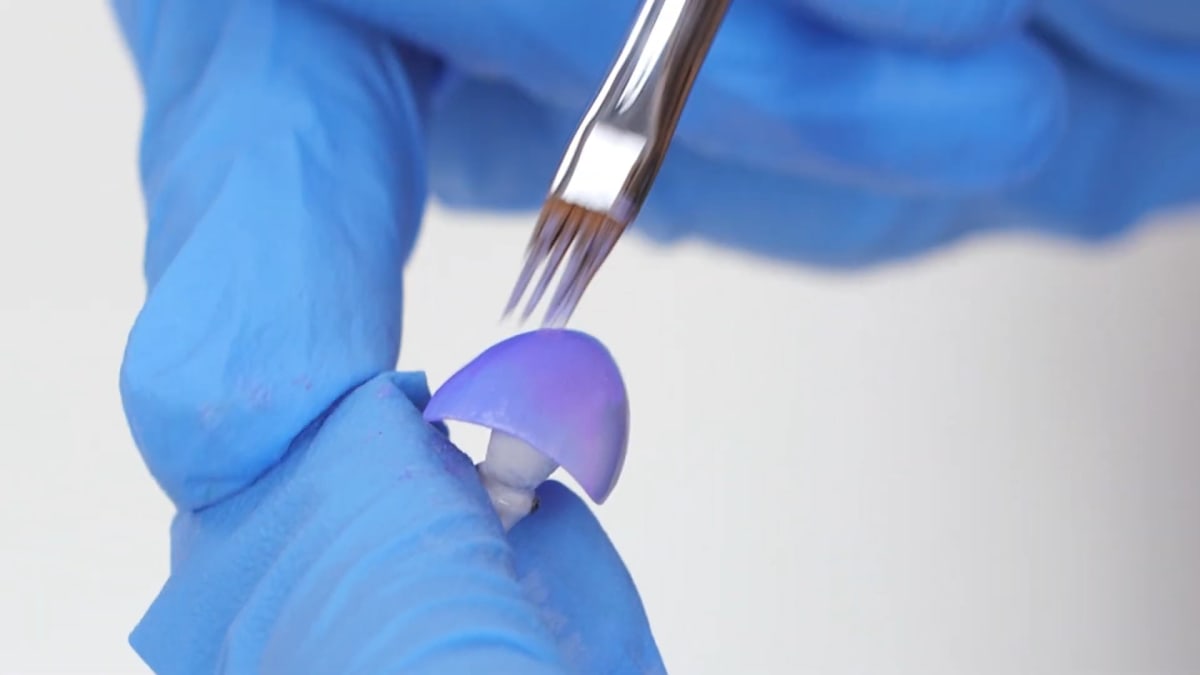
Apply Mystic Breeze on one side of the nail and Aviation, a gorgeous darker purple, on the other. Watch this step at 5:20
4. Blend the ombre
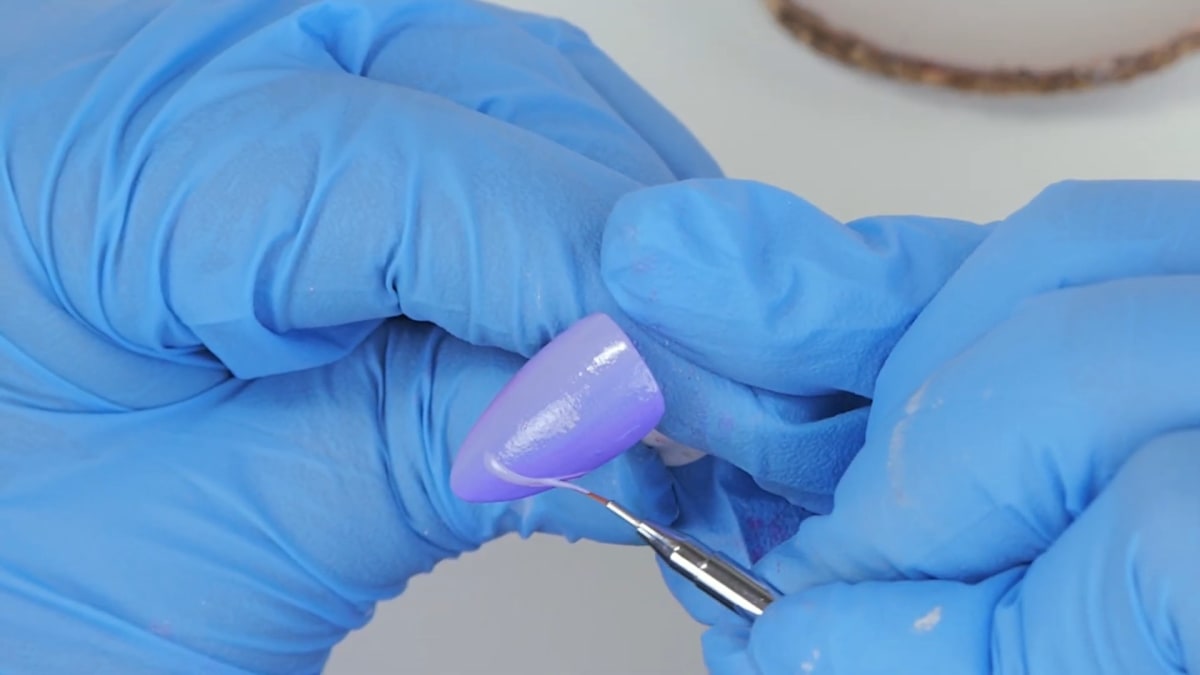
Clean off the brush and use an ombre brush to wiggle from side to side in the middle, then brush back and forth. Keep layering until the transition is smooth, wiping the brush between strokes, then cure. This gives you the vertical ombre the French tip will sit on. Watch this step at 6:40
5. Reverse the colours for the French
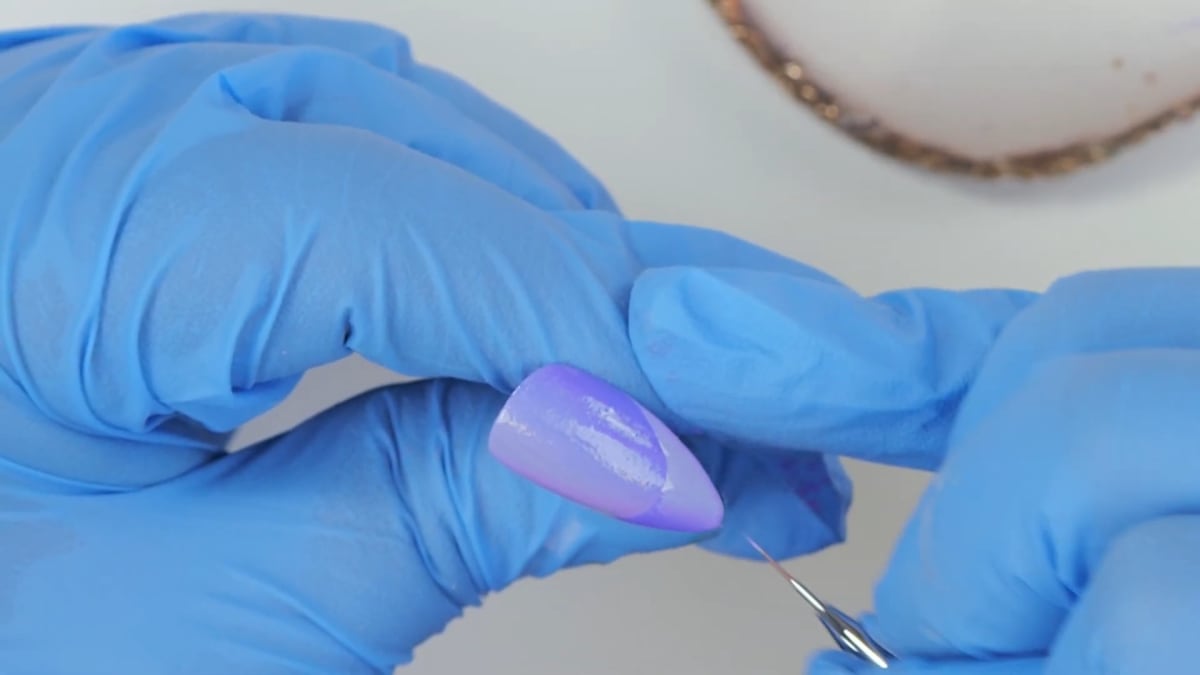
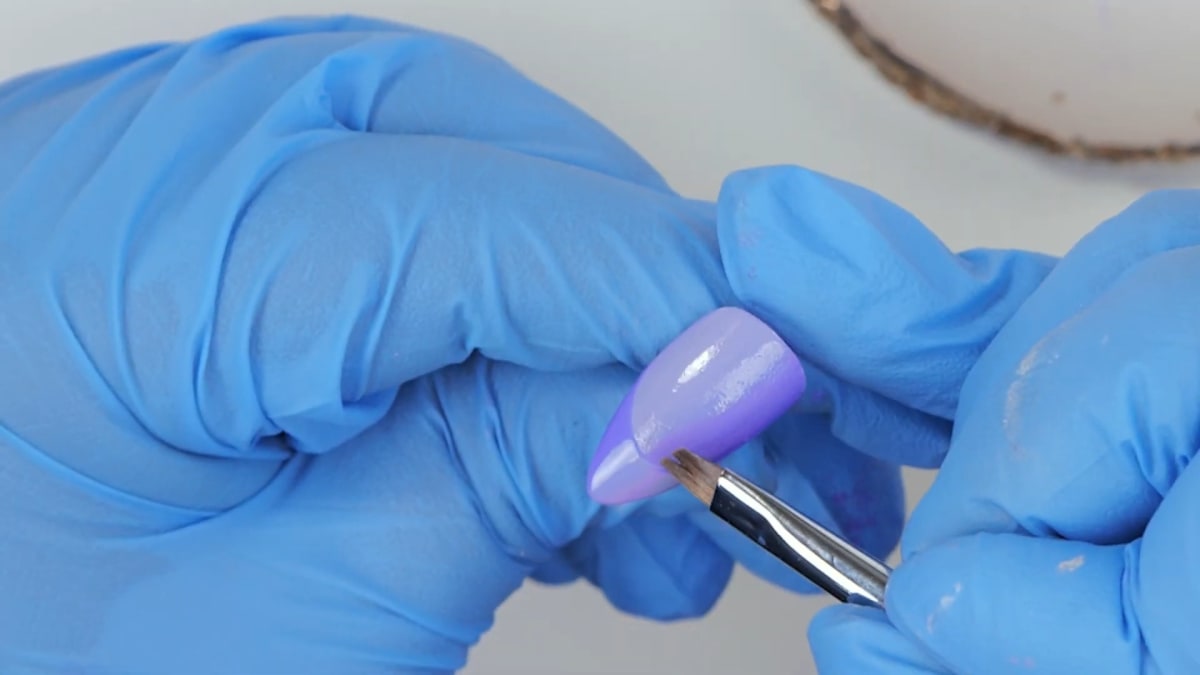
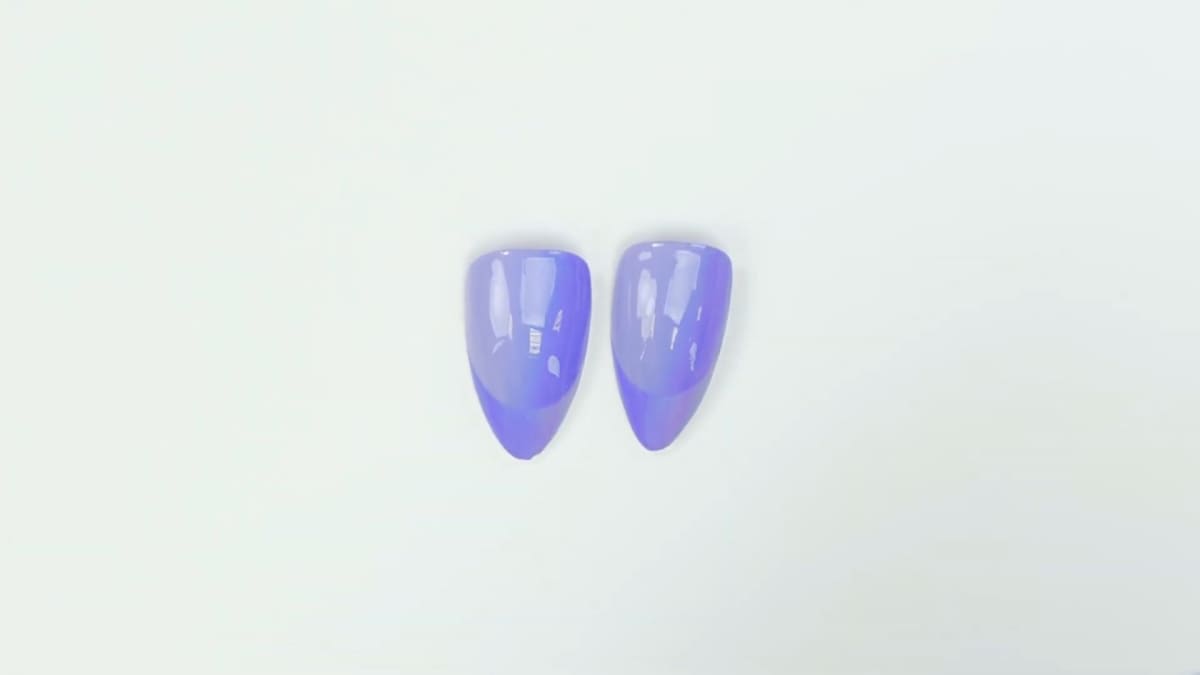
Use the detail brush to paint a smile line with the lighter colour and pull it down, then paint the darker colour on the other half. The colours are swapped to create an optical illusion. Watch this step at 7:50
6. Blend and clean up
Mix both colours in small sideways strokes with the detail brush, cleaning the brush in between, then clean up the edges and finish with the top coat. Watch this step at 9:25
Where to find each stage of the Vertical French Ombre Nails video
| Stage | Time |
|---|---|
| Mystic Breeze base layer | 0:40 |
| Acrylic powder rough surface | 1:50 |
| Painting both colours | 5:20 |
| Blending the ombre | 6:40 |
| Reversed French tip | 7:50 |
| Blending the tip, clean up and top coat | 9:25 |
Pro Tips
- The blend is much smoother on a rough nail, because the colour can soak in rather than slide on a smooth surface.
- Clean the brush in between strokes so you do not ruin the blend.
- Work in a small section with the detail brush to blend the French.
Who Is This Design For?
This design is for anyone who wants a trendy vertical ombre with an easier way to blend. If a standard ombre French tip has always come out patchy for you, the rough surface is worth trying.
Ways to Make It Your Own
- Choose two other colours
- Swap which colour goes on which side
- Use the same method for a full vertical ombre without the French
Aftercare
Keep your cuticles moisturised with oil daily and avoid using your nails as tools to protect the finish on your vertical French ombre nails.
Frequently Asked Questions
How do you do vertical French ombre nails?
Blend two colours side to side down the nail and cure. Then paint the French tip with the same two colours on opposite sides, blend them with a detail brush and top coat.
Why make the nail rough?
Steffi says there are fewer places for the colour to hide, so it blends more easily.
How do you make the rough surface?
Pour clear acrylic powder over one wet layer of gel polish, tap off the excess, cure, then dust off what is left.
What colours does Steffi use?
Mystic Breeze and Aviation, a darker purple.
Why are the colours reversed at the tip?
Swapping them puts light against dark along the smile line, which creates an optical illusion.
Is it easier with acrylic?
Steffi says it is super easy because the colours blend in well.
Give Vertical French Ombre Nails a Try
Watch the nail art tutorial above to see the blend, then try vertical French ombre nails on your own set.


