



Christian Louboutin logo nails feature the famous red shoe print, painted entirely in gel polish on a nude nail with a red underside. Kirsty Meakin from Naio Nails paints the print as two simple teardrops with a detail brush, gives it a second coat, then frames the nail in black and seals it.
This follows on from the nude Louboutin nail to complete the whole look. The set mixes nude nails with a red underside and black versions, because the black Louboutin is a timeless favourite. The shoe print nail art is simple, and that simplicity is what makes it look so cool.
Here is each stage in order, with the time to watch it in the video.
At a Glance
- Design: a red shoe print with a black frame on a nude nail
- Artist: Kirsty
- Technique: gel polish painted with a detail brush
- Base: a nude nail with a red underside
- Skill level: easy enough for confident beginners with a detail brush
- Key products: red and black gel polish, Ultra Fine Detail Brush, Top Coat, Gel Residue Remover, Cuticle Oil
- Video length: about 7 minutes
Why You'll Love These Christian Louboutin Logo Nails
- Easy teardrop shapes make the shoe print
- Red underside just like the real shoes
- A black frame slims the nail and makes it stand out
- Works with a full set of nude and black nails
How the Shoe Print Is Built
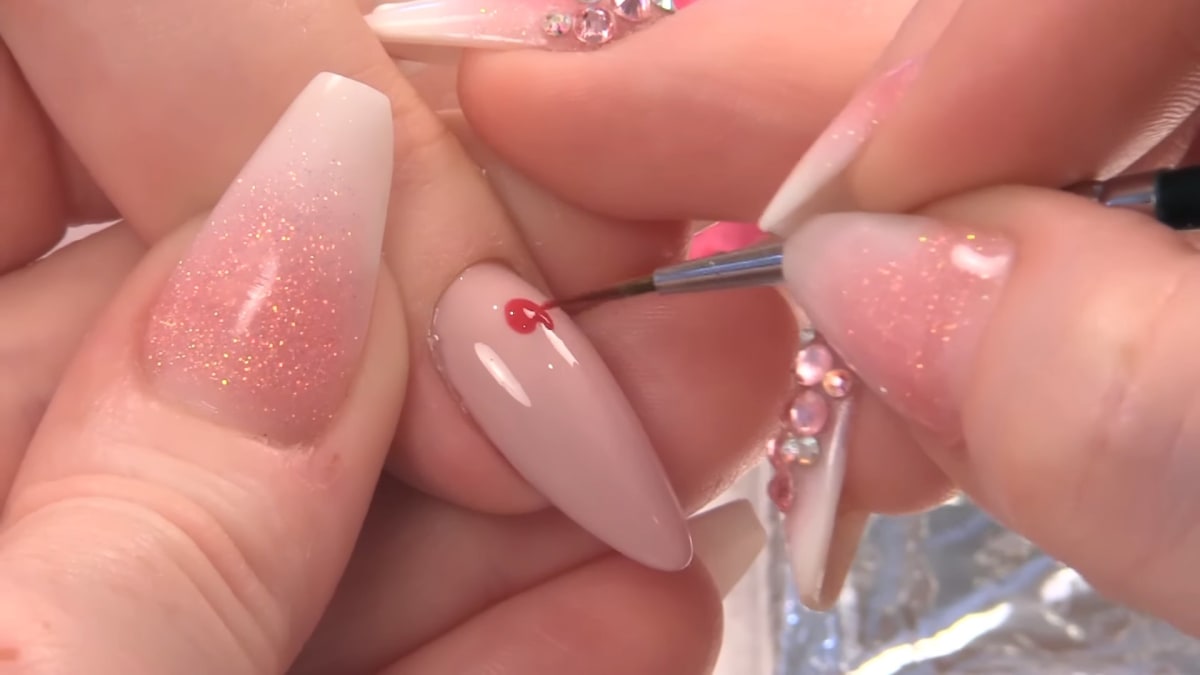
The print is two teardrops. A small one sits at the back of the nail towards the cuticle for the heel. A big, fat one sits in front of it, and its end is pulled into a point for the toe of a pointed shoe. Seen together they read instantly as a sole.
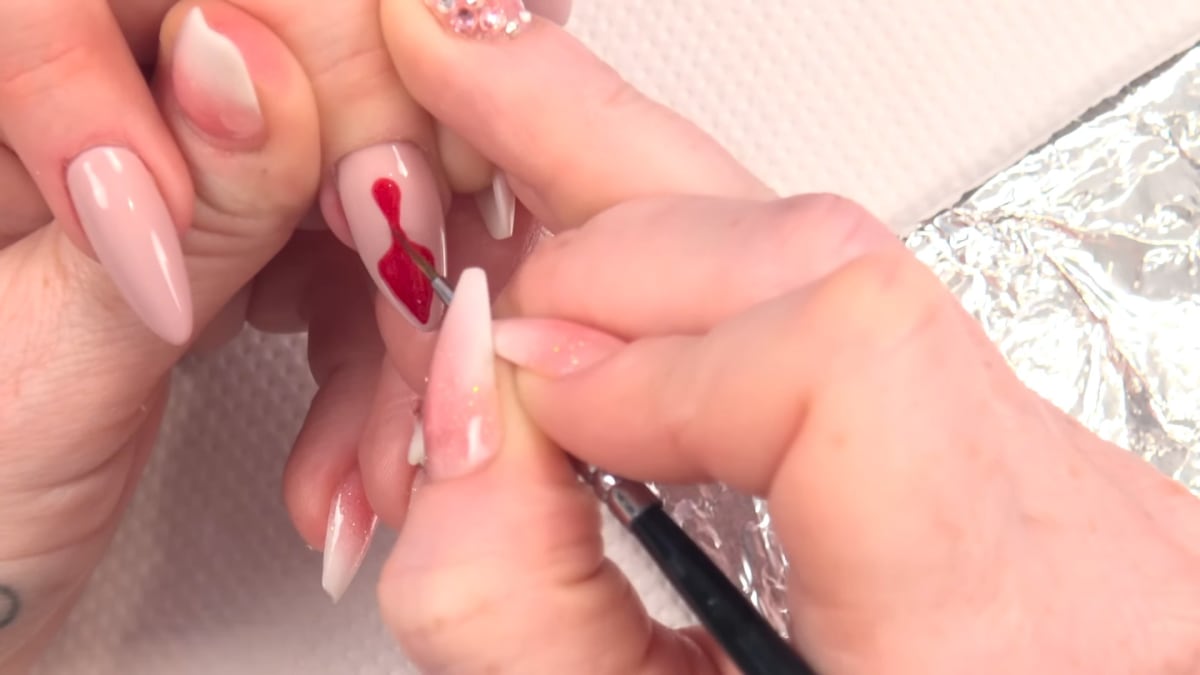
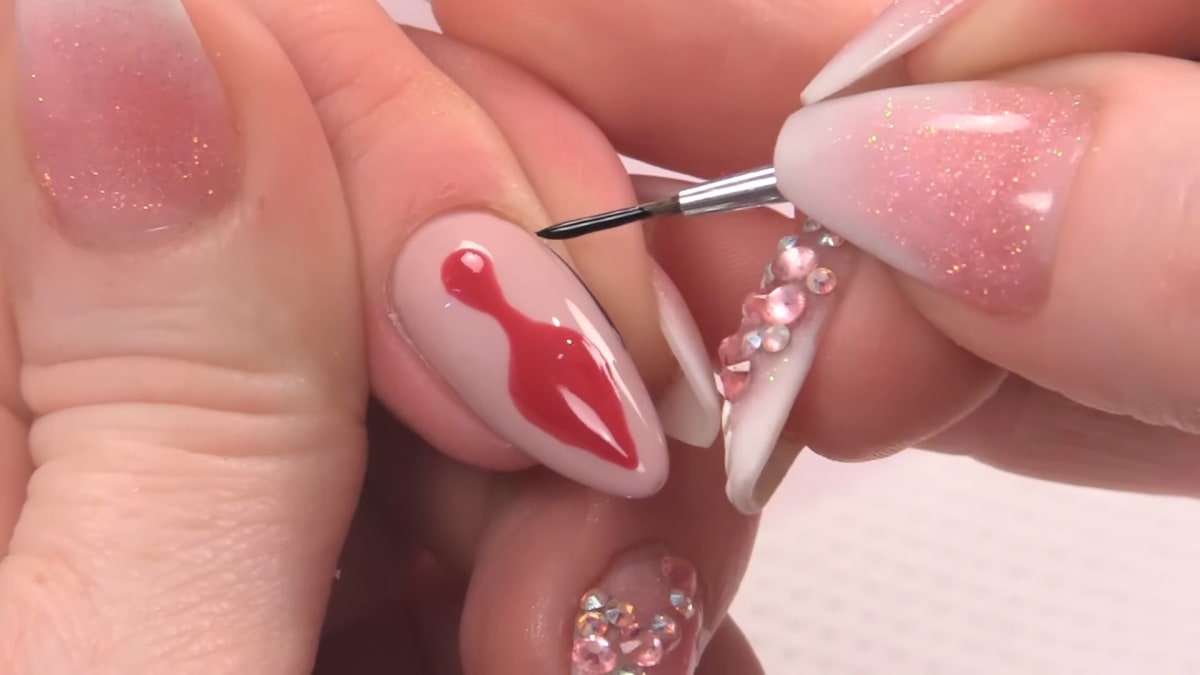
The first coat sets the shapes and the second makes the red solid, and it is also the moment to correct anything uneven. The black frame then does two jobs: it ties the nail to the black nails in the set, and it slims the nail so the print stands out.
Products Used in This Video


How to Create Christian Louboutin Logo Nails
1. Clean the nail
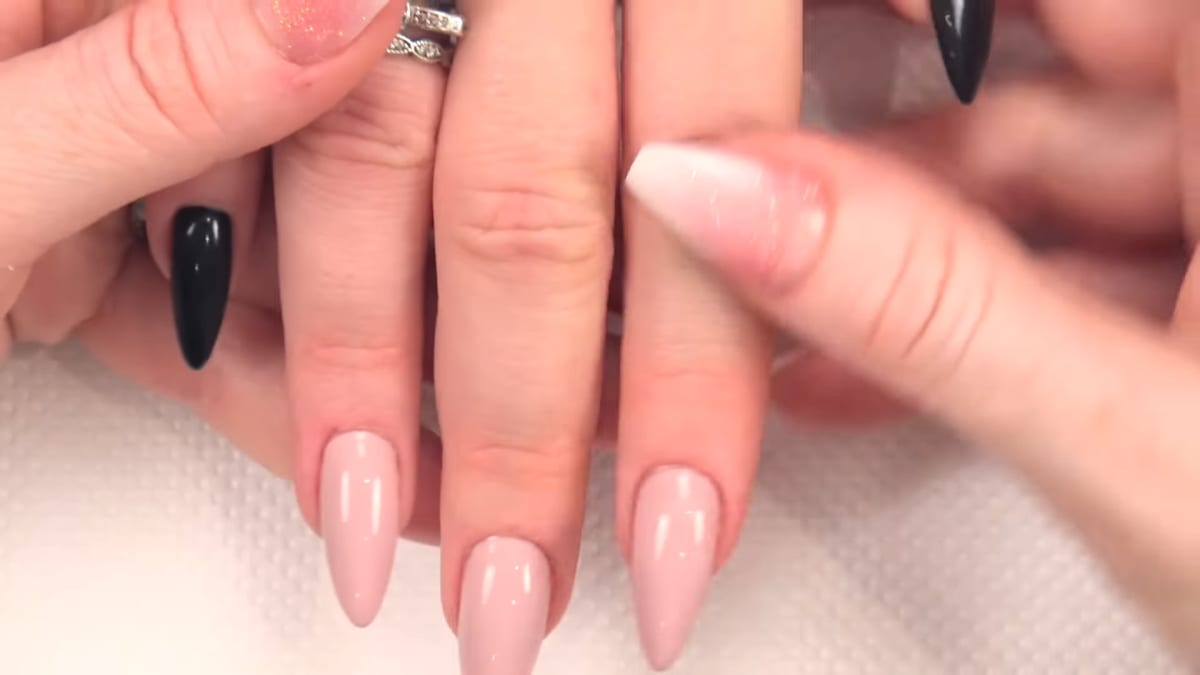
Start on a nude nail with a red underside and clean it with Gel Residue Remover so it is ready for artwork. Watch this step at 0:25
2. Paint the shoe print
Put a little Fire Cracker on a foil palette and use a detail brush. Paint a small teardrop for the heel at the back of the nail towards the cuticle, then a big fat teardrop, and make the larger one into a point. This creates the print of a pointed shoe. Cure in the lamp. Watch this step at 1:55
3. Add a second coat
Apply a second coat to give the colour more depth and make it solid. This is the point to rectify any shape issues. Cure in the lamp. Watch this step at 2:40

4. Frame the nail in black
Put Serious Black on the brush and create a border around the nail. This ties in with the black nails in the set, slims the nail and makes it stand out. Take your time, check it is symmetrical and that the very tip is covered. Cure in the LED lamp for one minute. Watch this step at 4:20
5. Clean and seal
Clean off the sticky layer first so no colour residue smears onto the nude, then seal all the way round with Top Coat, including the edges. Cure for one minute in the LED lamp.
6. Finish
Remove the sticky layer with Gel Residue Remover and rub cuticle oil in all the way round. Slightly buff the underside to remove any colour that went underneath, then turn the hand over to reveal the red underside and the shoe print. Watch this step at 6:10

Where to find each stage of the Christian Louboutin logo nails video
| Stage | Time |
|---|---|
| The clean nude nail | 0:25 |
| Painting the shoe print | 1:55 |
| Second coat | 2:40 |
| Refining the shape | 3:30 |
| Black frame | 4:20 |
| Finished set | 6:10 |
Pro Tips
- Keep the shapes simple, as the simplicity looks cool.
- Use the second coat to correct the teardrop shapes.
- Clean off the sticky layer before sealing to avoid smearing colour.
Common Mistakes and How to Fix Them
- Sealing before cleaning. Colour residue in the sticky layer can smear onto the nude. Wipe it off first, then apply the top coat.
Who Is This Design For?
Anyone who loves designer shoes and wants a classy, recognisable nail. Christian Louboutin logo nails are easy enough for confident beginners with a detail brush, and they make striking red and black nails as part of a full set.
Ways to Make It Your Own
- Mix the shoe print with the signature logo on other fingers
- Do a full set of nude and black nails
- Skip the black frame for a softer look
Aftercare
Rub cuticle oil in all the way around the nail every day, including underneath, to keep the cuticles looking their best.
Frequently Asked Questions
How do you paint the Louboutin shoe print on a nail?
Paint a small teardrop at the cuticle for the heel and a larger teardrop in front of it, pulled into a point.
Why frame the nail in black?
It ties in with the black nails, slims the nail and makes it stand out.
Why clean before sealing?
It stops residue from the colours smearing onto the nude.
How many coats does the red need?
Two. The second coat gives the colour depth and lets you correct the shape.
How long do you cure the frame and the top coat?
One minute each in the LED lamp.
What if colour gets under the nail?
Slightly buff the underside to remove any colour that went underneath.
Give Christian Louboutin Logo Nails a Try
Watch the video above and follow along with Kirsty to paint your own Louboutin shoe print.


