



To make cat eye gel polish nails, you paint the magnetic colour over two cured coats of black, hold a magnet over it to move the particles, and cure quickly before the gel moves. In this tutorial Kirsty shows several things you can do with it beyond simply applying it and holding a magnet over the top.
The designs are done on Andrea, on sculpted Natural Beige nails.
Each look uses the Cat Eye magnetic gel polish colours Frenemy and Galaxy over black, so the magnetic movement stands out. Below you'll find the products, each step with its place in the video, and Kirsty's tips.
At a Glance
- Designs: a rose-style magnetic pattern, a domed gem framed with microbeads, and a quick blooming gel version
- Artist: Kirsty, with Andrea as model
- Technique: magnetic gel polish over black on sculpted acrylic
- Key products: Serious Black, Frenemy, Galaxy, Urban Graffiti Top Coat, Builder in a Bottle - Clear as Day, Blooming Gel
- Video length: about 22 minutes
Why You'll Love These Cat Eye Gel Polish Nails
- Three different looks from the same two colours
- The magnetic movement looks 3D, like folds in a rose
- A domed gemstone effect that sparkles and moves
- A quick blooming gel version for a fast design
Products Used in This Video


How to Create Cat Eye Gel Polish Nails
1. Build the base
Sculpt the nails in Natural Beige. Having it as a background is nice to work with and makes it easier to change the design at a maintenance fill. Watch this step at 1:00
2. Apply black
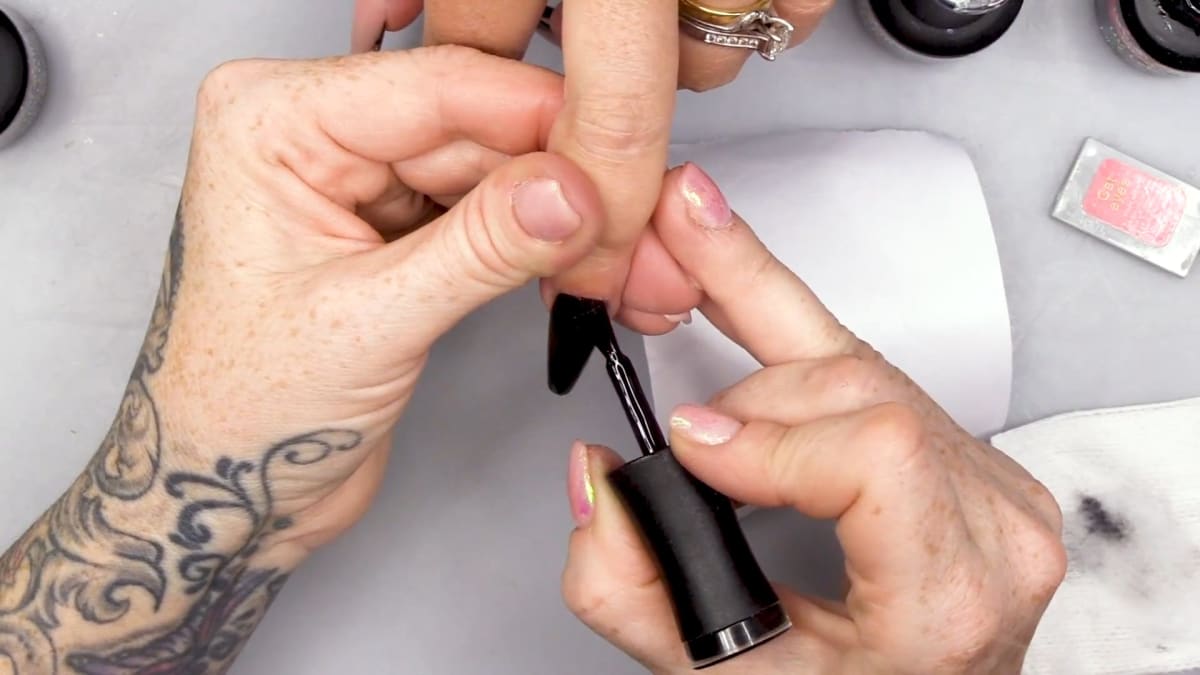
Apply two coats of Serious Black, because Cat Eye colours look better over black, and cure. Watch this step at 4:10
3. Make the rose-style design
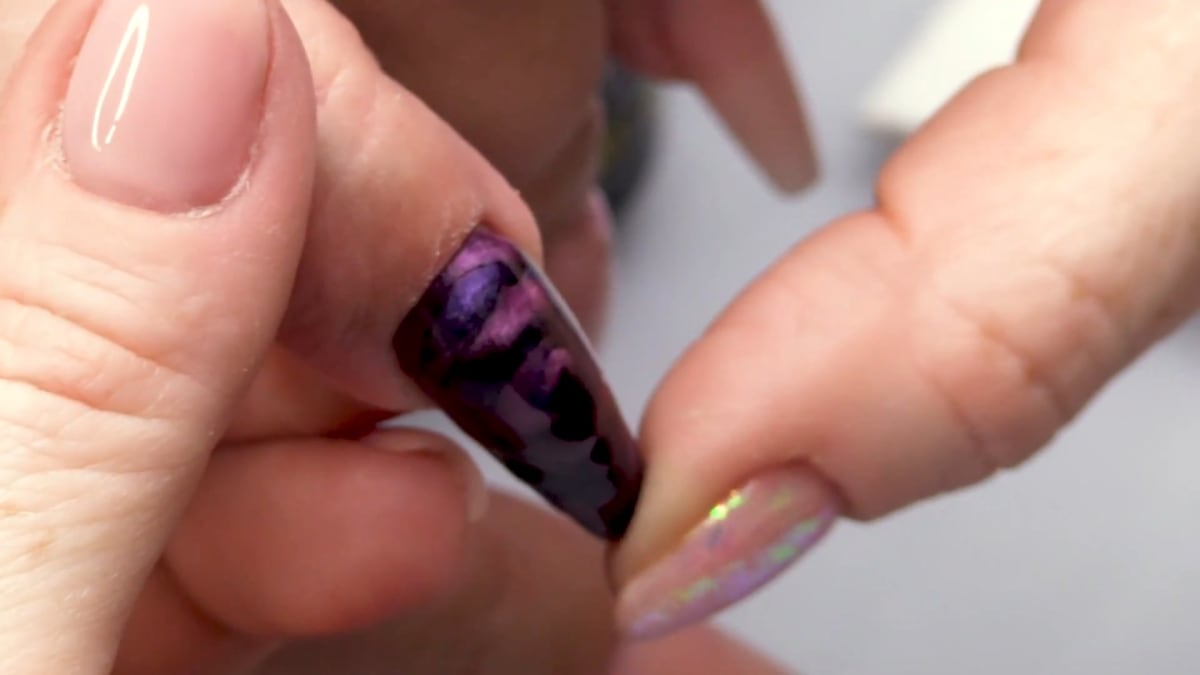
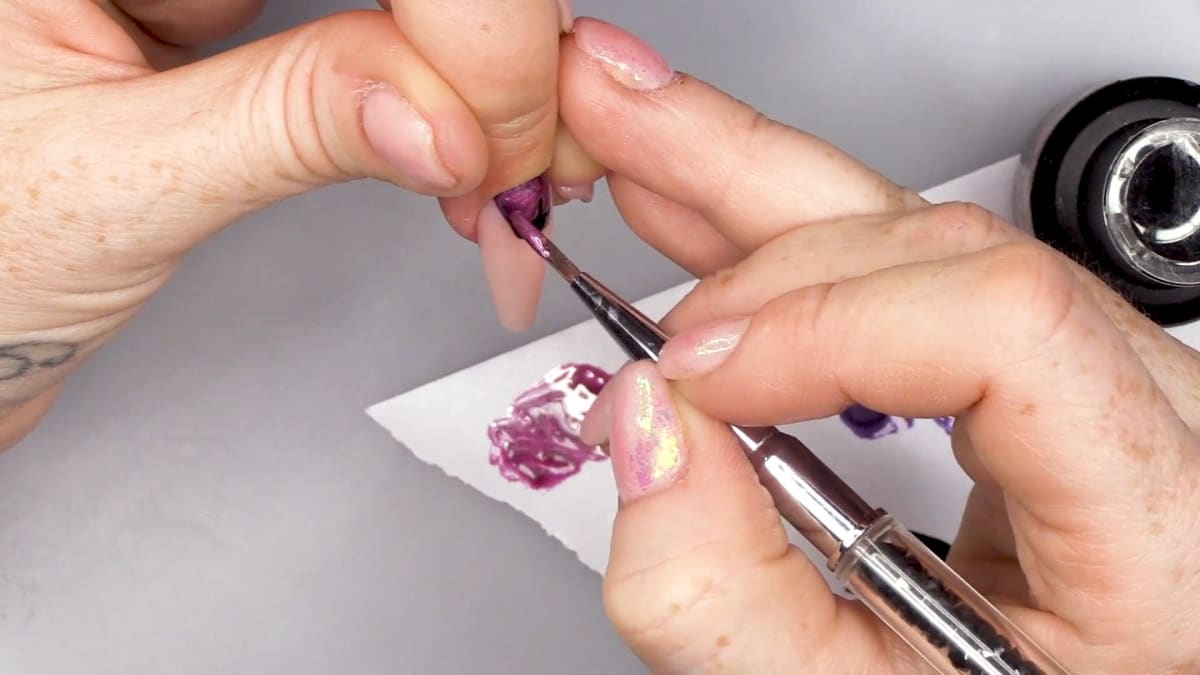
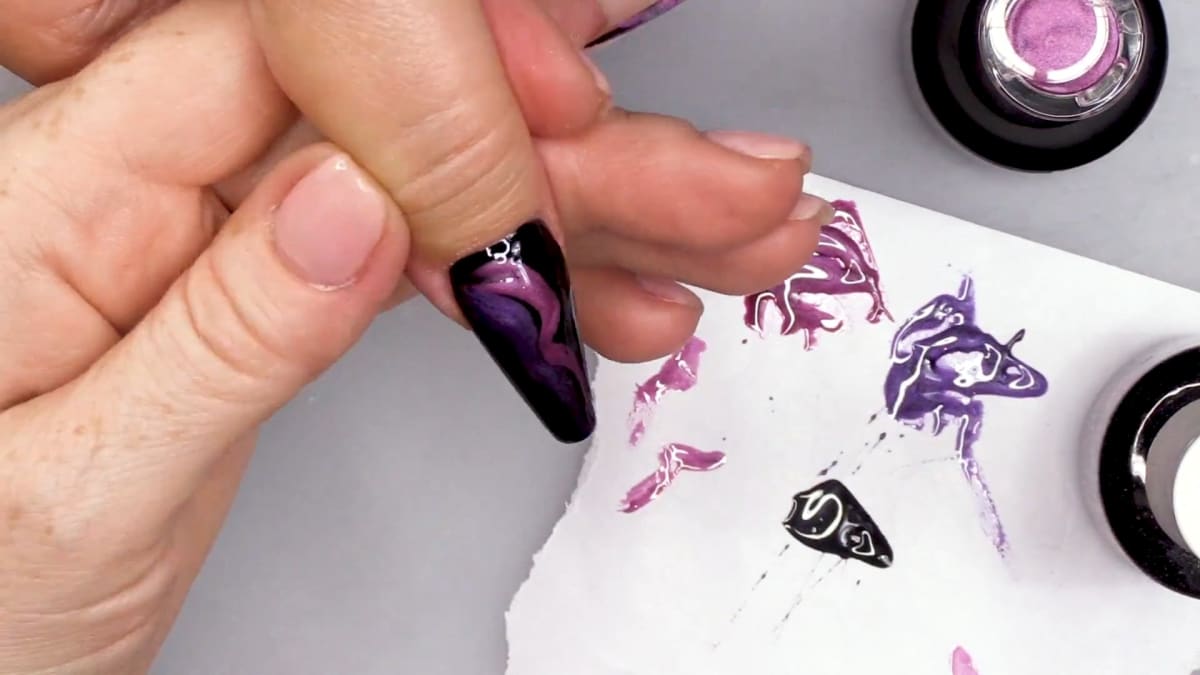
Put some Cat Eye gel polish on backing paper from a sculpting form so you can dip into it, and keep Gel Residue Wipe Off Solution in a dappen dish to clean the brush between colours. Paint a little tadpole shape by the cuticle, hold the magnet over the top, and cure quickly. Go in the lamp, then repeat with the pinker colour right next to the first section. Use the side of the magnet rather than going straight on, so the particles are pushed up but still show movement. Watch this step at 11:40
4. Keep going round
Keep working round and round, alternating colours and filling the nail, leaving room for one last pink section at the bottom. The shapes are the same as for a stencil rose. Watch this step at 14:10
5. Top coat and buff
Use the Urban Graffiti Top Coat, as the gel top coat can chip and crack over this look. Apply two coats, and lightly buff to soften any lumps. Do not over-buff or you will lose the colour underneath. Watch this step at 16:00
6. Make the domed gem
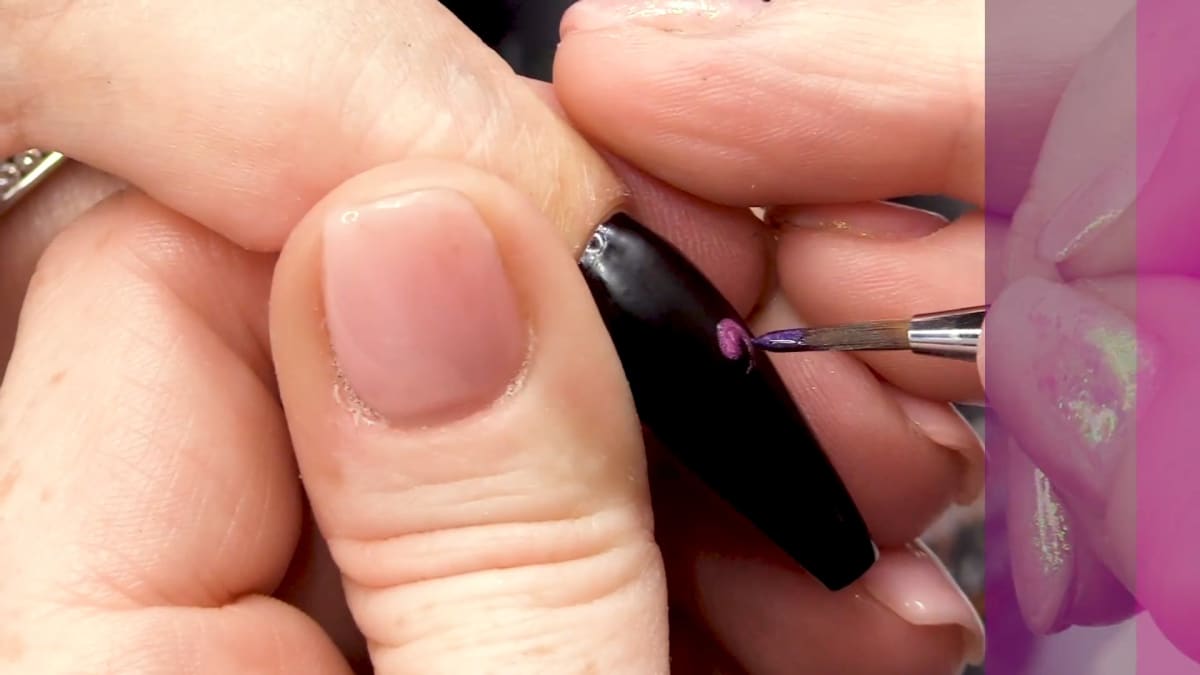
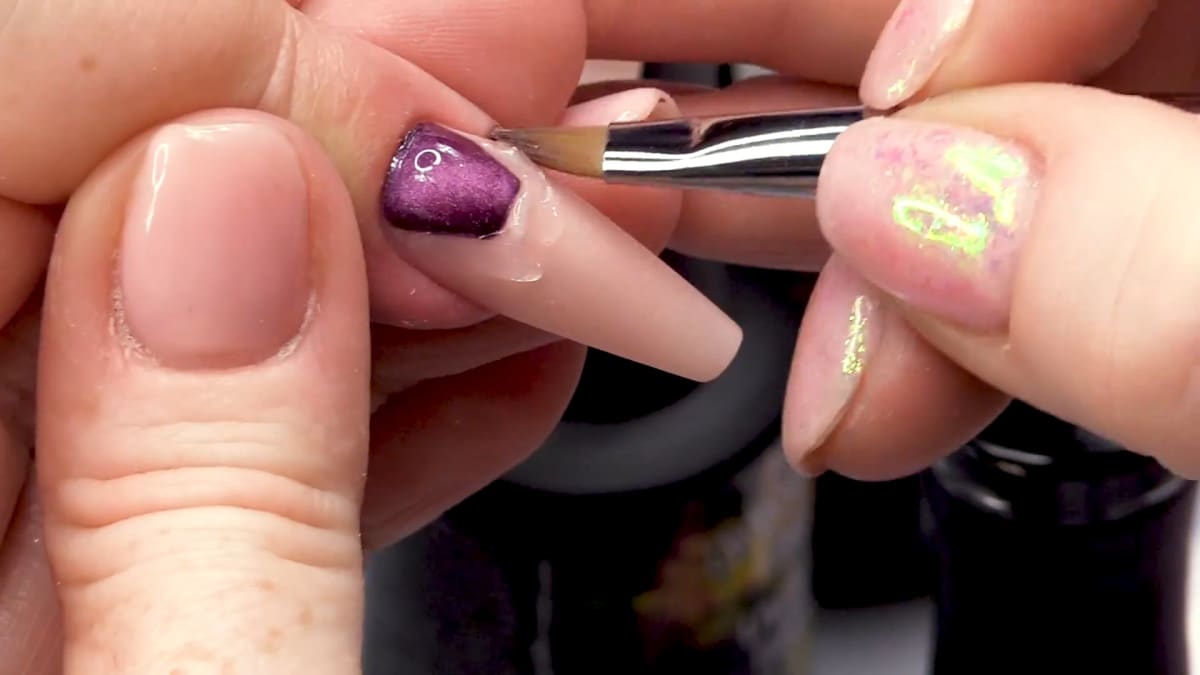
Paint Frenemy and Galaxy over the black, add the magnet, then use Builder in a Bottle to create a dome directly over the top. Cure with the hand turned each way, wipe off the sticky layer and top coat just the stone.
7. Frame the gem
Use AcryGel around the edge, with a brush that has Gel Residue Wipe Off Solution on it, to adhere microbeads and little bars. Top coat and press them in, then cure. Watch this step at 19:10
8. Make the quick blooming gel version
Apply a thin coat of Blooming Gel over Serious Black, place the Cat Eye colours on in a random order and let them bloom. Add the magnet quickly and cure. Top coat.
Where to find each stage of the Cat Eye Gel Polish Nails video
| Stage | Time |
|---|---|
| Natural Beige base | 1:00 |
| Two coats of Serious Black | 4:10 |
| Domed gem | 9:10 |
| Rose-style design | 11:40 |
| Working round the nail | 14:10 |
| Top coat and buff | 16:00 |
| Quick blooming gel version | 16:40 |
| Framing the gem | 19:10 |
Pro Tips
- Work quickly with the magnet before the gel moves.
- Place each section right next to the previous one.
- Cat Eye looks best over black, as the contrast exaggerates the colour.
- Do not use gel top coat over this design, as it can chip.
Who Is This Design For?
This design suits anyone who loves movement and shimmer in their nails, and nail techs who want different ways to offer magnetic nail art.
Ways to Make It Your Own
- Use other Cat Eye colours
- Try different shapes with the magnet
- Add microbeads or stones around the gem
Aftercare
Keep cuticles moisturised with oil daily and avoid using nails as tools.
Frequently Asked Questions
How do you make cat eye gel polish nails?
Apply two coats of black and cure, paint the Cat Eye colour over the top, hold the magnet over it to move the particles, then cure quickly and top coat.
Why use black under Cat Eye?
The black exaggerates the colour and makes the effect more striking.
Which top coat is best?
The Urban Graffiti Top Coat, because the gel top coat can chip and crack over this design.
What gives the domed gem effect?
Builder in a Bottle applied over the top creates the dome.
How do you hold the magnet for the rose design?
Use the side of the magnet rather than going straight on, so the particles are pushed up but still show movement.
How does the blooming gel version work?
A thin coat of Blooming Gel goes over the black, the Cat Eye colours are placed at random and left to bloom, then the magnet is added quickly before curing.
Which Cat Eye colours are used?
Frenemy, the pinker of the two, and Galaxy.
Give Cat Eye Gel Polish Nails a Try
Watch the cat eye nail tutorial above, then try the designs and share your results.


