



To make foil kisses nails, you top coat the colour, cover the whole nail in Foil Glue and cure it, rub transfer foil over the surface, then cap the nail in top coat. For the kisses, you paint small lip shapes in Foil Glue and transfer foil onto those. In this tutorial Kirsty works on Andrea's existing marble ombre set.
Many people have asked whether a full nail of foil is possible with Foil Glue, so this video is an experiment to find out and work through any problems.
It is a clear guide to how to cover a nail in foil. Below you'll find the products, each step with its place in the video, and Kirsty's tips.
At a Glance
- Design: a full nail of ombre foil, with foil kiss lips on the other nails and a few stones
- Artist: Kirsty, with Andrea as model
- Technique: transfer foil with Foil Glue over gel polish
- Key products: Tropical Beach, Urban Graffiti Foil Glue, Nail Transfer Foil NF-018, Urban Graffiti Top Coat, AcryGel Tube - It's Clear Dear, AB Crystals
- Video length: about 19 and a half minutes
Why You'll Love These Foil Kisses Nails
- A full-nail foil effect with an ombre foil
- Cute kiss lip shapes on the other nails
- Sealed under top coat for a smooth finish
- Easy to refresh an existing set
Products Used in This Video


How to Create Foil Kisses Nails
1. Apply the colour
Apply two coats of the gel polish colour on most of the nails, for true colour and good coverage so the underlying marble does not show through. Watch this step at 3:00
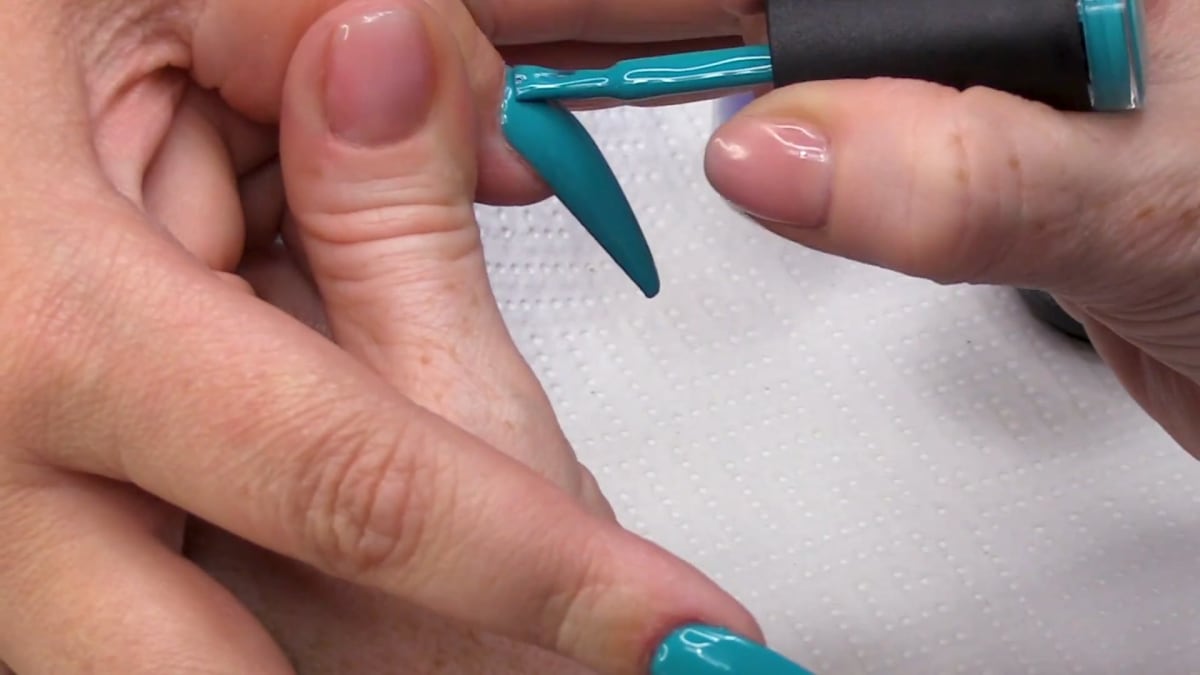
2. Seal with top coat
Top coat the nails you will foil. Because Foil Glue is very sticky, you want no stickiness elsewhere. A top coat has no sticky layer, whereas wiping the sticky layer off coloured gel polish can leave some behind and remove a little colour. Watch this step at 4:30
3. Apply the Foil Glue
Cover the entire nail with the foil glue and cure. Wipe the matte side of the foil with Gel Residue Wipe Off Solution for a better transfer. Watch this step at 8:20
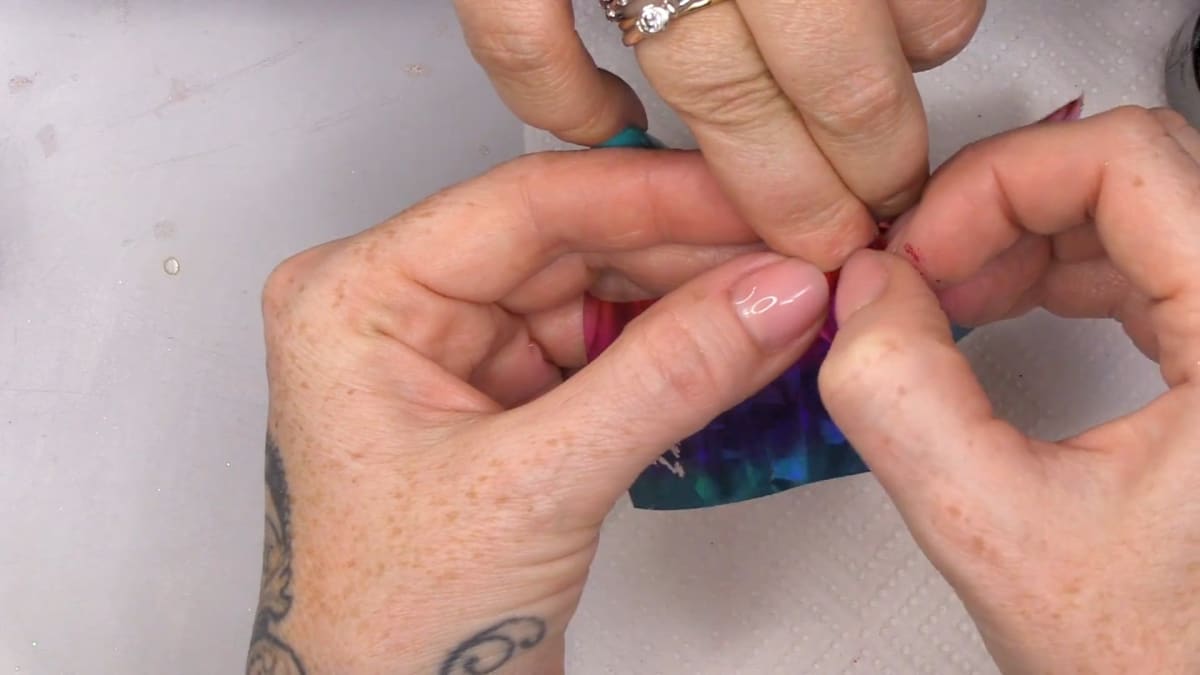
4. Transfer the foil
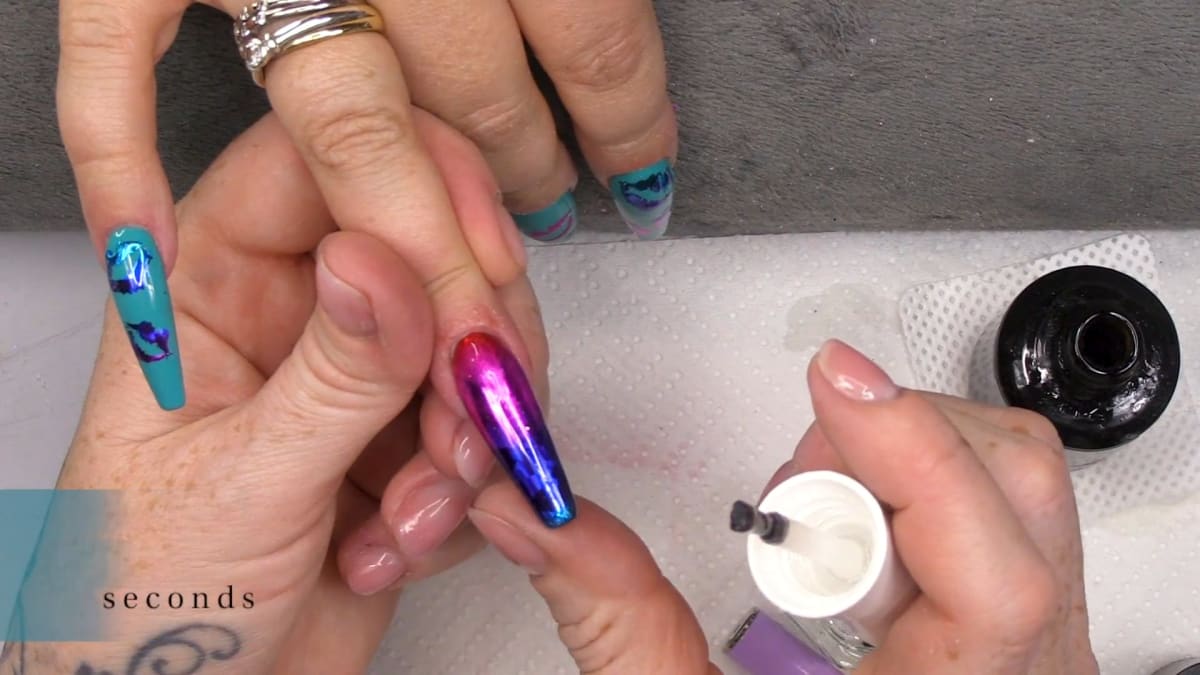
Place the foil on and rub. The foil is flat while the nail is curved, so the curviest part may need extra passes with a clean part of the foil. Use the right part of the ombre on each area so the ombre stays consistent. Watch this step at 13:20
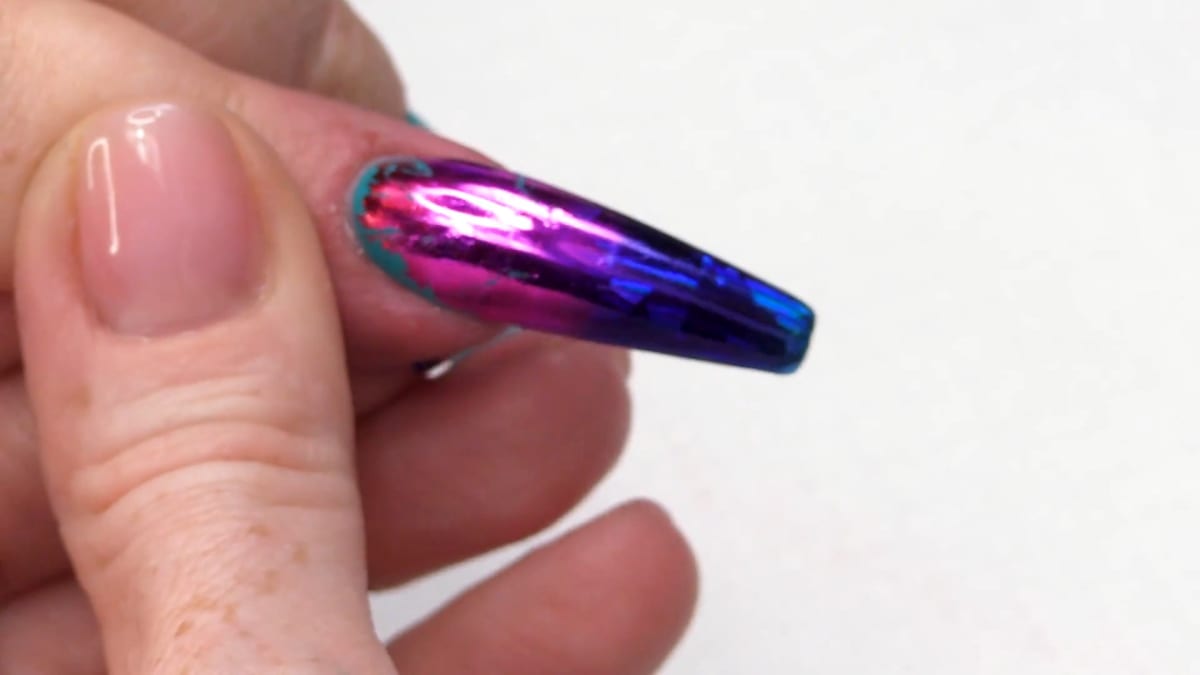
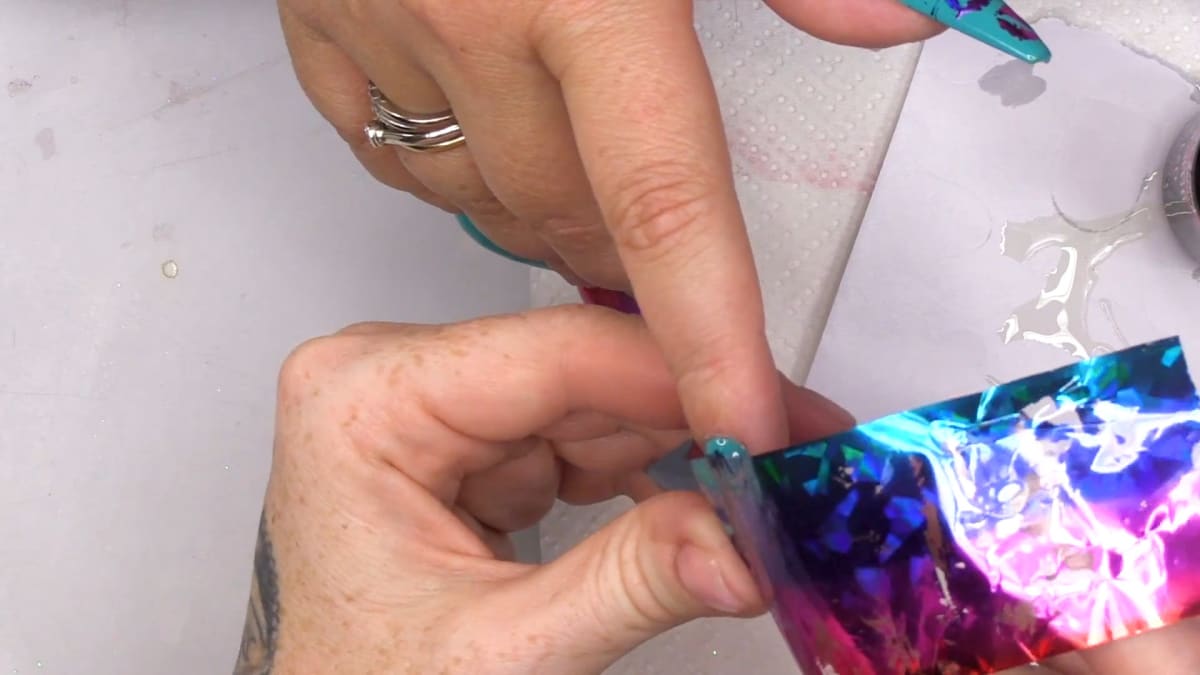
5. Seal it
Cap the entire nail and let the brush scoop round the edges, otherwise the foil comes off. Cure.
6. Make the kiss lips
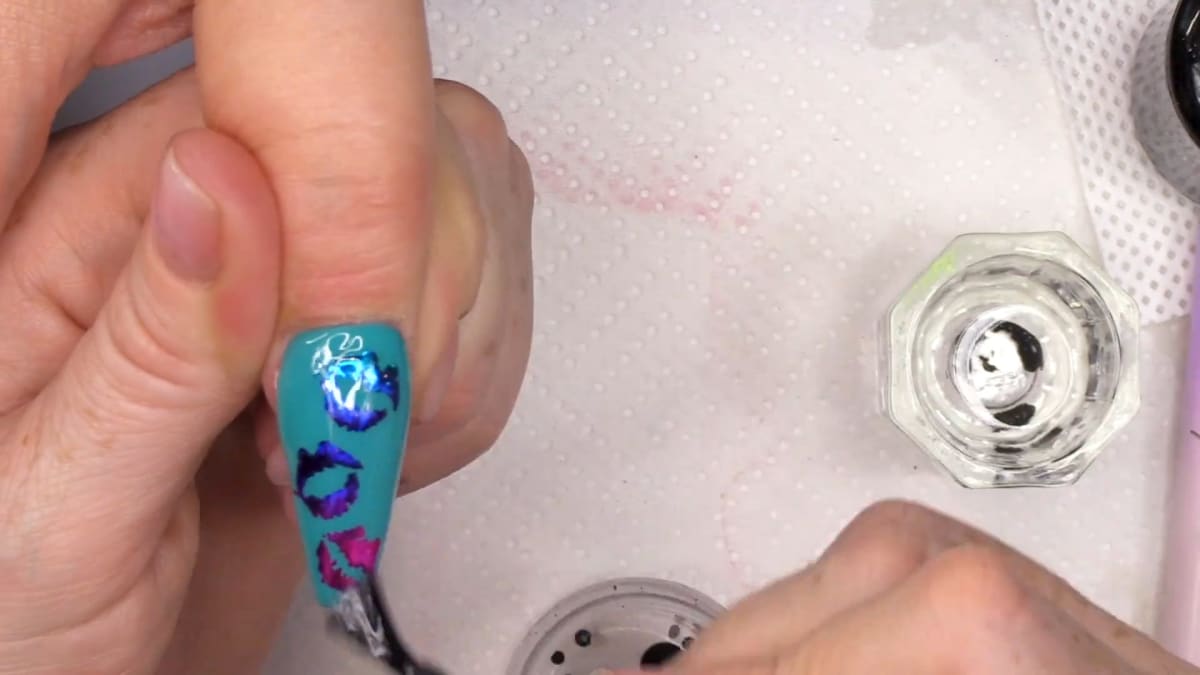
Put Foil Glue on backing paper from a sculpting form and paint small lip shapes with little line movements. Get the Cupid's bow right, then add little lines for the creases. Cure. Watch this step at 17:30
7. Transfer the foil to the lips
Place the foil on top and rub over the lips. The foil only sticks where the glue is, so any missed glue leaves a flaky area. Top coat to seal.
8. Add stones
Buff the sections where stones will go so AcryGel sticks well. Use a brush with a little Gel Residue Wipe Off Solution, place the AcryGel where you want the stones, top coat without curing the AcryGel, then press stones and microbeads in. Finish with cuticle oil. Watch this step at 18:30
Where to find each stage of the Foil Kisses Nails video
| Stage | Time |
|---|---|
| Gel polish colour | 3:00 |
| Top coat before foiling | 4:30 |
| Foil Glue over the whole nail | 8:20 |
| Sealing the foil | 9:30 |
| Extra foil passes on the curve | 13:20 |
| Foil on the kiss lips | 15:50 |
| Painting kiss lips in Foil Glue | 17:30 |
| Stones and cuticle oil | 18:30 |
Pro Tips
- Cover the entire nail with Foil Glue.
- Cap the free edge so the foil does not scrape off.
- Clean the matte side of the foil for a better transfer.
- Foil only sticks where the glue is, so check you have not missed any.
Who Is This Design For?
This design suits anyone who loves a shiny, ombre foil look, and nail techs who want to refresh an existing set with foil nail art.
Ways to Make It Your Own
- Choose a different foil
- Foil only an accent nail
- Add more stones and microbeads
Aftercare
Keep cuticles moisturised with oil daily and avoid using nails as tools.
Frequently Asked Questions
How do you make foil kisses nails?
Top coat the colour, cover the nail in Foil Glue and cure, rub the transfer foil over it and cap with top coat. For the kisses, paint small lip shapes in Foil Glue, cure, then transfer the foil and top coat.
Can I cover a full nail with Foil Glue?
Yes, Kirsty tested it and it works, though the curve of the nail can need extra passes with the foil.
Why top coat before applying the glue?
It gives a surface with no sticky layer, so the foil only sticks to the glue.
Why seal the foil?
If you do not cap the entire nail, the foil can scrape off.
Why clean the matte side of the foil?
Wiping it with Gel Residue Wipe Off Solution gives a better transfer.
How do you keep an ombre foil consistent?
Use the right part of the ombre on each area of the nail.
How are the stones attached?
Buff the area, place AcryGel, top coat without curing the AcryGel, then press the stones and microbeads in.
Give Foil Kisses Nails a Try
Watch the Foil Glue tutorial above, then try the foil technique and share your results.


