



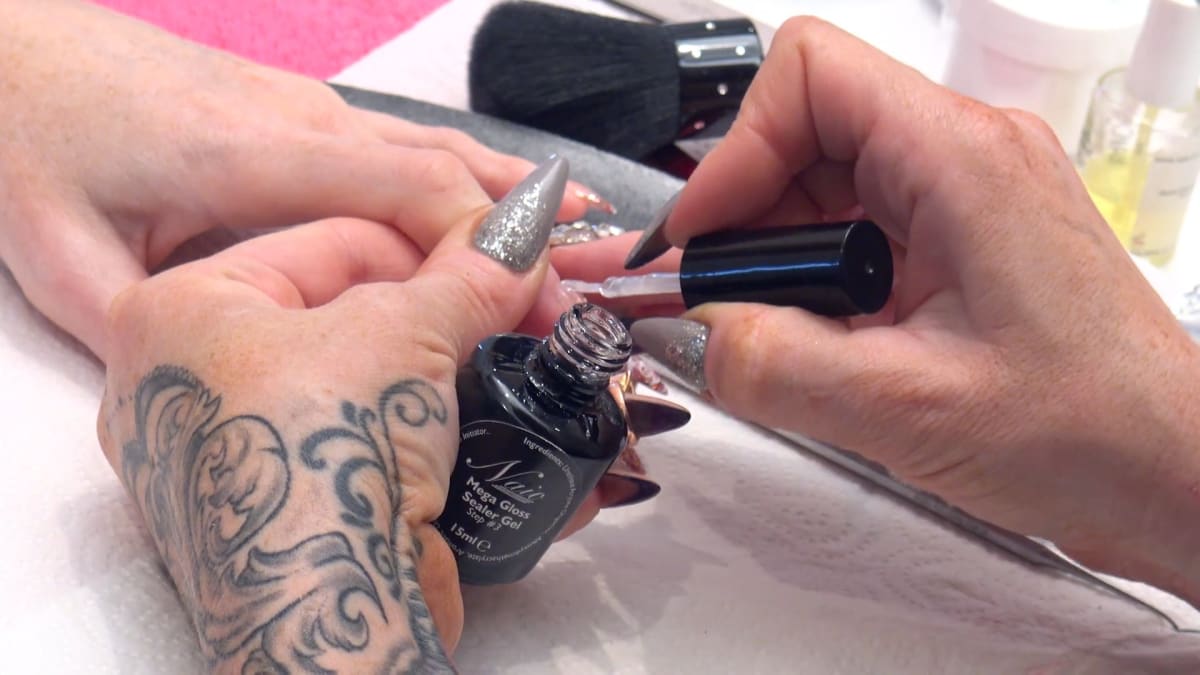
Pearls and stones nails are finished with a cluster of pearls and crystals held on by nothing more than a thick sealer gel. Kirsty Meakin places a small pool of Mega Gloss Sealer Gel on a lightly buffed nail, sets the stones into it, cures, then brushes more gel over the top to seal them in.
There is no special stone glue involved. The same gel acts as the adhesive and the top coat, which keeps the finish smooth and the method quick.
Here is each stage in order, with the time to watch it in the video.
At a Glance
- Design: a cluster of pearls and crystals on a finished nail
- Artist: Kirsty
- Technique: stones set in sealer gel, then sealed over
- Cure time: one minute LED or two minutes UV
- Key products: AB Crystals, Mega Gloss, Dotting Tool, Cuticle Oil
- Video length: about 3 minutes 40 seconds
Why You'll Love These Pearls and Stones Nails
- No special glue needed.
- A neat corner cluster that complements nail art.
- Sealed in for a smooth finish.
Why a Thick Sealer Gel Works as Glue
The method depends on the gel being thick. Mega Gloss Sealer Gel holds its shape as a little pool, so a stone pressed into it stays where you put it. Thinner gel top coats do not hold stones in the same way.
Once the first cure has fixed the stones, a second layer brushed over the pearls and crystals and down the whole nail turns the cluster into part of one continuous sealed surface. That is the whole nail stone placement technique.
Products Used in This Video


How to Create Pearls and Stones Nails
1. Buff and dust
Buff the area slightly so everything sticks, then remove the dust.
2. Prepare your tool
Use a wax stick to pick up stones, or a dotting tool with a tiny dot of sealer gel on the end. Watch this step at 0:40
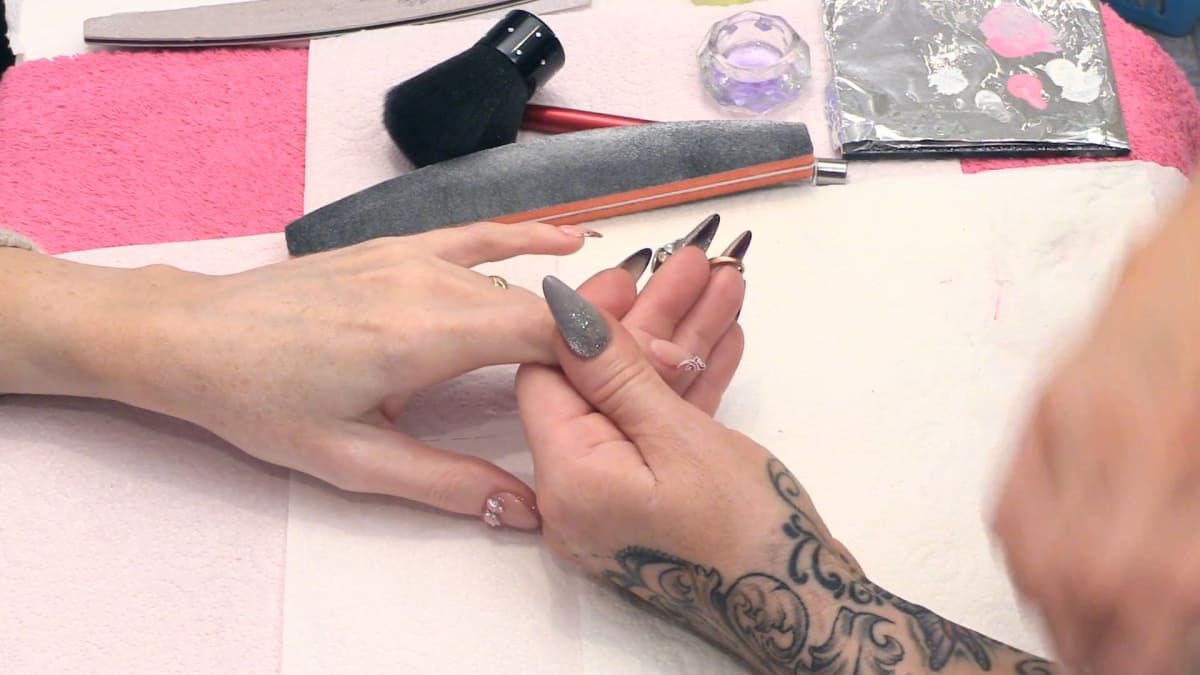
3. Make a pool of gel
Place a little pool of Mega Gloss Sealer Gel on the nail. It is thick, so it holds stones well, unlike thinner gel top coats. Watch this step at 1:05
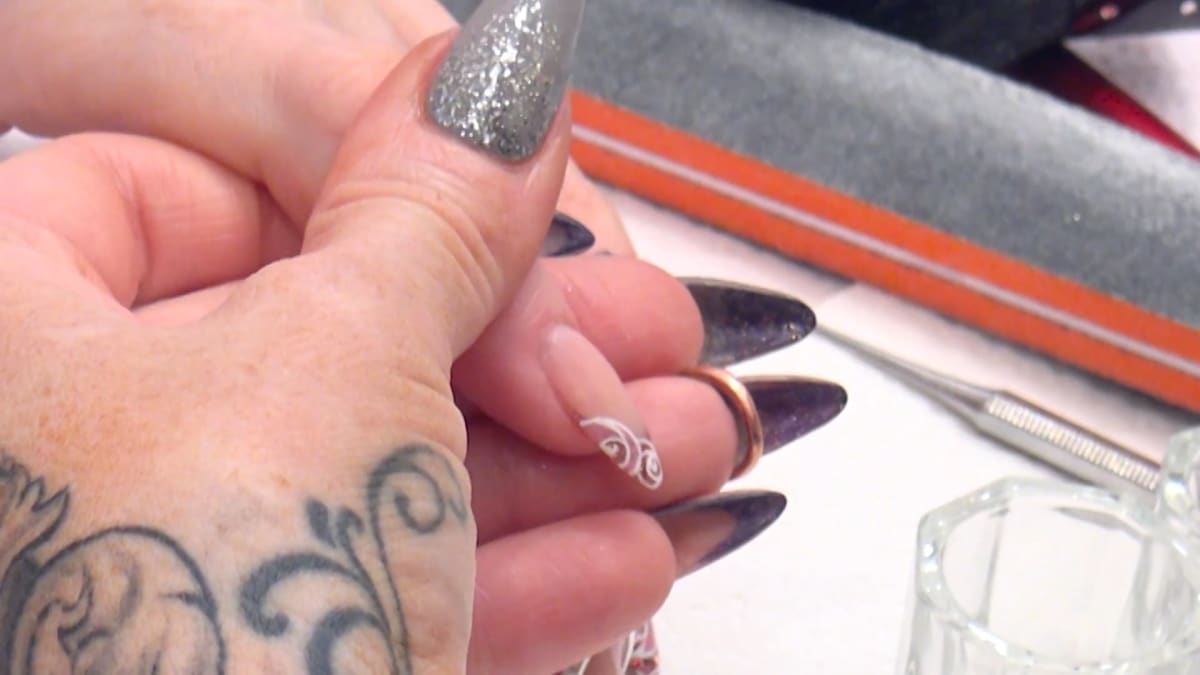
4. Place the stones
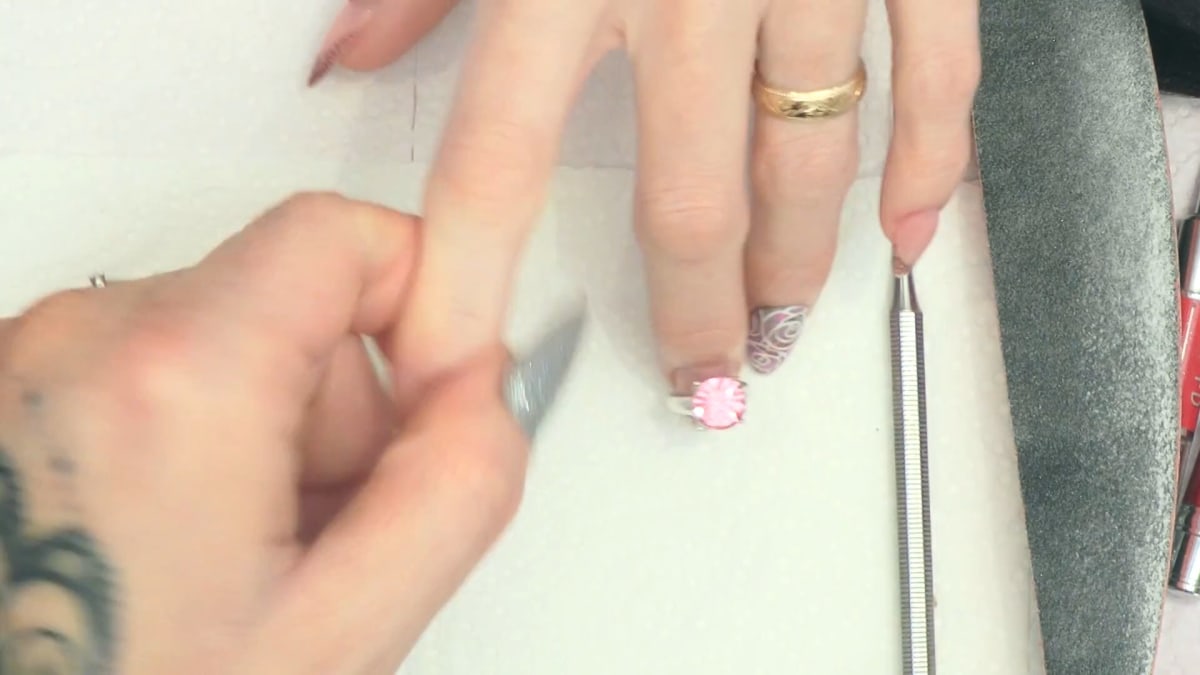
Start in the middle of the area and place the pearls and crystals randomly, close to the cuticle without flooding it. Cure for one minute in LED or two in UV. Watch this step at 1:30
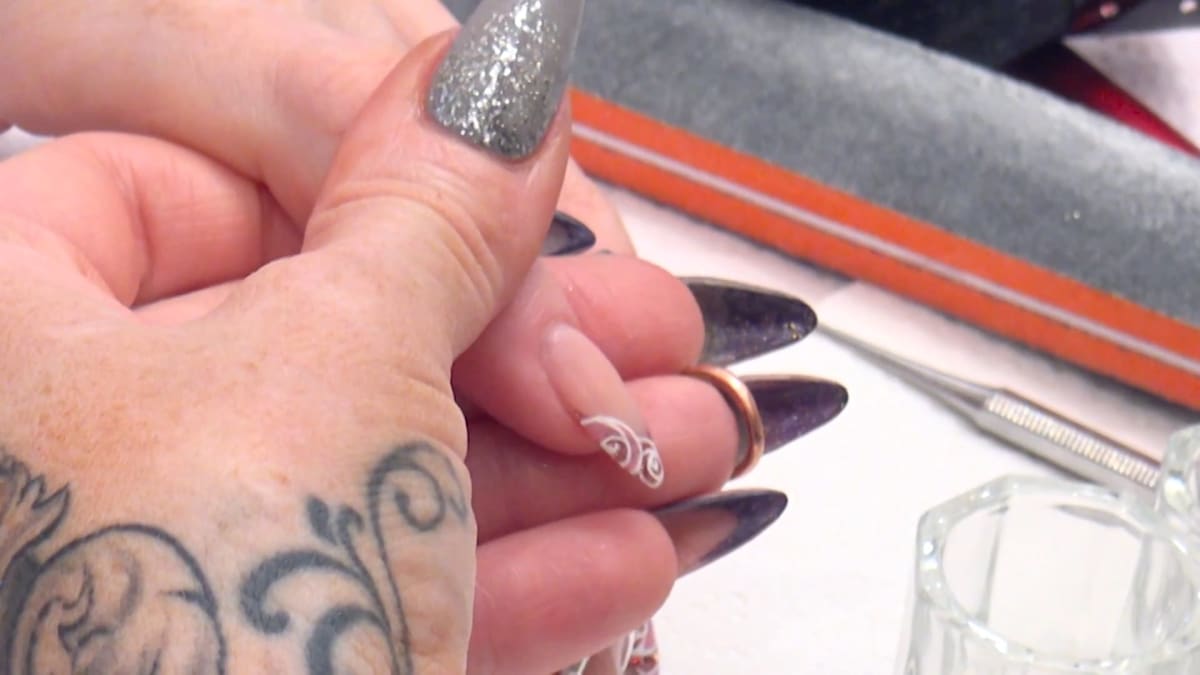
5. Seal over the top
Brush sealer gel over the pearls and stones and drag it down the whole nail. Cure again. Watch this step at 2:25
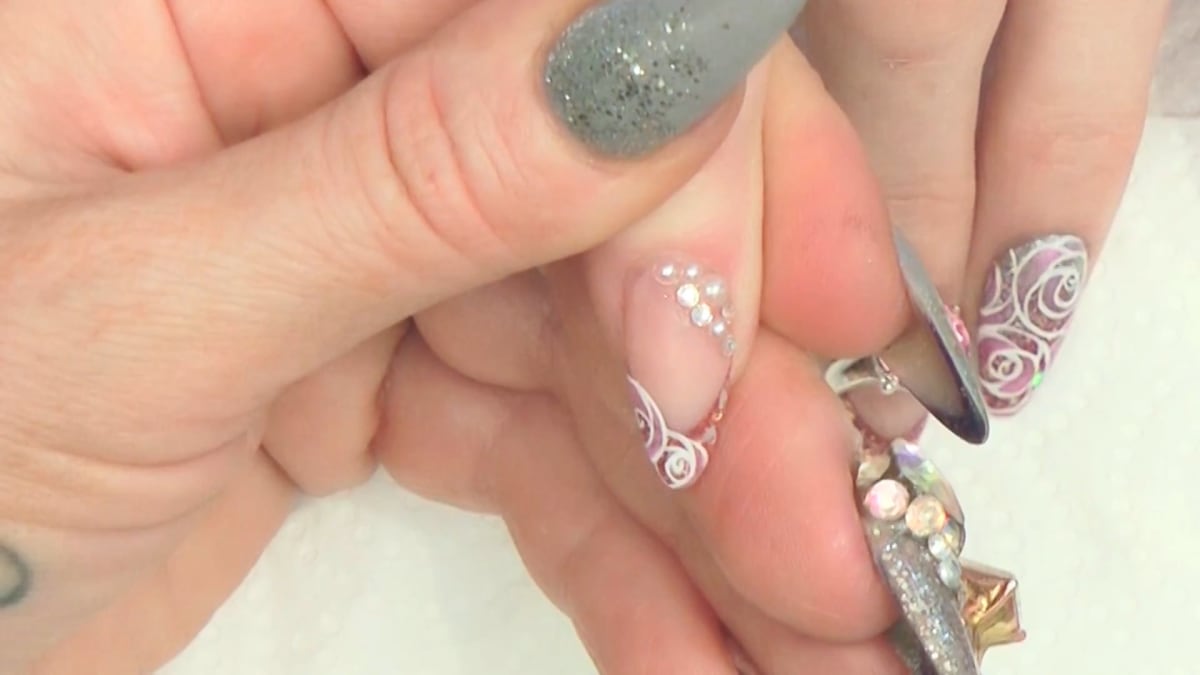
6. Oil
Finish with cuticle oil. Watch this step at 2:55
Where to find each stage of the pearls and stones nails video
| Stage | Time |
|---|---|
| Picking up stones with a wax stick | 0:40 |
| Making a pool of sealer gel | 1:05 |
| Placing the pearls and stones | 1:30 |
| Sealing over the top | 2:25 |
| Finished nail | 2:55 |
Pro Tips
- Use a thick gel to hold stones.
- Keep stones close to the cuticle but not touching it.
Common Mistakes and How to Fix Them
- Using a thin top coat. It will not hold the stones. Use a thick sealer gel.
- Flooding the cuticle. Keep the gel and the stones just short of the skin.
- Skipping the final seal. Stones are less secure without the coat over the top.
Who Is This Design For?
Pearls and stones nails are for anyone who wants a simple way to add sparkle and pearls. It is a handy finishing touch for any crystal nail art, especially when you want to dress up a design you have already completed.
Ways to Make It Your Own
- Cluster stones in a corner or place them down the centre.
- Mix pearls and crystals.
Aftercare
Massage in cuticle oil daily.
Frequently Asked Questions
How do you apply pearls and stones to nails without glue?
Set them into a small pool of thick sealer gel, cure, then brush more gel over the top and cure again.
What do you use to pick up nail stones?
A wax stick, or a dotting tool with a tiny dot of sealer gel on the end.
Why use Mega Gloss for stones?
It is thick enough to hold stones in place, unlike thinner gel top coats.
How long do you cure it?
One minute in LED or two minutes in UV.
Where do you start placing the stones?
In the middle of the area, then place the rest randomly around it.
Do you need to prep the nail first?
Yes. Buff the area slightly so everything sticks, then remove the dust.
Give Pearls and Stones Nails a Try
Watch the video above and add your own stones. A pool of thick gel, a quick cure and a seal over the top is all pearls and stones nails need.


