



Gel polish ombre fade nails are made by placing one colour at the top of the nail and another at the bottom, then sweeping a wide brush over the join until they blend. Kirsty Meakin from Naio Nails fades Pink Cadillac into Caribbean Dream on an almond shaped nail, building the colour over a couple of coats.
Snow Fairy Glitter Dust over the top finishes this pink to turquoise fade with some extra pizzazz.
Below is each stage in order, with the time to watch it in the video.
At a Glance
- Design: a pink to turquoise fade with glitter dust
- Artist: Kirsty
- Technique: wide brush blending in gel polish
- Nail shape: almond nail extension
- Skill level: simple
- Key products: Pink Cadillac and Caribbean Dream gel polish, Snow Fairy Glitter Dust, Top Coat, Cuticle Oil
- Video length: about 3 minutes 35 seconds
Why You'll Love These Gel Polish Ombre Fade Nails
- A gorgeous pink to turquoise fade
- Simple wide brush blending
- Added sparkle from glitter dust
How the Fade Is Built in Layers
The fade is not done in one go. The first coats put the two colours down with only a slight blend where they meet. On the next pass the colours are overlapped a little more and blended again, and a final pass works just the middle, going backwards and forwards. Each pass is cured, so the ombre gets smoother and the colour stronger every time.
The glitter needs no extra product. Gel polish cures with a sticky layer, and the glitter dust clings to it. Dragging the brush from top to bottom lays the particles flat before the top coat goes on.
Products Used in This Video


How to Create Gel Polish Ombre Fade Nails
1. Apply the colours
On an almond shaped nail extension, put Pink Cadillac at the top and Caribbean Dream at the bottom. Take a wide brush and keep sweeping over to blend slightly. Do a couple of coats for the strength of colour, and cure. Watch this step at 0:45
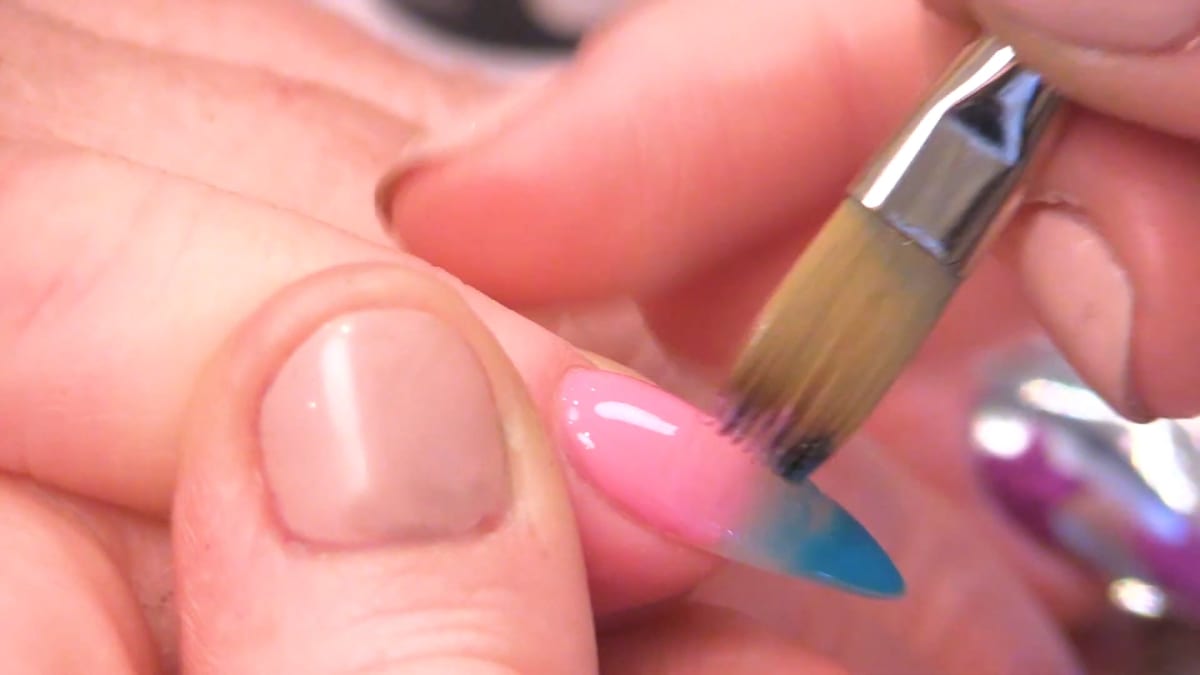
2. Overlap and blend
Do the same again, this time making sure the colours overlap slightly, then blend them again and cure. Watch this step at 1:35
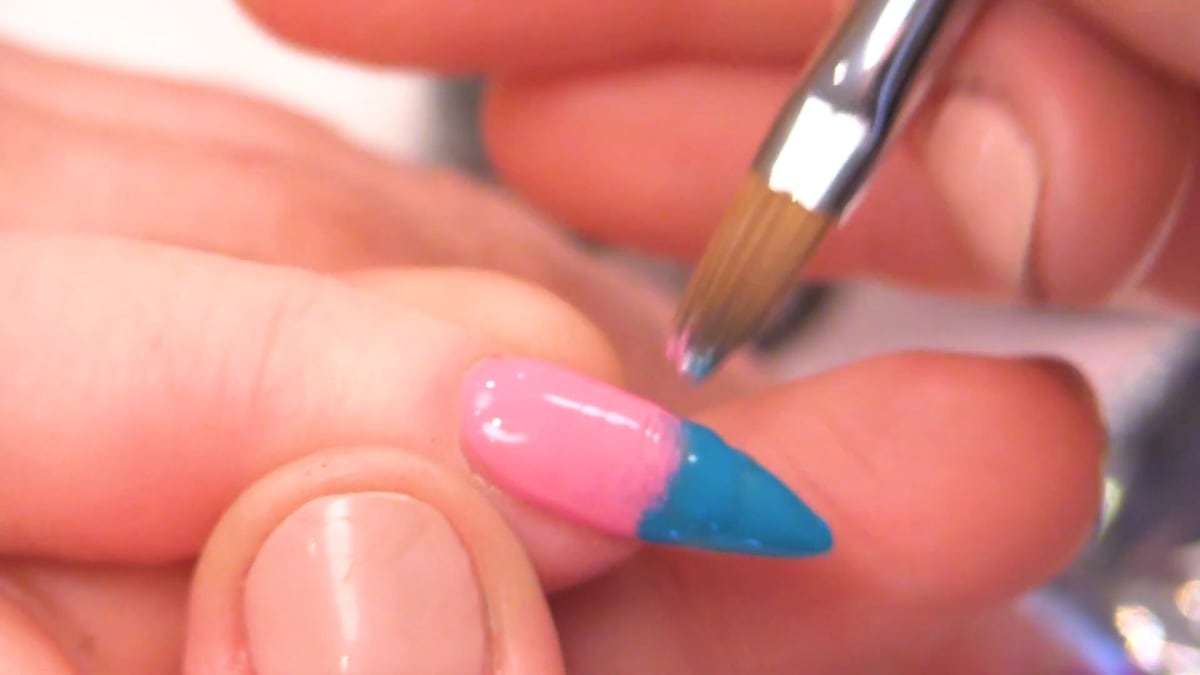
3. Fade the middle
Pop the colour onto the fade area, then go backwards and forwards to fade it. Clean up any gel on the skin and cure. Watch this step at 2:00
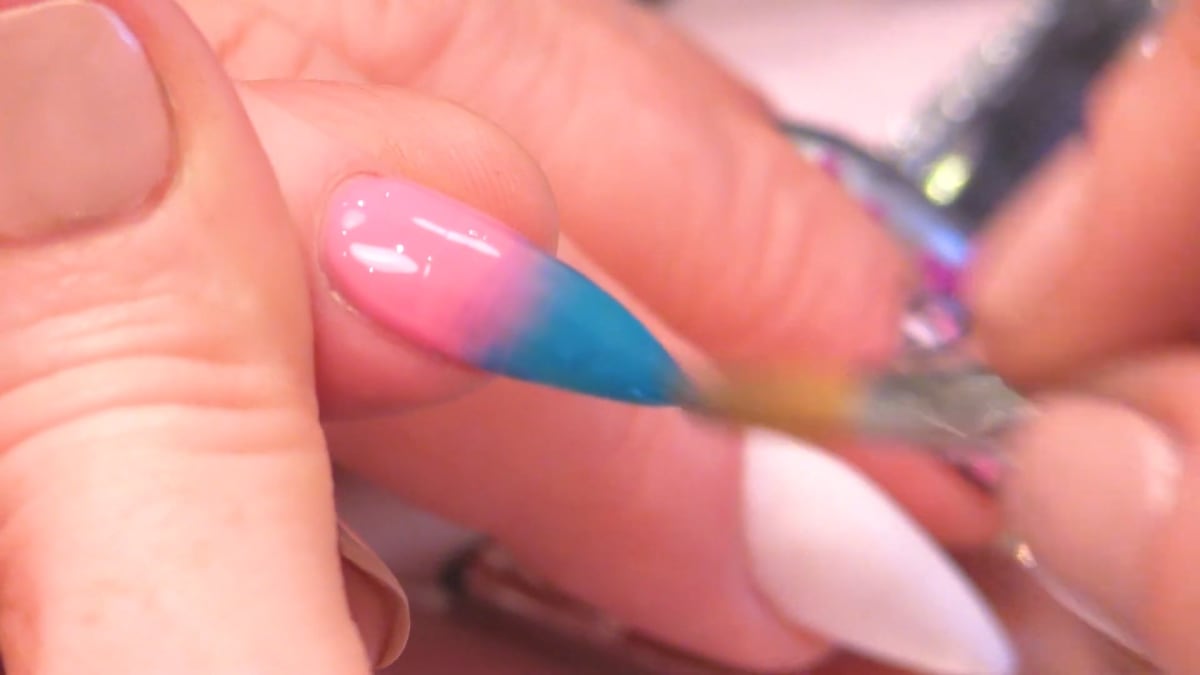
4. Add glitter dust
Pop Snow Fairy Glitter Dust over the top, where it will stick to the sticky layer. Once you have enough on, drag from top to bottom to lay the particles flat, wiping the excess off the brush. Dust off any excess. Watch this step at 2:25
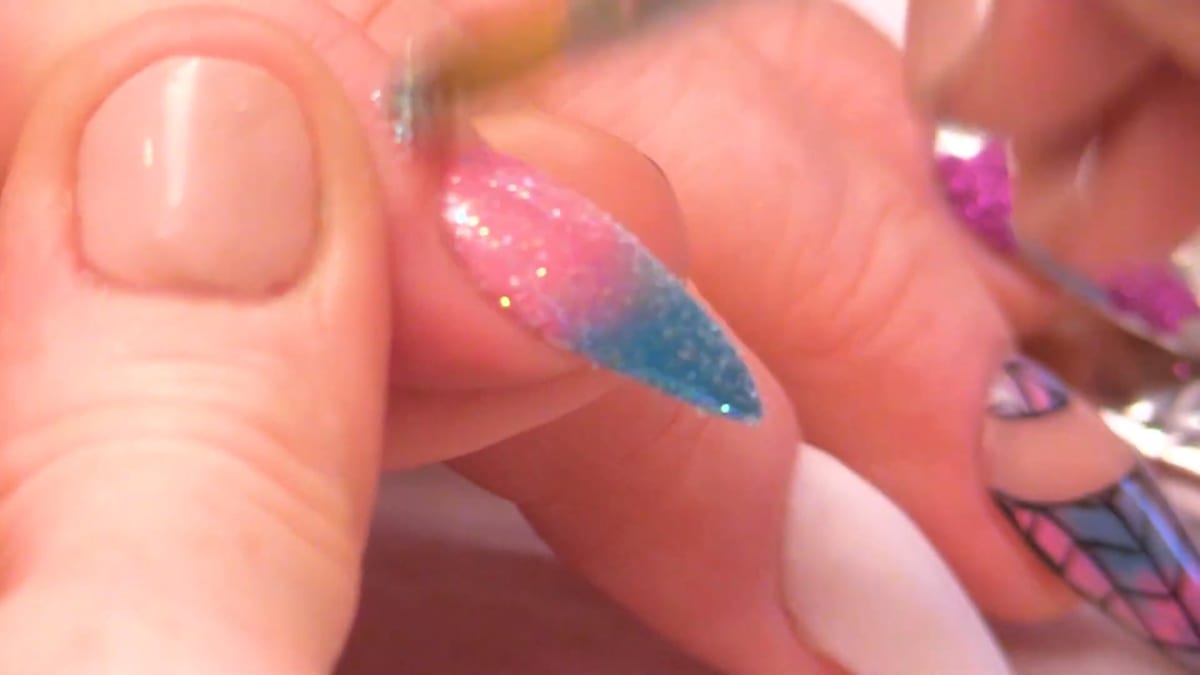
5. Seal
Seal with Top Coat and cure in the lamp. Clean off the sticky layer and add a bit of cuticle oil. Watch this step at 2:50


Where to find each stage of the gel polish ombre fade nails video
| Stage | Time |
|---|---|
| Applying the two colours | 0:45 |
| Overlapping and blending | 1:35 |
| Fading the middle | 2:00 |
| Glitter dust | 2:25 |
| Sealing | 2:50 |
| Finished design | 3:28 |
Pro Tips
- Use a wide brush to blend.
- Overlap the colours slightly on the second coat.
- Drag the glitter top to bottom to lay the particles flat.
Who Is This Design For?
Anyone who loves a sparkly, colourful ombre. Gel polish ombre fade nails are a quick glitter ombre that needs no sponge, only a wide brush.
Ways to Make It Your Own
- Pick other colour pairings
- Skip the glitter for a cleaner look
Aftercare
Rub in cuticle oil to finish.
Frequently Asked Questions
How do you do an ombre fade with gel polish?
Put one colour at the top and one at the bottom, sweep a wide brush over the join to blend, cure, and repeat with the colours overlapping a little more.
How many coats do you need?
A couple, to get the strength of colour.
How do you blend the colours?
Sweep a wide brush back and forth.
Where does the glitter stick?
To the sticky layer of the gel polish.
How do you get the glitter to lie flat?
Drag the brush from top to bottom once enough is on, wiping the excess off the brush.
Which colours does Kirsty use?
Pink Cadillac at the top and Caribbean Dream at the bottom.
Give Gel Polish Ombre Fade Nails a Try
Watch the video above and follow along with Kirsty.


