



Gem stone nails in this design are a pointed black shape and a matching silver sparkle shape painted in gel polish on a long ballerina nail, with crystals set where the colours meet. Kirsty Meakin from Naio Nails paints both shapes with a detailing brush, glues the crystals on and seals everything with Mega Gloss so the stones stay put.
It is a contemporary gel polish design that is simple but really effective. The pointed shapes echo the squared-off tip and make the ballerina nail look even longer.
Below is each stage in order, with the time to watch it in the video.
At a Glance
- Design: pointed black and silver shapes with crystals
- Artist: Kirsty
- Technique: gel polish detail work, glued and sealed crystals
- Nail shape: ballerina, in acrylic
- Cure time: one minute per layer
- Key products: black and silver gel polish, Ultra Fine Detail Brush, Brush-On Glue, AB Crystals, Mega Gloss
- Video length: about 4 minutes 30 seconds
Why You'll Love These Gem Stone Nails
- A graphic design that exaggerates the shape of the tip
- Only two gel polish colours plus crystals
- Gems are sealed in so they last
- Quick to complete
How the Pointed Shapes Exaggerate the Tip
The black shape is drawn by taking the brush up the centre of the nail to a point, then back down each side with a curve, and filling it in. The silver shape repeats the same idea above it, carried all the way to the top. Two stacked points draw the eye along the length of the nail, which is why the tip looks more dramatic.
The catch is symmetry. Both sides of each shape need to match, and Kirsty calls that the hard part. A detailing brush gives the control to do it, and the second coat of black is a chance to even up the edges as well as deepen the colour.
Products Used in This Video


How to Create Gem Stone Nails
1. Start with the shaped nail
Begin with a ballerina shaped nail already created in acrylic, using Natural Beige acrylic powder for the tip.
2. Paint the black shape
Put a little Serious Black and Silversurfer on your palette. With the detailing brush, go up the centre to a point, then back down with a curve. Repeat on both sides and fill in. Keep both sides symmetrical, which is the hard part, go right to the edge and cap the tip. Cure for one minute. Watch this step at 0:55

3. Deepen the black
Apply a second layer to deepen the black and cure for another minute. Watch this step at 2:05
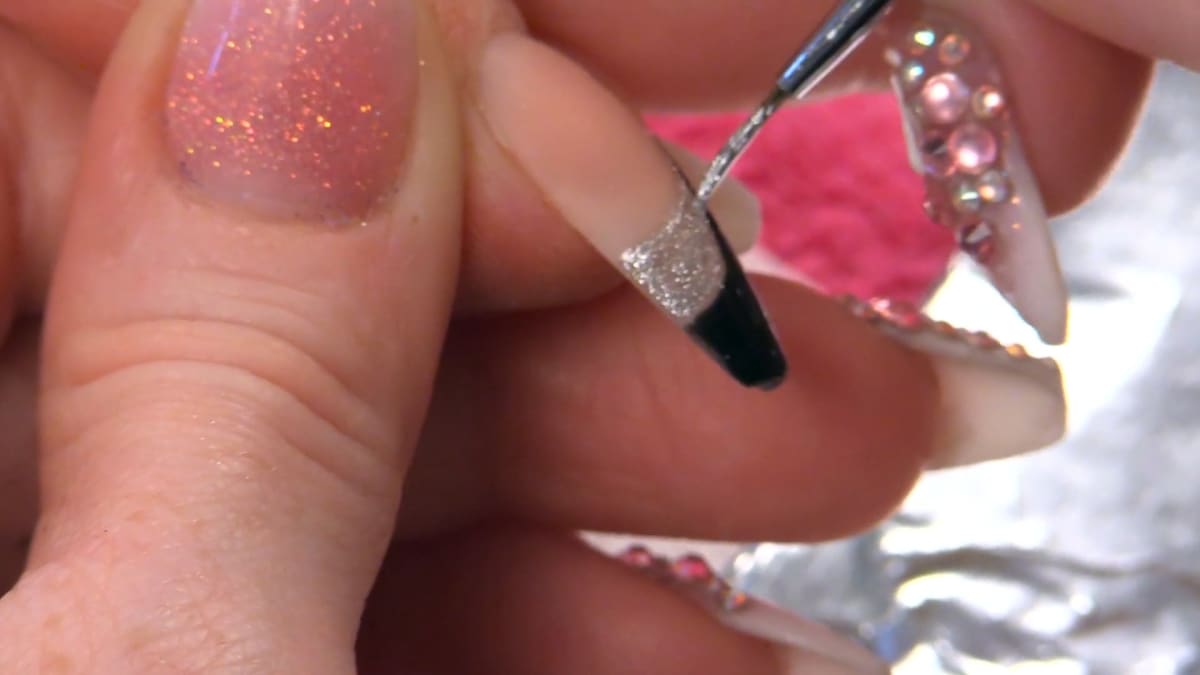
4. Add the silver sparkle
Use Silversurfer to make the same kind of shape going up, which really exaggerates the tip. Keep each side symmetrical and take it all the way to the top. Cure for one minute. Watch this step at 3:15
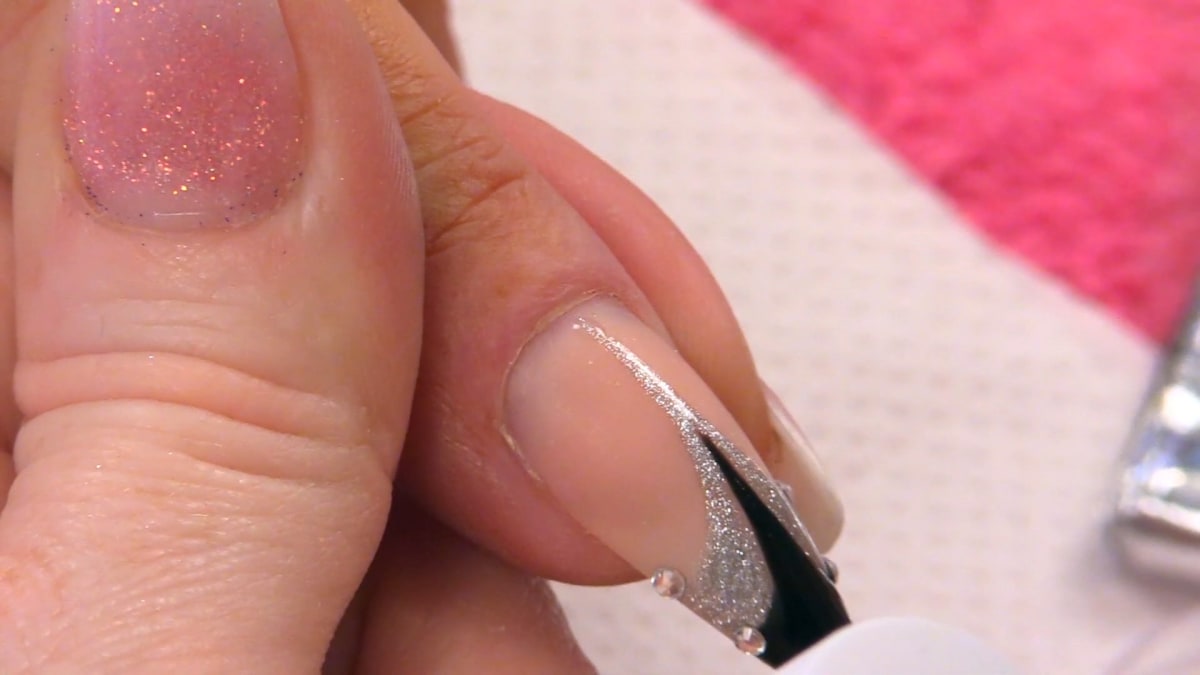
5. Place the crystals
Pop crystals on right at the sides with brush-on glue, and one right at the top where the colours meet. Let the glue dry. Watch this step at 3:45
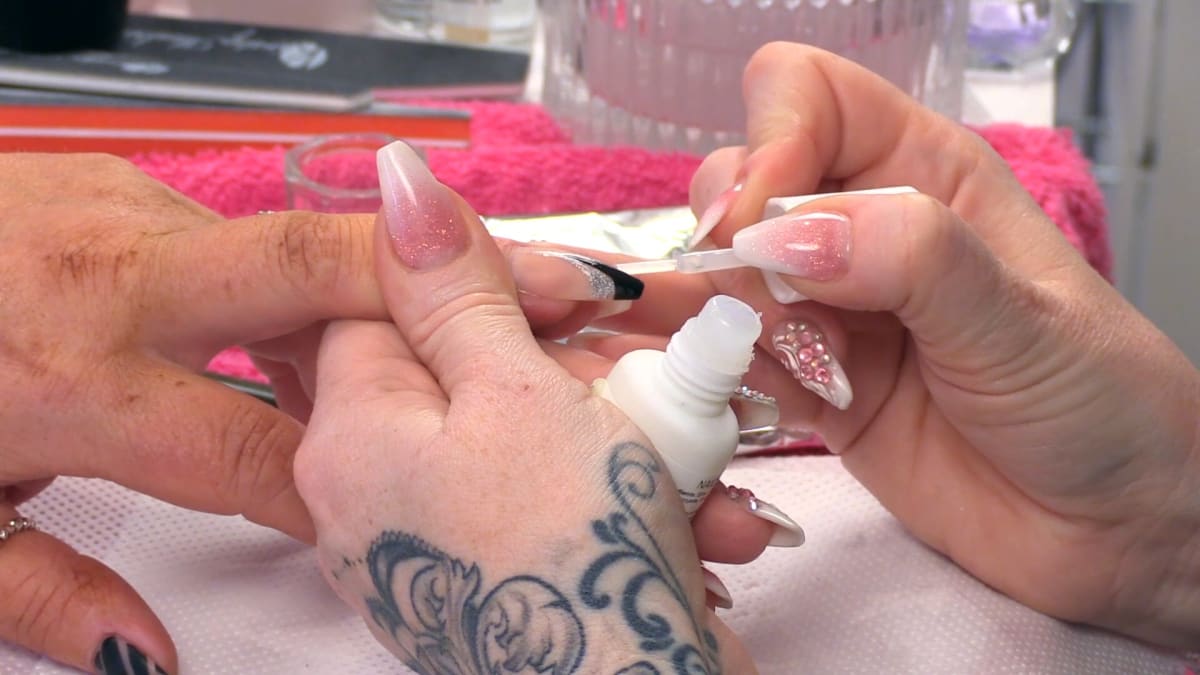
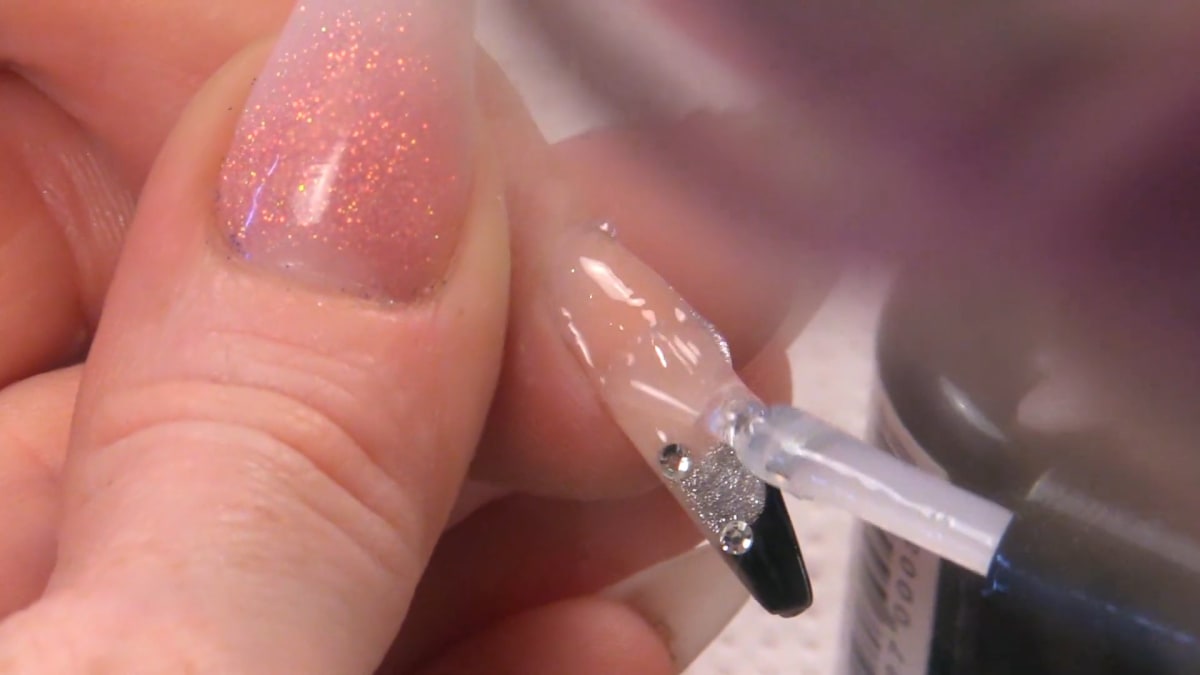
6. Seal and finish
Seal the design and the stones with Mega Gloss and cure for one minute. Finish with cuticle oil. Watch this step at 4:15
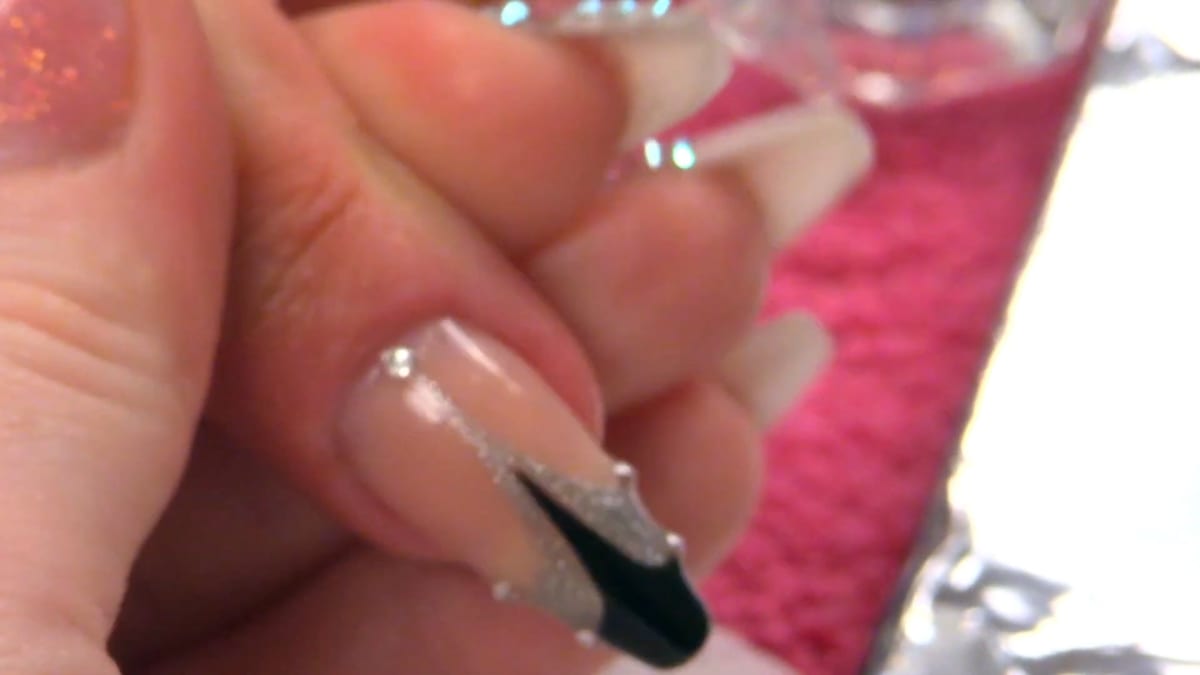
Where to find each stage of the gem stone nails video
| Stage | Time |
|---|---|
| Painting the black shape | 0:55 |
| Second layer of black | 2:05 |
| Glue for the crystals | 2:40 |
| Silver sparkle shape | 3:15 |
| Placing a crystal | 3:45 |
| Finished design | 4:15 |
Pro Tips
- Use a detailing brush for good control.
- Keep both sides symmetrical.
- Cap the tip and seal over the gems to keep them on longer.
Who Is This Design For?
Anyone who wants an eye-catching but simple design for a long ballerina nail. Gem stone nails are also a tidy way to add crystal nail art without covering the whole nail in stones.
Ways to Make It Your Own
- Swap the colours for your favourites
- Add more or fewer crystals
Aftercare
Rub cuticle oil in daily to keep the nail area healthy.
Frequently Asked Questions
How do you keep gems on nails?
Use brush-on glue, let it dry and seal over them with Mega Gloss.
How long do you cure each layer?
One minute in the lamp.
Why two layers of black?
To deepen the colour.
How do you paint the pointed shape?
Go up the centre to a point, then back down each side with a curve, and fill it in.
Where do the crystals go?
Right at the sides, and one at the top where the black and silver meet.
What is the hardest part?
Keeping both sides of each shape symmetrical.
Give Gem Stone Nails a Try
Watch the video above and follow along with Kirsty to try this design.


