



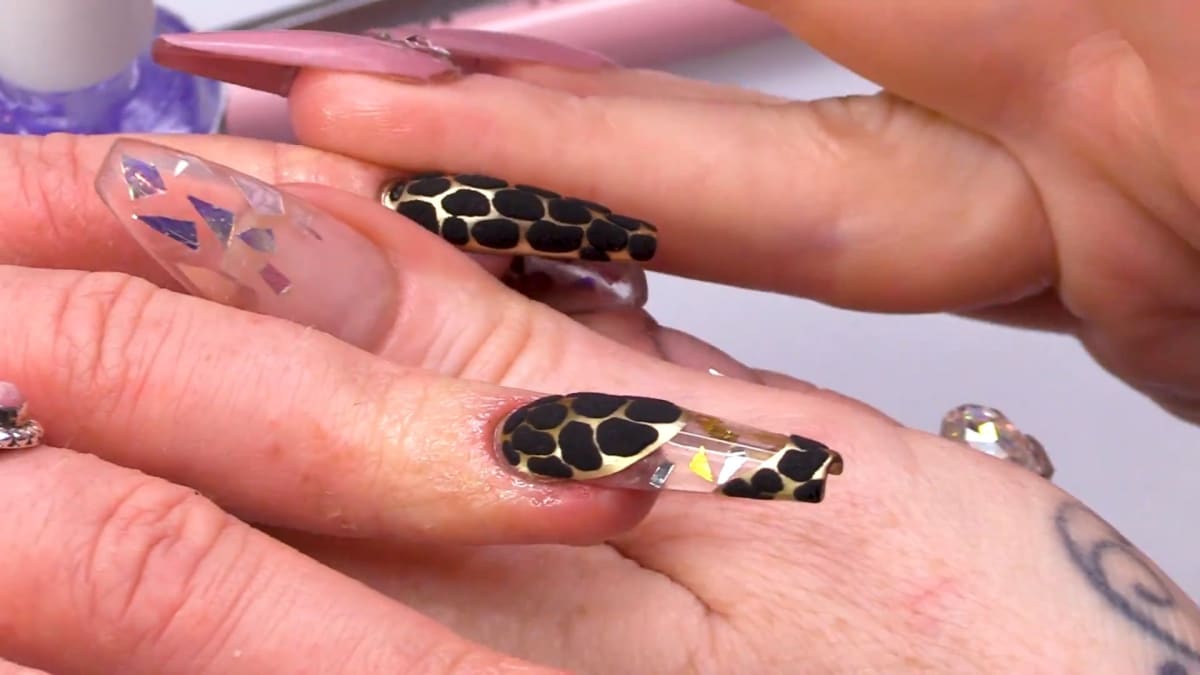
To make giraffe print nails, you paint a gold metallic base, dot on irregular spots in black gel polish with a dotting tool, then sprinkle black acrylic powder over the wet spots before curing so they come out raised and sugared. In this tutorial Kirsty creates the set on JJ over clear sculpted acrylic, with mylar encapsulated on two nails.
It is a simple, cool design with a black, gold and transparent theme.
If you want animal print nail art with extra texture, the sugared spots and the shattered mylar on two accent nails add real depth. Below you'll find the products, each step with its place in the video, and Kirsty's tips.
At a Glance
- Design: gold base with sugared black giraffe spots, and mylar on two accent nails
- Artist: Kirsty, with JJ as model
- Technique: gel polish dotting and sugaring over sculpted clear acrylic
- Key products: Crystal Clear Acrylic Powder, Glitter Set NGS-014 Iridescent Shapes, Athena Gold Shimmer Gel Polish, Serious Black Gel Polish, Pure Black Acrylic Powder
- Video length: about 27 and a half minutes
Why You'll Love These Giraffe Print Nails
- Sugared black spots give the animal print a raised, tactile feel.
- Mylar captured inside the acrylic on two nails adds shimmer.
- The black, gold and transparent palette is bold but wearable.
- A smile line in gold on the mylar nails keeps the design cohesive.
Products Used in This Video


How to Create Giraffe Print Nails
1. Prep and fit the forms
Remove the previous set, prep the nails and apply the forms. Dehydrate and apply the acid based primer.
2. Sculpt with clear acrylic
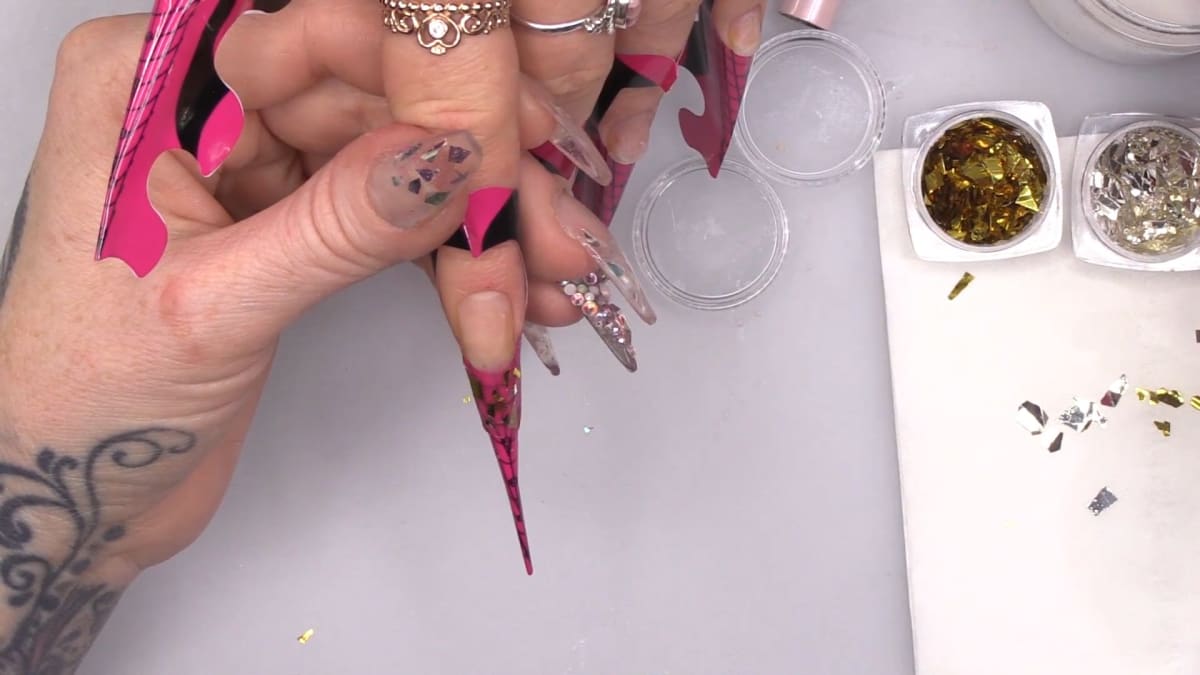
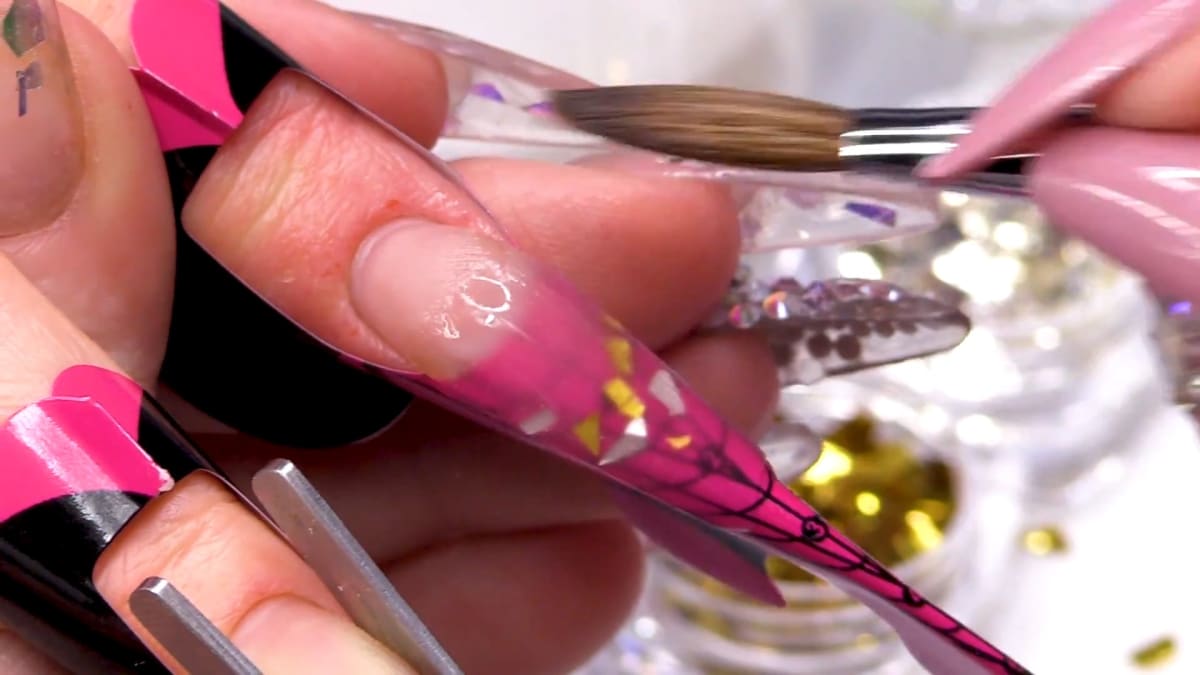
Sculpt each nail in clear acrylic. On the pointer finger and ring finger, pick up pieces of mylar with the acrylic bead and cap them inside the nail. The other three nails stay clear with no mylar. Watch this step at 2:00
3. File and buff
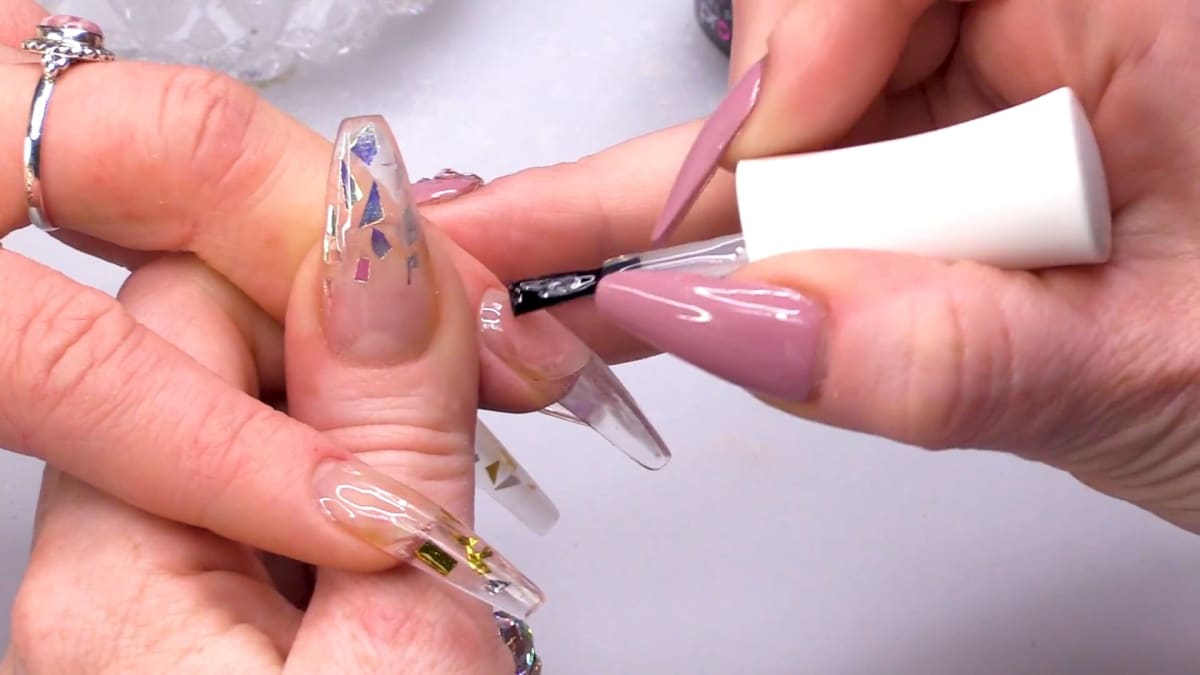
File using your normal routine, using a softer file for delicate skin, then buff the nails. Watch this step at 16:00
4. Top coat and add the gold
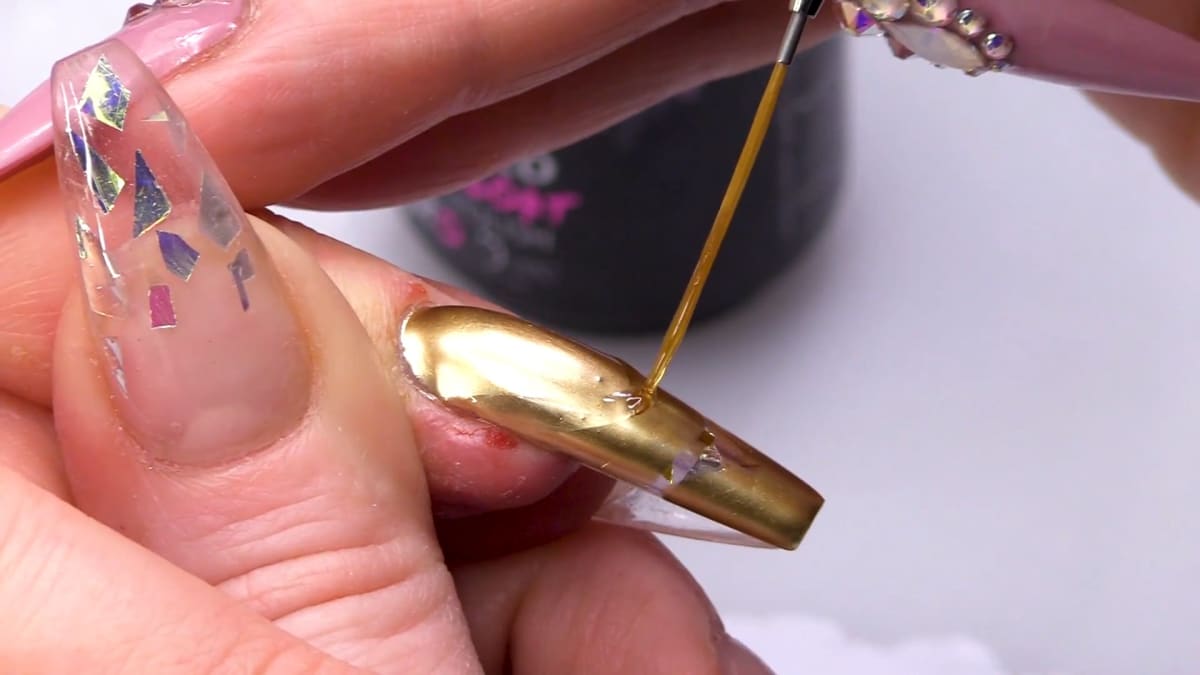
Top coat all of the nails and then go over them with the gold metallic colour, avoiding the mylar sections of the nails. Use top coat on a detail brush to create a smile line and fill in the nail on the ring and pointer fingers. Seal the gold on the other three fingers with top coat. Use acetone to wipe away any extra metallic polish. Watch this step at 19:00
5. Dot the giraffe spots
Use Serious Black and a dotting tool to create the giraffe spots on the nails.
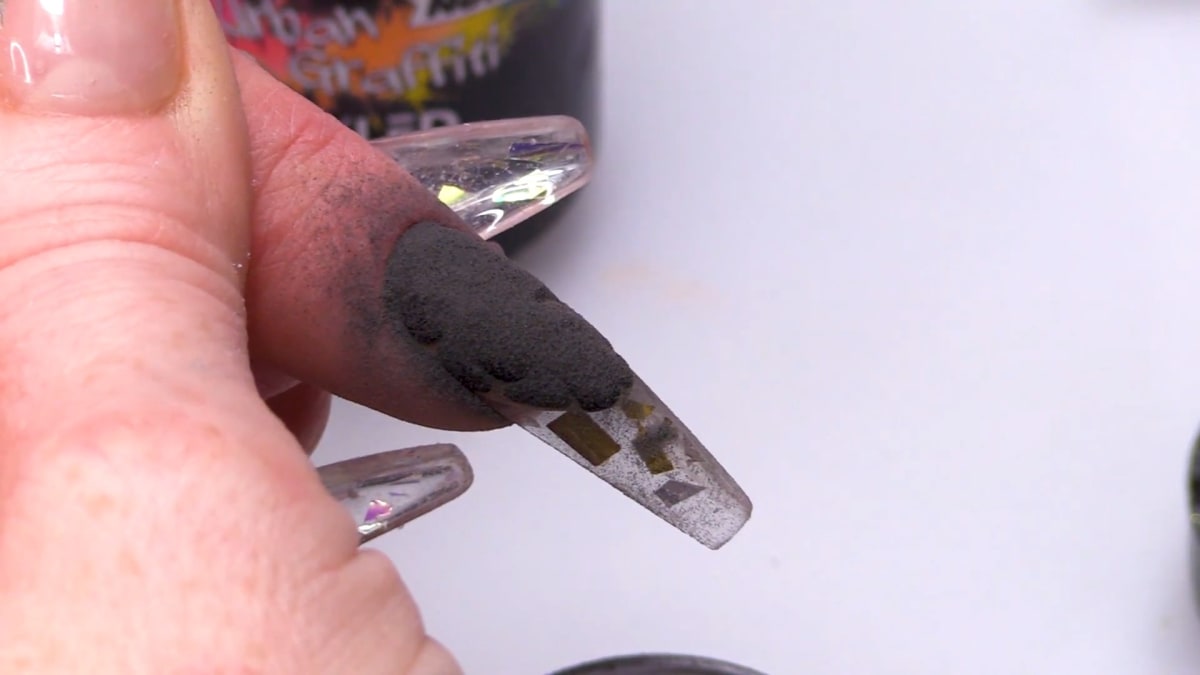
6. Sugar the spots
Sprinkle black acrylic powder over the wet gel polish before curing. Do this on all the nails, then wipe over with Gel Residue Wipe-off Solution. Watch this step at 23:00
7. Finish with cuticle oil
Finish with cuticle oil to rehydrate the nails. Watch this step at 27:00
Where to find each stage of the Giraffe Print Nails video
| Stage | Time |
|---|---|
| Sculpting in clear with mylar | 2:00 |
| Filing and buffing | 16:00 |
| Top coat, gold and the smile line | 19:00 |
| Sugaring the spots | 23:00 |
| Cuticle oil | 27:00 |
Pro Tips
- Plan the design as you sculpt, because the mylar goes in while the acrylic is still workable.
- Use a softer file if the skin is delicate.
- Keep the metallic polish away from the mylar sections so the shimmer shows.
- Sprinkle the black powder onto wet gel before curing so it sticks.
Who Is This Design For?
This design suits anyone who likes animal print with a twist. It is a good project for nail techs who want to combine sculpting, encapsulated mylar and sugaring in one set.
Ways to Make It Your Own
- Use brown spots on a caramel base for a more natural giraffe look.
- Encapsulate mylar on every nail.
- Switch the gold for silver or rose gold.
- Leave the spots smooth instead of sugared.
Aftercare
Apply cuticle oil daily. The sugared texture can catch on fabric, so be a little gentle with it, and book an infill when regrowth appears.
Frequently Asked Questions
How do you make giraffe print nails?
Paint a gold metallic base over top coat, dot on black gel polish spots with a dotting tool, sprinkle black acrylic powder over the wet spots, cure and wipe away the excess.
What is mylar?
Mylar is shattered pieces of plastic glitter that can be encapsulated inside acrylic for shimmer.
How do I get the sugared effect?
Sprinkle black acrylic powder over the wet gel polish spots before curing, then wipe away the excess.
Do all the nails need mylar?
No. In this set only the pointer and ring fingers have mylar, and the other three are clear.
How is the smile line on the mylar nails made?
With top coat on a detail brush, filled in with the gold on the ring and pointer fingers.
What removes stray metallic polish?
Acetone wipes away any extra.
Does the sugared texture need extra care?
It can catch on fabric, so treat it gently.
Give Giraffe Print Nails a Try
Watch the sugared acrylic tutorial above and try sculpting your own giraffe print set with mylar and sugared spots.


