



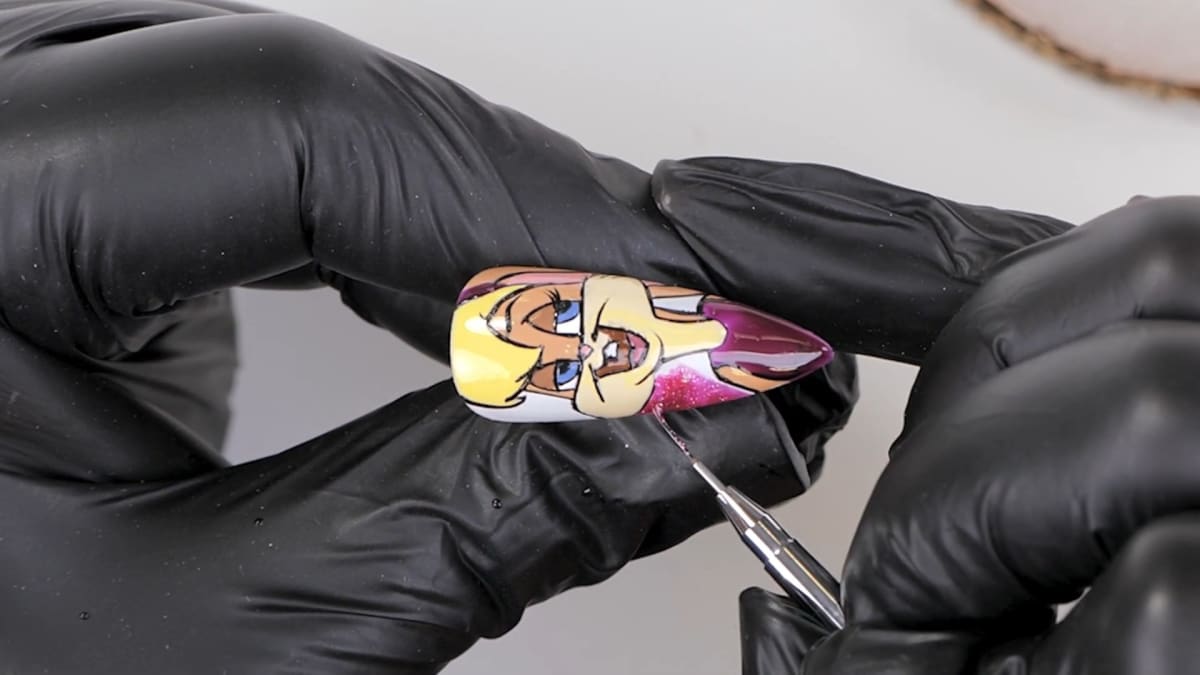
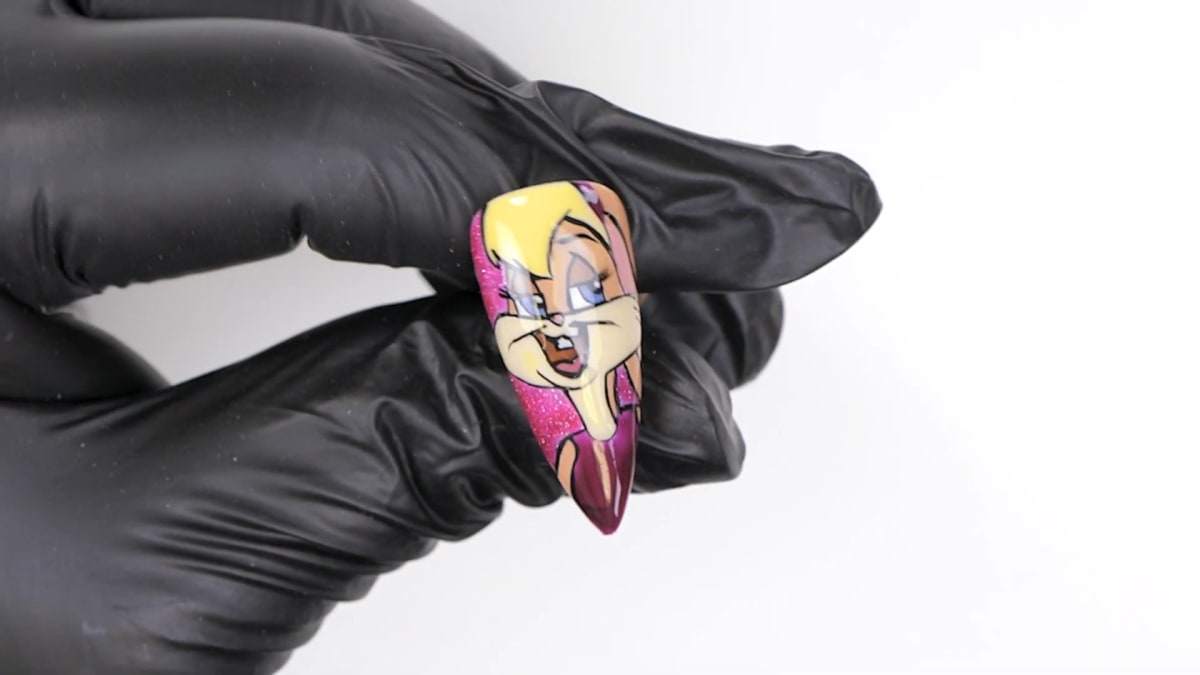
To make Lola Bunny nails, you paint a white base, map out the whole character in black with a fine brush and cure it, fill each section with colour, go back over the outline, then paint a sparkly pink background around her. In this step-by-step tutorial Steffi paints the Space Jam character on a single long nail.
The method is outline first, colour second, which is the opposite of how many character designs are painted, and it makes the filling in much easier.
It is a fun character nail art idea that you can follow one stage at a time. Below you'll find the products, each step with its place in the video, and Steffi's tips.
At a Glance
- Design: Lola Bunny nails on a pink Diamond Dust background
- Artist: Steffi
- Technique: hand-painted gel polish character art, outline first
- Nail shape: long stiletto tip
- Skill level: anyone happy to take their time with line work
- Key products: Serious Black, Snow White, Oopsy Daisy, Eggnog, Butterscotch, Friar's Robes, Guilt Trip, Ballet Shoes, Evil Queen, Can't Relate, Ultra Fine Detail Brush - 0003
- Video length: about 19 minutes
Why You'll Love These Lola Bunny Nails
- A character design built from simple shapes
- Outline first, so filling in is easier
- A Diamond Dust background makes it pop
- You can pause the video between steps and follow along
Why Outline First Works
Painting the outline first turns the nail into a colouring book. Steffi maps out every feature in Serious Black, from the eyes and fringe to the shoulders and front tooth, then cures it so the lines cannot move. Each colour then only has to be dropped into its own section.
The outline does get covered in places as the colours go on, so once everything is filled in she goes back over all the lines in black. It is a forgiving way to approach cartoon nail art: get the drawing right while the nail is still plain, and the rest is filling in.
Products Used in This Video


How to Create Lola Bunny Nails
1. Add a white base
Buff the nail, then apply one layer of Snow White so the nail art has some opacity. Steffi only uses one layer because she is covering it anyway. Watch this step at 0:00
2. Outline Lola
With Serious Black on the 0003 brush, map out the eyes with a curved line and another, then the eyebrow and the edge of the face. Add the fringe, the W-shaped mouth with two long lines coming from the edges, a U shape underneath, strokes on the fur, the chin, the shoulders, the eyelids, the front tooth and a small shape for the tongue. Cure so it does not budge when the colour goes on. Watch this step at 3:20
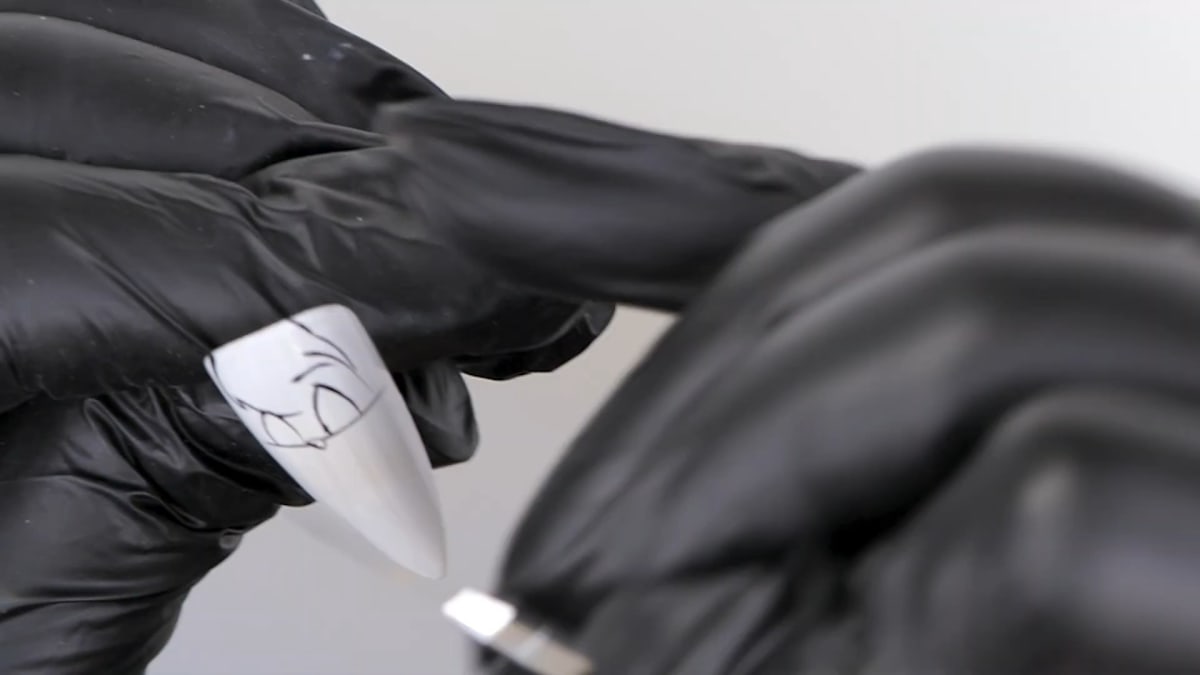
3. Prepare the colours
Put Eggnog, Oopsy Daisy, Guilt Trip, Snow White, Serious Black, Ballet Shoes and Butterscotch on the palette, plus a little Friar's Robes to mix a darker brown for the eyelids and Evil Queen for the top. Watch this step at 8:40
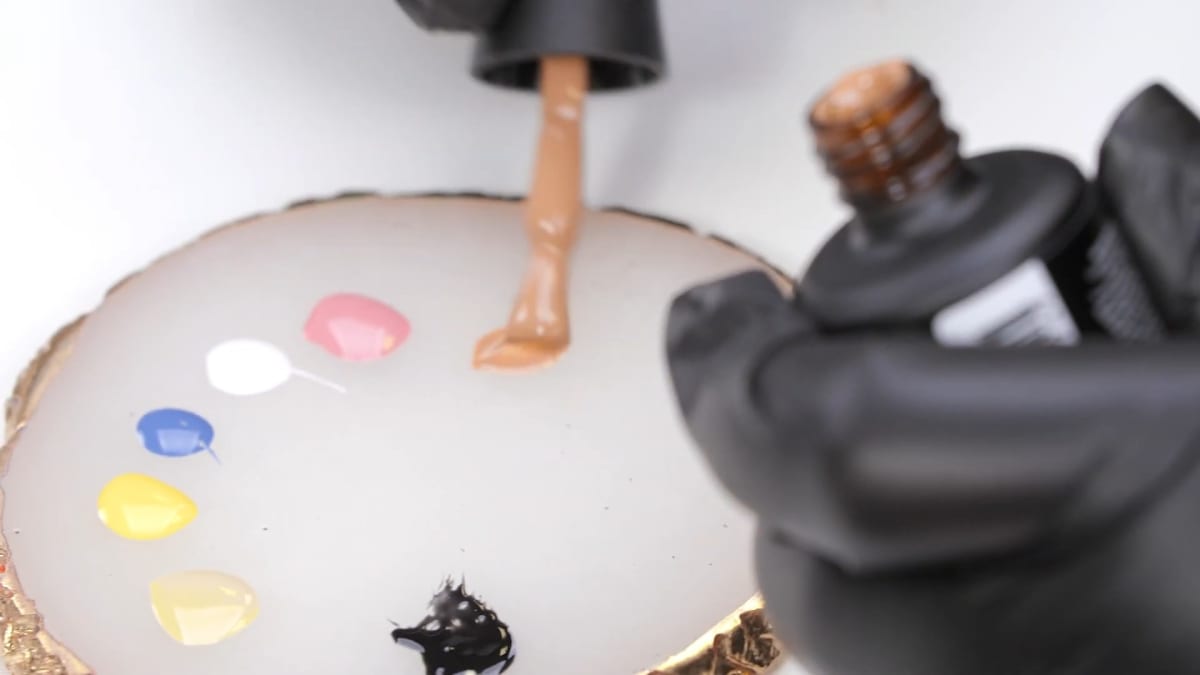
4. Fill in the colours
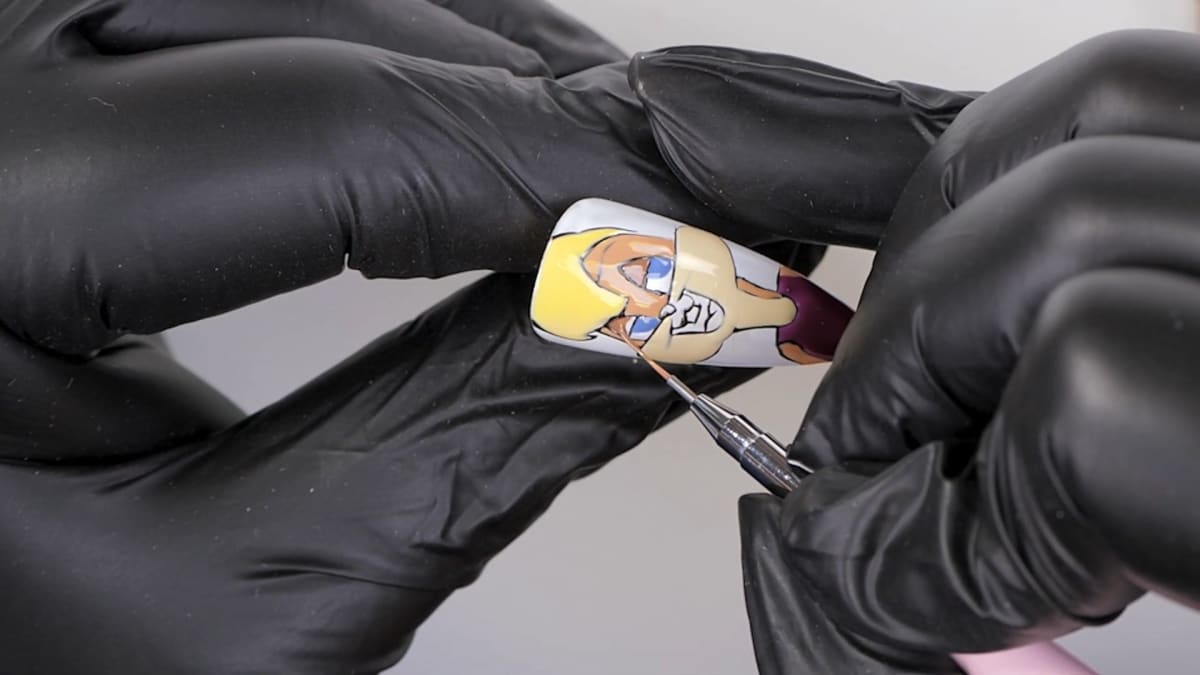
Fill in the hair first with Oopsy Daisy, then the cream sections with Eggnog, keeping them to two halves so they do not mix with the hair. Paint the top in purple, as Steffi thought a yellow top would be too much yellow. Fill the rest of the face with Butterscotch, then the irises in Guilt Trip. Watch this step at 10:00
5. Add the details
Mix a little Friar's Robes into Butterscotch for the eyelids, fill the top of the mouth with Friar's Robes and paint the tongue in a lighter pink. Add black to the eyes and a little to the nose.
6. Go back over the outline
Once everything is filled in, go over all the outlines with Serious Black again.
7. Add the background
Fill in the background with the Diamond Dust pink, Can't Relate. Cure, then paint the remaining lashes and two white dots, because lashes cannot be painted on a wet background. Top coat to finish your Space Jam nail art. Watch this step at 15:50
Where to find each stage of the Lola Bunny Nails video
| Stage | Time |
|---|---|
| White base | 0:00 |
| Black outline | 3:20 |
| Preparing the colours | 8:40 |
| Filling in the colours | 10:00 |
| Diamond Dust background, lashes and the finished nail | 15:50 |
Pro Tips
- Concentrate on the outline at the start, as the filling is then much easier.
- Cure the outline so it does not move when you fill it in.
- Paint the hair and cream fur in separate halves so they do not mix.
- Cure the background before adding lashes.
- The more you practise, the faster you get.
Who Is This Design For?
This design is for anyone who loves character nail art, and who is happy to take their time with line work. Fans of Looney Tunes nails will recognise her straight away.
Ways to Make It Your Own
- Change the colour of the top, as Steffi did
- Try a different background colour
- Paint the design on one accent nail
Aftercare
Keep your cuticles moisturised with oil daily and avoid using your nails as tools to protect the detail work on your Lola Bunny nails.
Frequently Asked Questions
How do you paint Lola Bunny nails?
Paint a white base, map the character out in black and cure, fill in the hair, fur, face, eyes and top with colour, go over the outline again, then add a pink background and top coat.
Why outline first?
Steffi says it makes the filling much easier.
Which colours are used for Lola Bunny nails?
Oopsy Daisy for the hair, Eggnog for the cream fur, Butterscotch for the face, Guilt Trip for the eyes, Ballet Shoes for the pink details and Evil Queen for the top.
Why cure the background before the lashes?
The lashes cannot be painted on a wet background.
How many coats of white go under the design?
One. Steffi only uses a single layer of Snow White because it is being covered anyway.
Can I change the colours?
Yes. Steffi swapped the top from yellow to purple to avoid too much yellow.
Give Lola Bunny Nails a Try
Watch the nail art tutorial above to follow Steffi's steps, then paint your own Lola Bunny nails.


