



To make vertical ombre nails, you put one colour down each side of a white base and blend them where they meet in the middle, so the fade runs from side to side instead of from cuticle to tip. In this tutorial Steffi shows two really simple ways to do it: one with neon pigment and eyeshadow brushes, and one with jelly gel polish and an ombre brush.
Both methods start with a white gel polish base on almond tips, which helps the colours look opaque and blend easily.
Below you'll find the products, both methods step by step with their place in the video, and Steffi's tips on which is easier.
At a Glance
- Design: vertical ombre nails, two methods
- Artist: Steffi
- Technique: pigment blended on matte top coat, and jelly gel polish blended wet
- Nail shape: almond tips
- Skill level: beginners to nail techs
- Key products: Snow White, Ultra Matte Top Coat, neon pigment, Sour Plum, Feijoa, Ombre Brush, Urban Graffiti Top Coat
- Video length: about 12 minutes
Why You'll Love These Vertical Ombre Nails
- Two methods to choose from: pigment or jelly gel polish
- Pigments are easy to blend on a matte top coat background
- Semi-transparent jelly colours blend easily over white
- A smooth, rich colour transition
How the Two Methods Differ
The pigment method is dry blending. Steffi applies a very thin layer of matte top coat and cures it for only five seconds, so it is not fully cured and the powder has something to grip. The neon pigment is pressed onto each side and the middle is buffed together with a fluffy brush, much like blending eyeshadow.
The jelly method is wet blending. Jelly gel polish is semi-transparent, so two colours painted side by side merge softly when an ombre brush is wiggled through the join. They can look separated at first, but they self level before curing, and a second layer makes the blend more seamless and the colour richer. The white base underneath is what stops the jelly shades looking washed out.
Products Used in This Video


How to Create Vertical Ombre Nails
1. Apply the white base
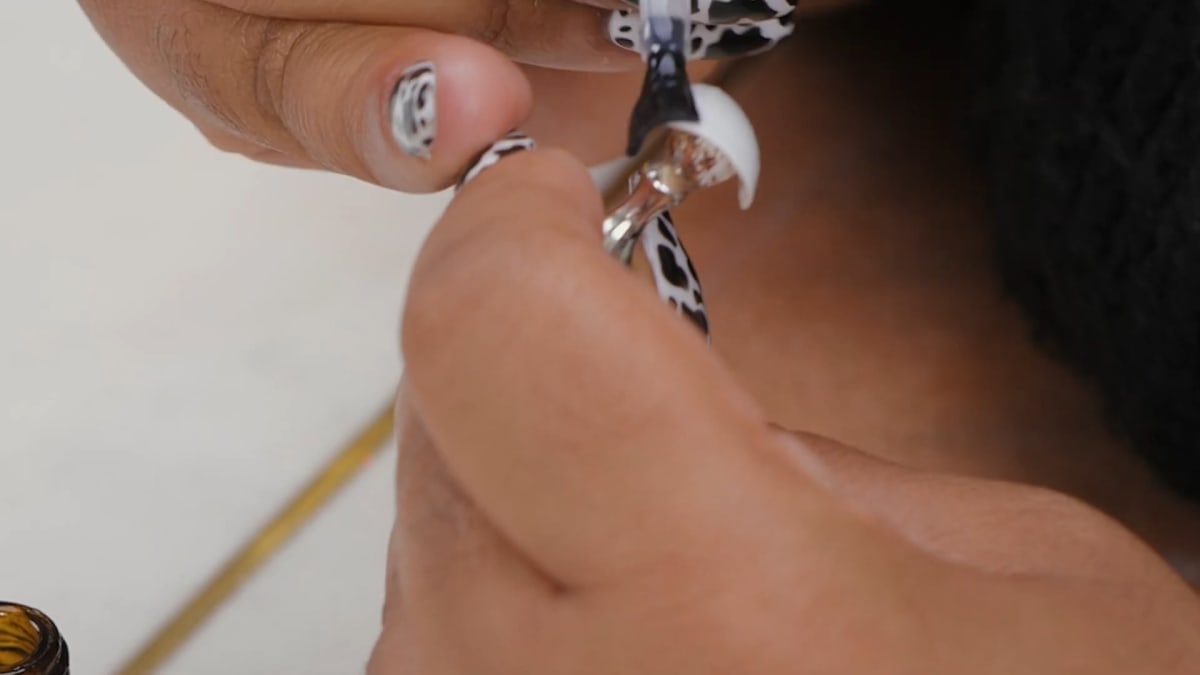
Apply two thin layers of Snow White to each nail and cure. Watch this step at 1:35
2. Method one: add a thin matte layer
Apply a very thin layer of matte top coat all over the nail and cure it for only five seconds, so it is not fully cured.
3. Work in the pigment
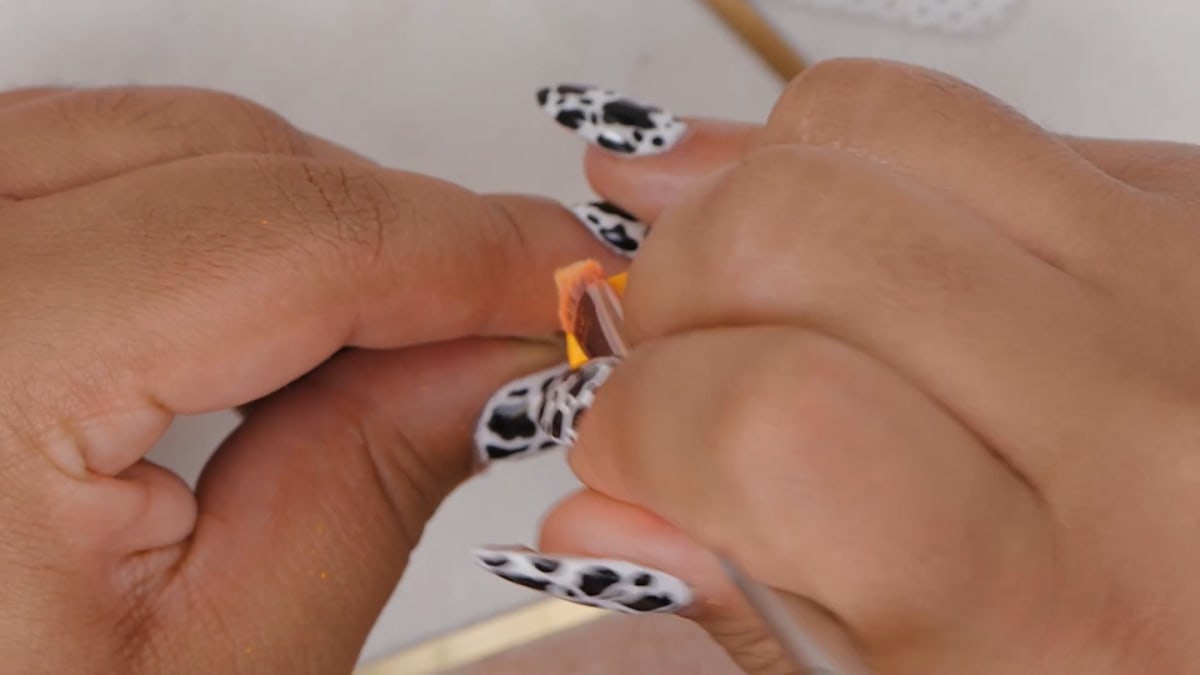
Use a shader brush to pat the lighter orange pigment onto the lint free wipe, then press it onto one side of the nail. Do the darker orange on the other side, starting from the side and working towards the middle. Watch this step at 3:20
4. Blend
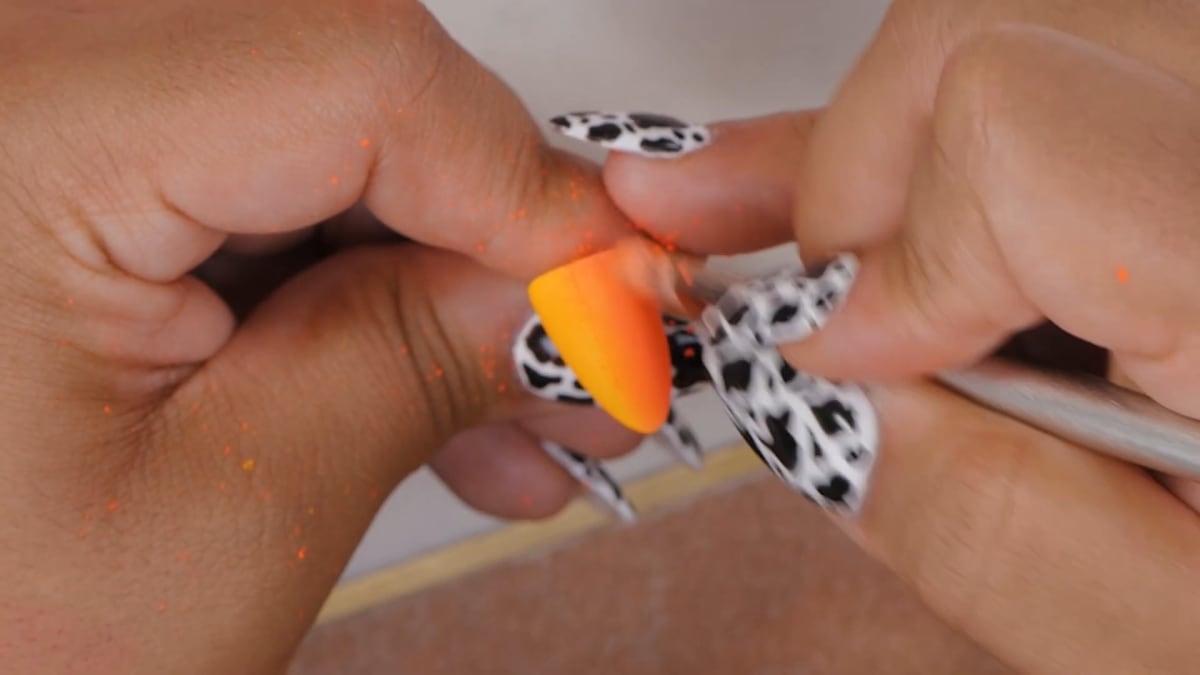
Blend the middle with a fluffy brush, going back and forth between both colours until the transition is smooth, then remove the excess. Top coat and cure. Watch this step at 4:50
5. Method two: jelly colours
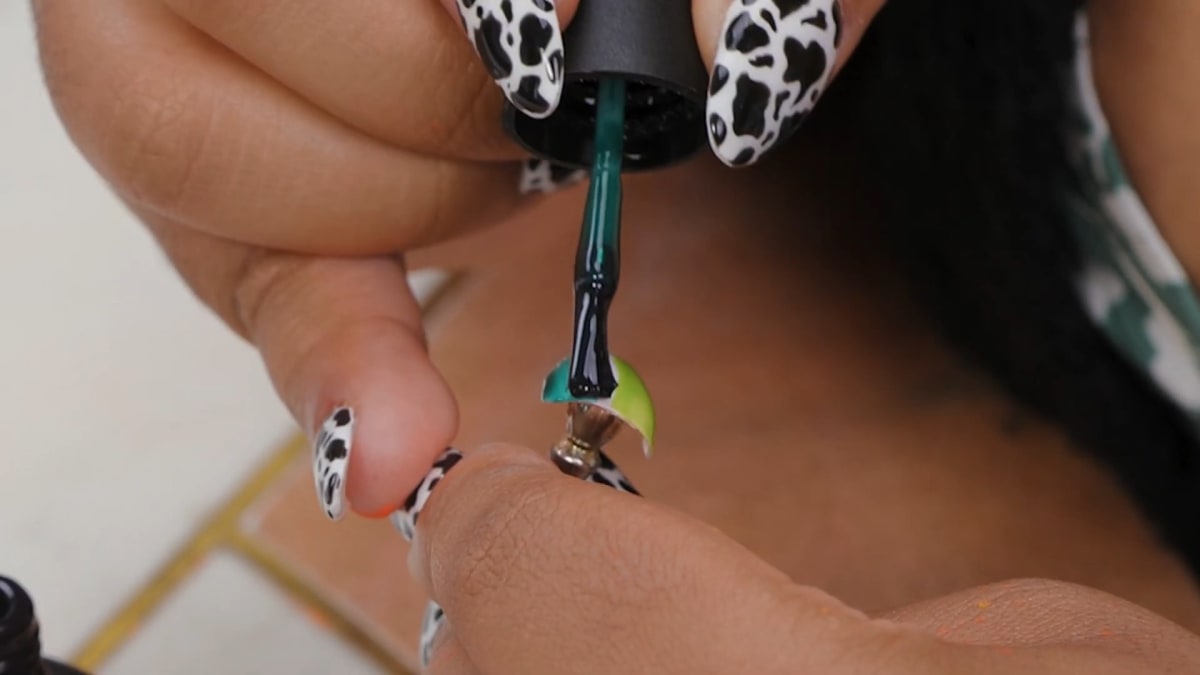
Apply a thin layer of Sour Plum on half of the nail and Feijoa on the other half. Mix them in the centre with an ombre brush, wiggling side to side and stroking gently down, then let them self level for a few seconds and cure. This is the jelly gel polish version of the same fade. Watch this step at 7:10
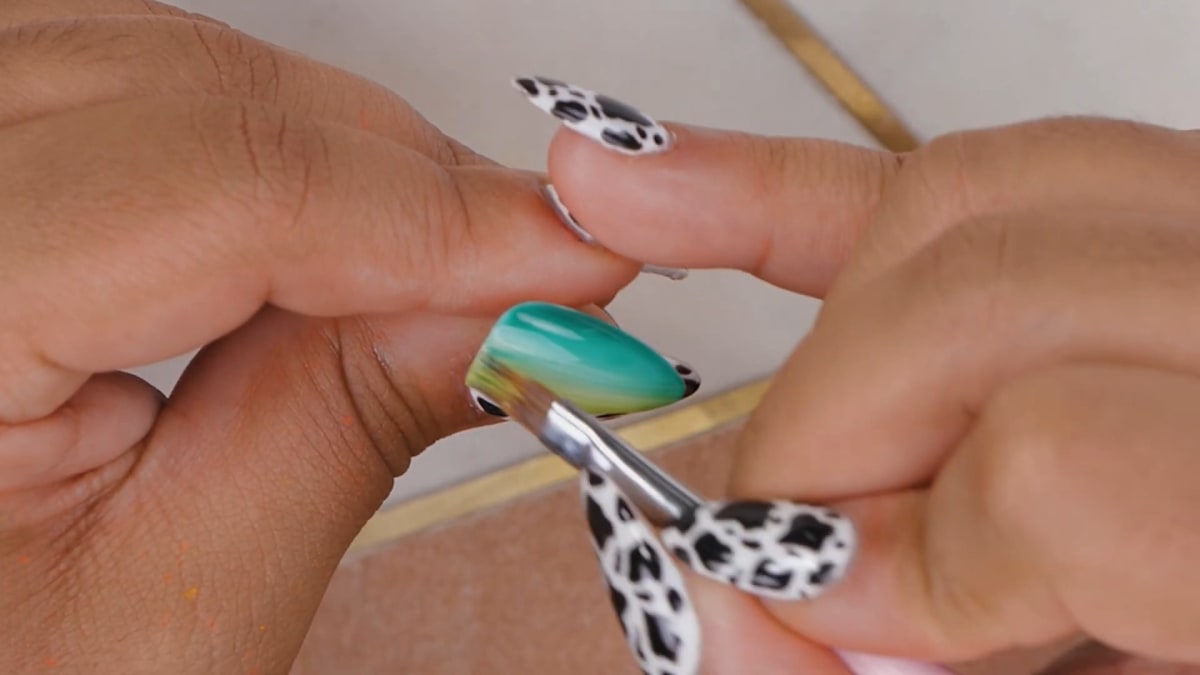
6. Repeat and seal
Repeat the process to make the blend more seamless and the colour richer, then finish with Urban Graffiti Top Coat. Watch this step at 10:30
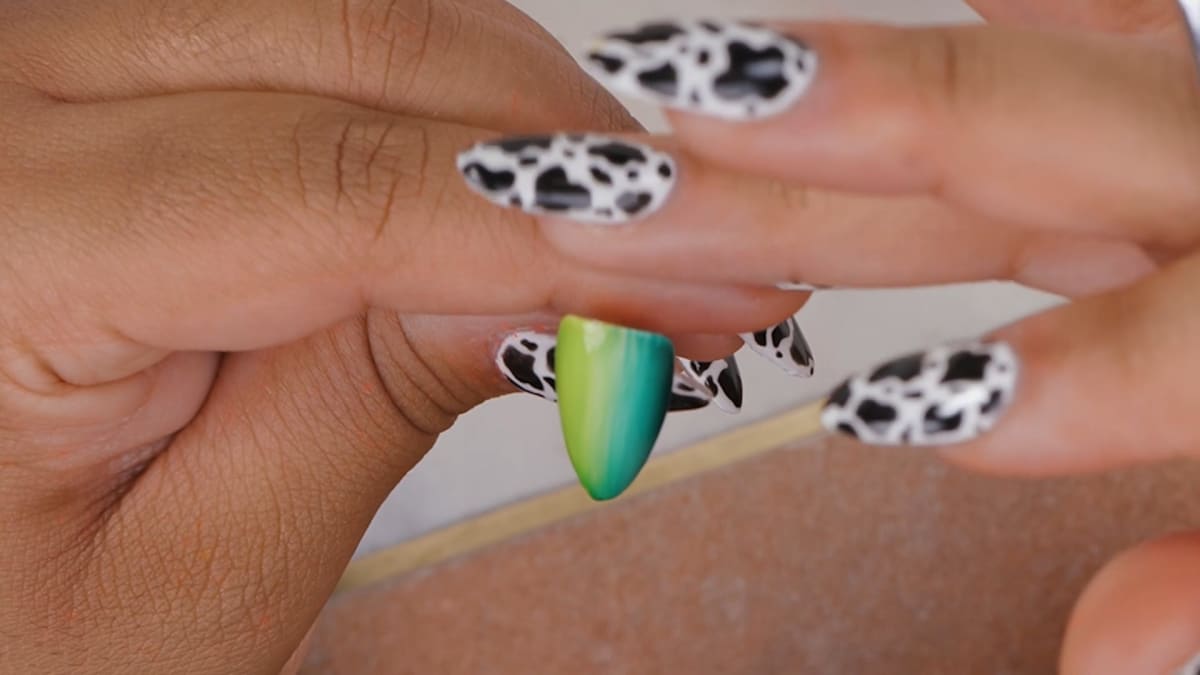
Where to find each stage of the Vertical Ombre Nails video
| Stage | Time |
|---|---|
| White base | 1:35 |
| Method one: pressing on the pigment | 3:20 |
| Method one: blending with a fluffy brush | 4:50 |
| Method two: applying the jelly colours | 7:10 |
| Method two: blending with the ombre brush | 8:50 |
| Second layer, top coat and the finished nail | 10:30 |
Pro Tips
- Choose colours that are similar so they blend smoothly.
- Start with the lighter shade, because dipping a darker shade into a lighter one is not as smooth.
- Do not be afraid to add more colour if you need it.
- Do not worry if the jelly colours look separated: they self level.
Who Is This Design For?
This design is for anyone who wants a simple ombre with either pigments or gel polish, from beginners to nail techs. If you have struggled with a sponge, both of these are an easy ombre nail alternative.
Ways to Make It Your Own
- Choose two different pigment shades
- Try other jelly colours
- Use a matte or a shiny finish
Aftercare
Keep your cuticles moisturised with oil daily and avoid using your nails as tools to protect the finish on your vertical ombre nails.
Frequently Asked Questions
How do you do vertical ombre nails?
Put one colour down each side of a white base and blend them in the middle. Steffi does it with pigment on a barely cured matte coat, or with two jelly gel polishes blended with an ombre brush.
Why use a white base?
It makes the colours look opaque while still giving the easy blend of the transparent jelly colours.
Why only cure the matte layer for five seconds?
Pigment is easier to work into a layer that is not fully cured, and it stays bright.
Which method is easier?
Steffi says pigments are much easier to blend, especially on a matte background.
How do you blend two jelly gel polishes?
Paint one on each half of the nail, wiggle an ombre brush side to side through the join and stroke gently down, let them self level for a few seconds, then cure. Repeat for a richer blend.
Which colours work best for an ombre?
Colours that are similar blend most smoothly. Start with the lighter shade, then add the darker one.
Give Vertical Ombre Nails a Try
Watch the nail art tutorial above, then try both methods of vertical ombre nails and see which you prefer.


